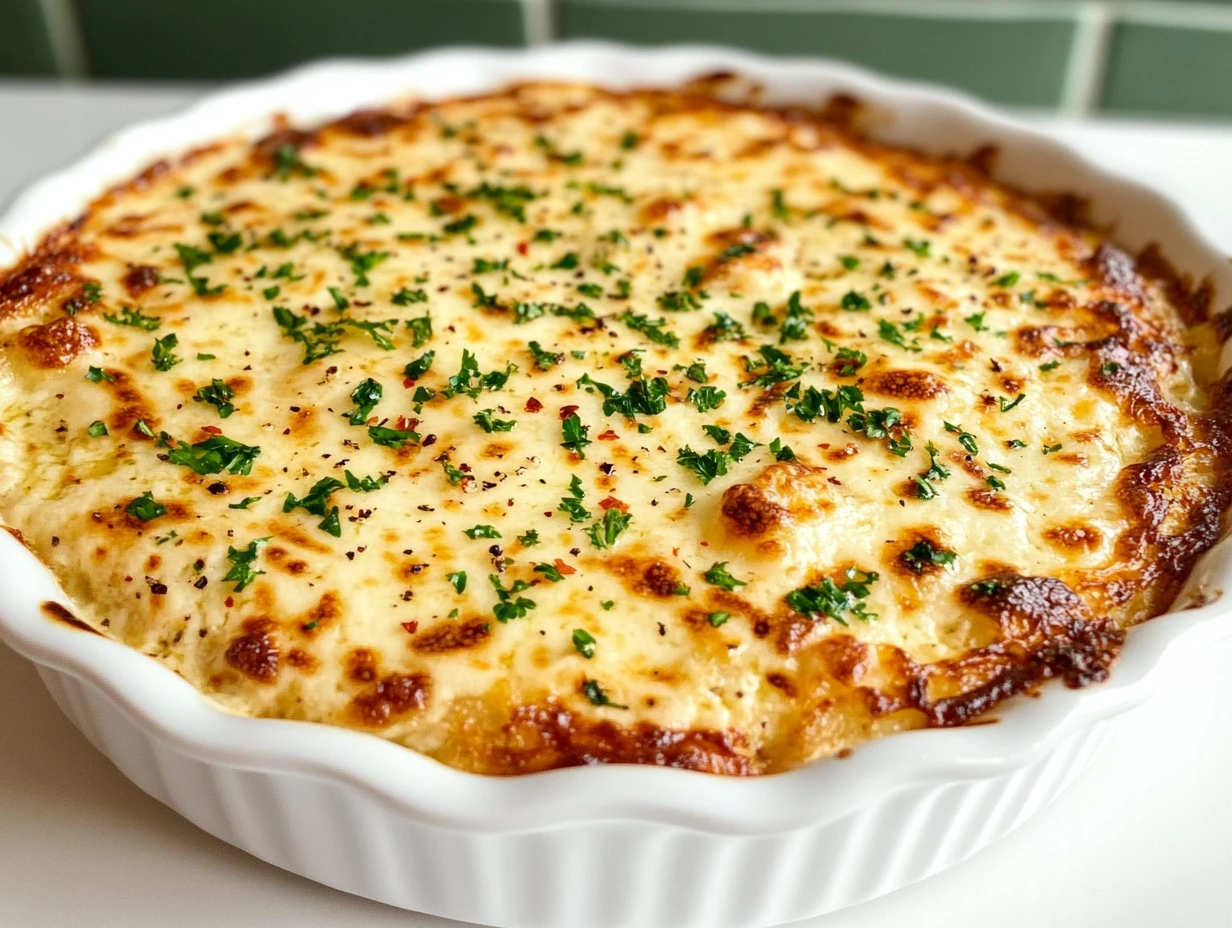
There’s something magical about combining roasted garlic, creamy cheeses, and fresh herbs into one bubbly, golden dip that’s practically begging for crispy bread. This Baked Garlic Bread Dip isn’t just a recipe; it’s an experience. Whether you’re hosting a cozy get-together or indulging in a self-care evening with a Netflix marathon, this dip will quickly become your favorite comfort food companion.
But what makes this recipe so special? It’s simple to make yet bursting with gourmet flavors. Roasting garlic and shallots is the secret to elevating everyday ingredients into something truly extraordinary. Let’s dive into the first steps of this mouthwatering creation.
The Magic of Roasting Garlic and Shallots
Every great recipe has its star ingredient, and in this case, it’s the roasted garlic and shallots. If you’ve never roasted garlic before, you’re in for a treat. The process transforms its sharp, pungent flavor into a mellow, caramelized sweetness that’s utterly addictive. Shallots, on the other hand, add a delicate, oniony depth to the dip, making the flavor profile even more irresistible.
Step 1: Preheat and Prepare
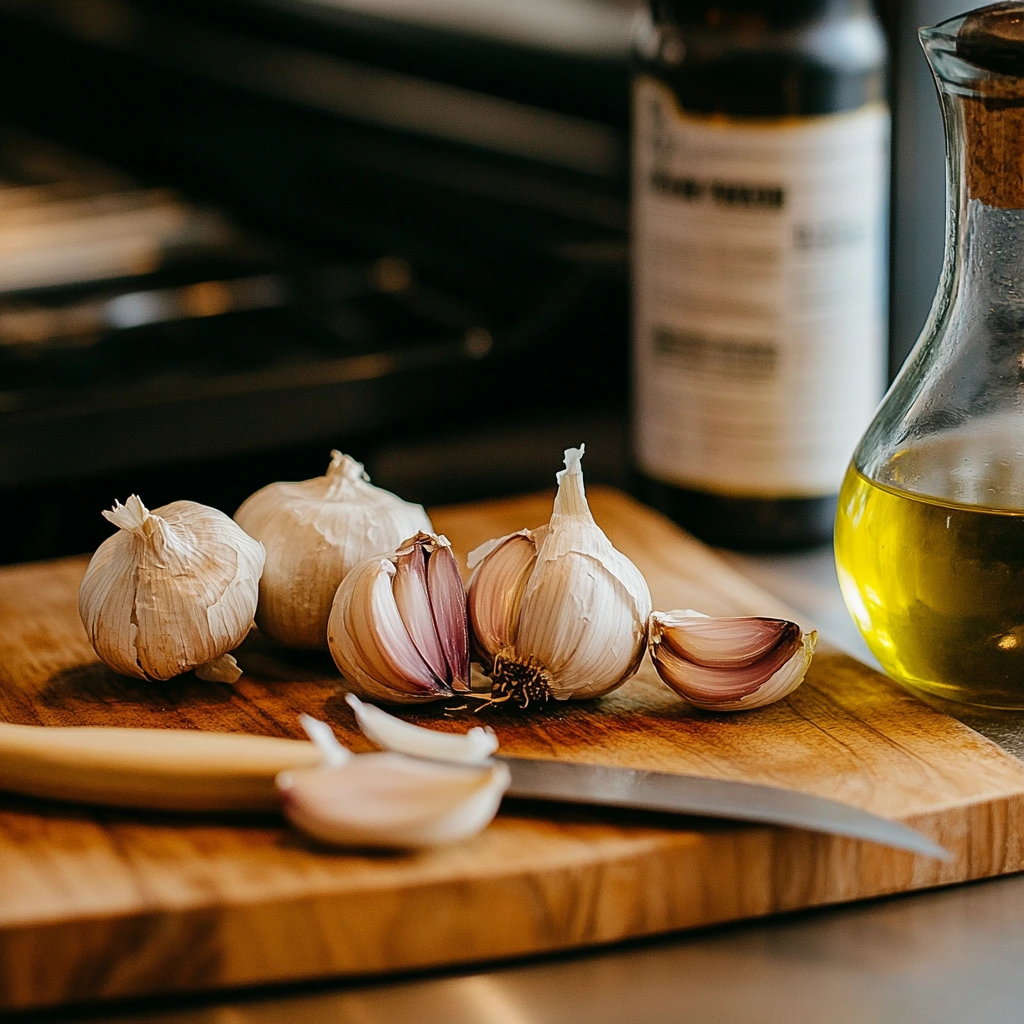
Start by preheating your oven to 375°F (190°C). Trust me, this step is essential—not just for the roasting process, but because the delicious aroma of garlic will soon fill your kitchen. Using a sharp knife, carefully cut the tops off two whole garlic heads. This exposes the cloves, making them easier to squeeze out later. For the shallots, simply trim the bottoms.
Step 2: Roast to Perfection
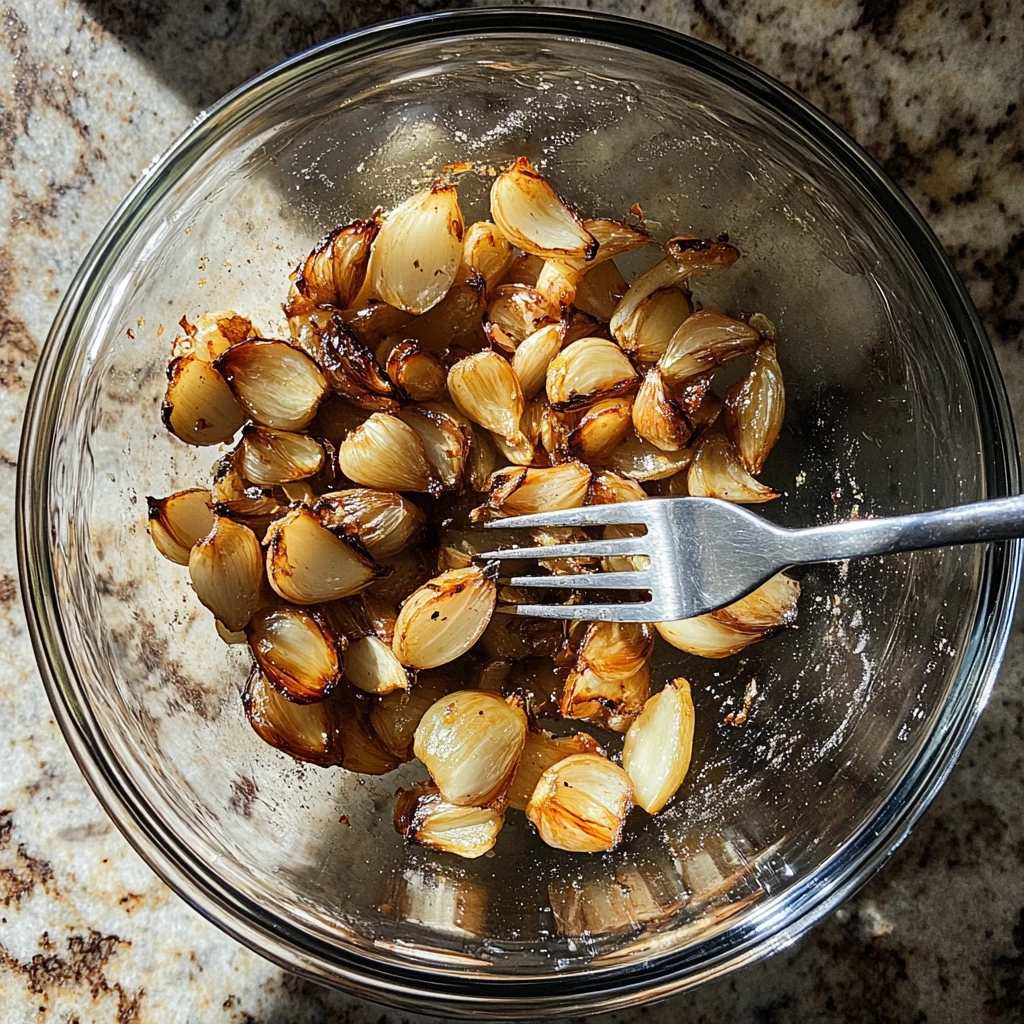
Grab a sheet of aluminum foil and place the garlic heads and shallots in the center. Drizzle with a generous two tablespoons of olive oil and sprinkle a pinch of salt over them. Wrap them tightly in the foil like a little flavor-packed parcel. Pop it into your oven and roast for about an hour, or until the garlic and shallots are soft and caramelized. Your kitchen will smell amazing by this point—don’t say I didn’t warn you.
Why Roasting Garlic Makes All the Difference
Roasted garlic isn’t just a step in this recipe—it’s the soul of it. Roasting brings out the natural sugars in garlic and shallots, giving them a rich, almost nutty flavor. Plus, it’s incredibly versatile. You can use roasted garlic in pasta sauces, mashed potatoes, or even as a spread on its own.
Step 3: Create the Flavorful Base
Once your garlic and shallots are cool enough to handle, the fun begins! Squeeze the roasted garlic cloves out of their skins and pop the shallots out of their papery shells. Mash them into a smooth, aromatic paste using a fork. This paste is where all the magic happens—it’s the foundation of the creamy dip we’re about to build.
Assembling the Ultimate Creamy Garlic Bread Dip
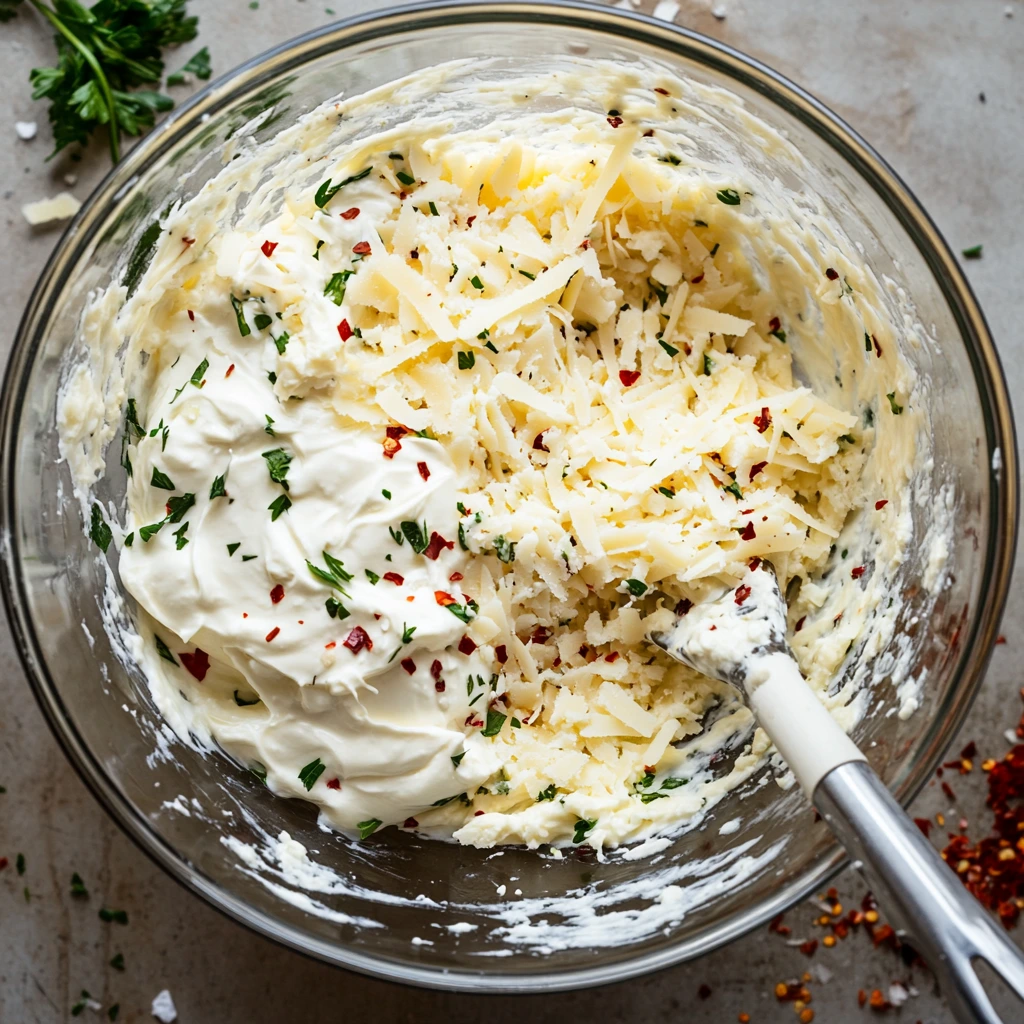
Now that you’ve created that rich, roasted garlic and shallot paste, it’s time to take things up a notch. This part is where the magic comes together, blending creamy cheeses with a hint of spice and a sprinkle of freshness. By the end, you’ll have a dip so golden and bubbling that your guests (or you—no judgment) won’t be able to resist.
Step 4: Crafting the Creamy Base
What makes this dip truly luxurious is the combination of cheeses. Cream cheese adds a velvety texture, sour cream brings a subtle tanginess, and shredded mozzarella and parmesan cheeses lend the gooey, cheesy goodness we all love.
Here’s what you’ll need for the base:
- 1 (8 oz) block of cream cheese, softened to room temperature
- 1 cup of sour cream
- 1 ½ cups of shredded mozzarella cheese (divided into 1 cup and ½ cup portions)
- ½ cup of grated parmesan cheese
- ½ cup of freshly chopped parsley (reserve some for garnish)
- ½ teaspoon of salt
- ¼ teaspoon of pepper
- ½ teaspoon of red pepper flakes (for a little heat, optional but highly recommended!)
Pro Tip: Make sure your cream cheese is fully softened. This makes mixing so much easier and ensures a smooth dip. If you forgot to take it out of the fridge ahead of time, microwave it for 10–15 seconds to soften.
Mix It All Together
- In a large mixing bowl, combine the roasted garlic-shallot paste with the softened cream cheese and sour cream. Use a spatula or hand mixer to blend everything until it’s smooth and creamy.
- Stir in ½ cup of shredded mozzarella, the parmesan cheese, and chopped parsley. Add the salt, pepper, and red pepper flakes for that extra zing. Mix until all the ingredients are evenly incorporated.
At this point, you might be tempted to grab a spoon and call it a day—but trust me, the best is yet to come.
Step 5: Assembling the Dip
It’s time to transfer this creamy concoction into a baking dish and get it ready for the oven.
- Grab an 8- or 9-inch pie plate or any shallow oven-safe dish. Spread the dip mixture evenly, making sure it reaches every corner of the dish.
- Sprinkle the remaining ½ cup of shredded mozzarella over the top. This final layer will give you that irresistible golden crust we’re aiming for.
Pro Tip: If you’re feeling extra indulgent, you can add a sprinkle of additional parmesan or even breadcrumbs on top for a bit of extra crunch.
Step 6: Baking to Perfection
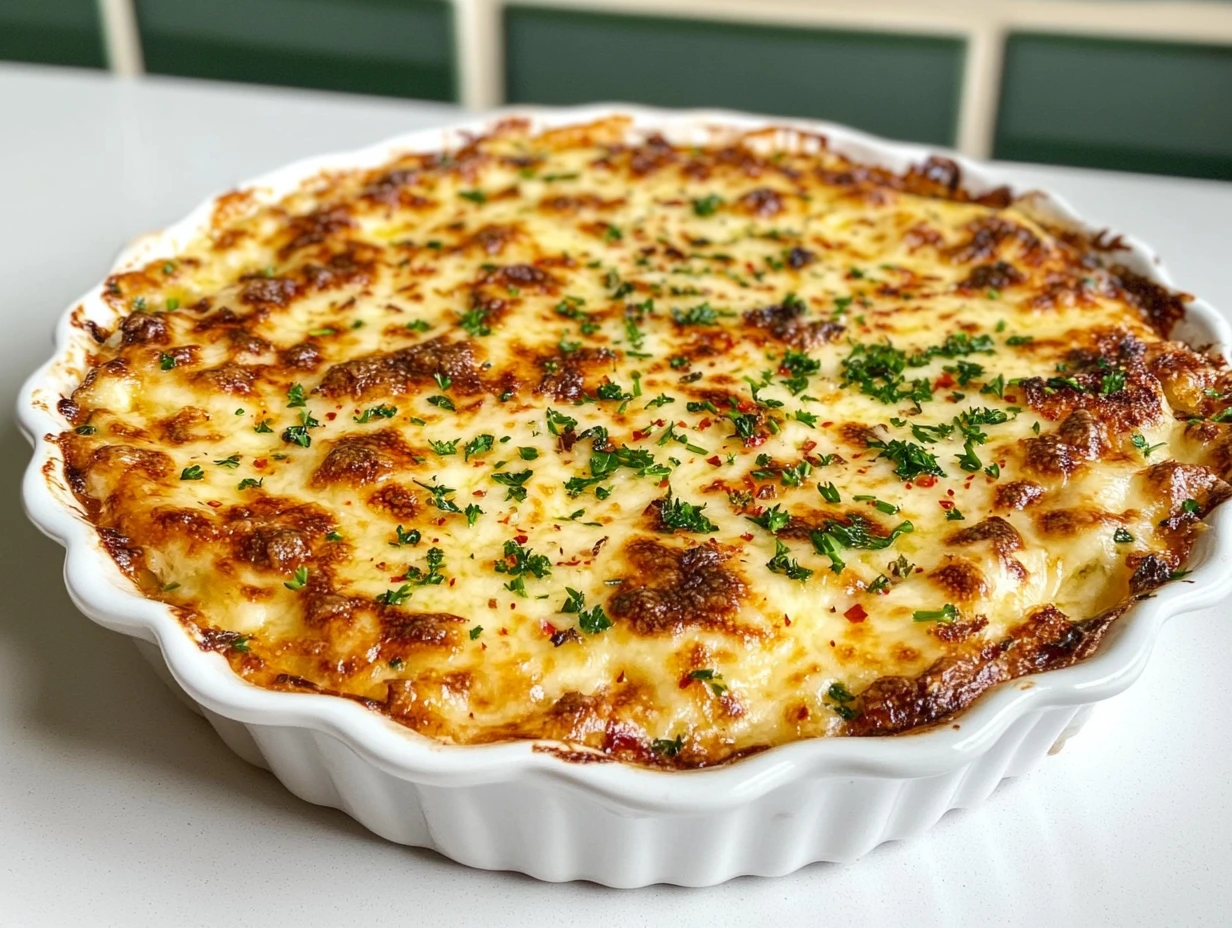
Preheat your oven to 350°F (175°C)—yes, you’re lowering the temperature slightly from the roasting stage. Bake the assembled dip for 20–25 minutes, or until it’s bubbling and golden brown on top. Keep an eye on it during the last few minutes to prevent over-browning.
While it bakes, slice up some crusty bread, bagel chips, or pita chips for dipping. Toast them lightly in the oven if you want an extra crunch to complement the creamy dip.
Pro Tip: Serve it straight from the oven for maximum gooeyness. The cheese will be melty and stretchy, making every bite a perfect blend of flavors and textures.
Variations and Creative Twists
While this dip is a showstopper as is, here are a few ways to make it your own:
- Add Bacon: Crumble cooked bacon into the dip before baking for a smoky, savory twist.
- Go Herbaceous: Mix in other fresh herbs like thyme or rosemary for a fragrant, earthy flavor.
- Spice It Up: If you’re a heat lover, double the red pepper flakes or add a few dashes of hot sauce.
Frequently Asked Questions
1. Can I make this dip ahead of time? Absolutely! You can prepare the dip up to the baking step, cover it tightly with plastic wrap, and refrigerate it for up to two days. When you’re ready to serve, simply bake it as instructed, adding an extra 5 minutes to ensure it heats through.
2. Can I freeze leftovers? Yes, this dip freezes well! Transfer any leftovers to an airtight container and freeze for up to three months. To reheat, let it thaw in the fridge overnight, then bake at 350°F for 15–20 minutes or until hot and bubbly.
3. What can I serve with this dip? This dip pairs wonderfully with toasted baguette slices, bagel chips, pita chips, or even fresh veggies like carrots and celery. If you’re feeling adventurous, try it with pretzels or crispy flatbreads.
4. Can I make this dip lighter? For a lighter version, use reduced-fat cream cheese, light sour cream, and part-skim mozzarella. The flavor will still be fantastic, but the calories will take a slight dip (pun intended!).
5. Is this dip spicy? Not really! The red pepper flakes add a gentle kick, but it’s subtle enough for most palates. If you prefer a spicier dip, feel free to double the red pepper flakes or add a splash of hot sauce.
6. Can I use pre-minced garlic instead of roasting whole heads? While you can use pre-minced garlic, it won’t deliver the same depth of flavor as roasted garlic. Roasting caramelizes the garlic’s natural sugars, creating a sweetness and complexity that pre-minced just can’t replicate. Trust me, it’s worth the extra step!
7. How do I reheat this dip for a second serving? Reheat the dip in a 350°F oven for about 10–15 minutes or until heated through. Alternatively, you can microwave individual portions for 1–2 minutes, stirring halfway through.
Conclusion: Bring on the Cheesy Goodness
There you have it—your ultimate guide to making Baked Garlic Bread Dip that’s as comforting as it is indulgent. Whether you’re hosting a party or treating yourself to a night in, this recipe is guaranteed to impress. Its creamy texture, roasted garlic flavor, and cheesy top make it a crowd-pleaser that will disappear in minutes.
Print
Baked Garlic Bread Dip
- Author: Sophia
- Total Time: 1 hour 30 minutes
Description
This Baked Garlic Bread Dip is creamy, cheesy, and packed with the rich, roasted flavors of garlic and shallots. Perfect for entertaining or cozy nights in, this dip pairs beautifully with toasted bread, bagel chips, or pita for dipping. A crowd-pleaser that’s easy to make and absolutely irresistible!
Ingredients
- For Roasting:
- 2 whole shallots, bottoms cut off
- 2 heads garlic, tops cut off
- 2 tbsp olive oil
- For the Dip:
- 1 (8 oz) block cream cheese, softened
- 1 cup sour cream
- 1 1/2 cups shredded mozzarella cheese, divided
- 1/2 cup grated parmesan cheese
- 1/2 cup fresh chopped parsley (reserve some for garnish)
- 1/2 tsp salt
- 1/4 tsp pepper
- 1/2 tsp red pepper flakes
Instructions
1️⃣ Preheat and Prep for Roasting:
Preheat your oven to 375°F.
Using a sharp knife, cut off the tops of the garlic heads and the bottoms of the shallots to expose the cloves and bulbs.
2️⃣ Roast Garlic and Shallots:
Place the garlic heads and shallots on a sheet of aluminum foil.
Drizzle with olive oil and sprinkle with a pinch of salt.
Wrap tightly in the foil and roast in the oven for 1 hour, or until the garlic and shallots are soft and caramelized.
3️⃣ Prepare the Garlic and Shallot Paste:
Once roasted, let the garlic and shallots cool slightly. Squeeze them out of their skins into a mixing bowl.
Mash with a fork until they form a smooth paste.
4️⃣ Mix the Dip Base:
Add the softened cream cheese and sour cream to the bowl with the garlic-shallot paste. Mix until well-combined.
Stir in 1/2 cup shredded mozzarella, parmesan cheese, chopped parsley, salt, pepper, and red pepper flakes. Mix until smooth.
5️⃣ Assemble the Dip:
Transfer the dip mixture to an 8 or 9-inch pie plate, spreading it into an even layer.
Sprinkle the remaining shredded mozzarella on top.
6️⃣ Bake the Dip:
Lower the oven temperature to 350°F.
Bake for 20-25 minutes, or until the dip is golden brown and bubbling.
7️⃣ Garnish and Serve:
Garnish with fresh parsley and a sprinkle of red pepper flakes.
Serve hot with toasted bread, bagel chips, or pita chips for dipping.
Notes
- Make Ahead: You can prepare the dip mixture in advance and refrigerate it until you’re ready to bake.
- Flavor Variations: Add chopped sun-dried tomatoes or cooked, crumbled bacon for an extra twist.
- Storage: Store leftovers in an airtight container in the refrigerator for up to 3 days. Reheat in the oven or microwave.
- Prep Time: 15 minutes
- Cook Time: 20-25 minutes
Nutrition
- Serving Size: 6-8

