
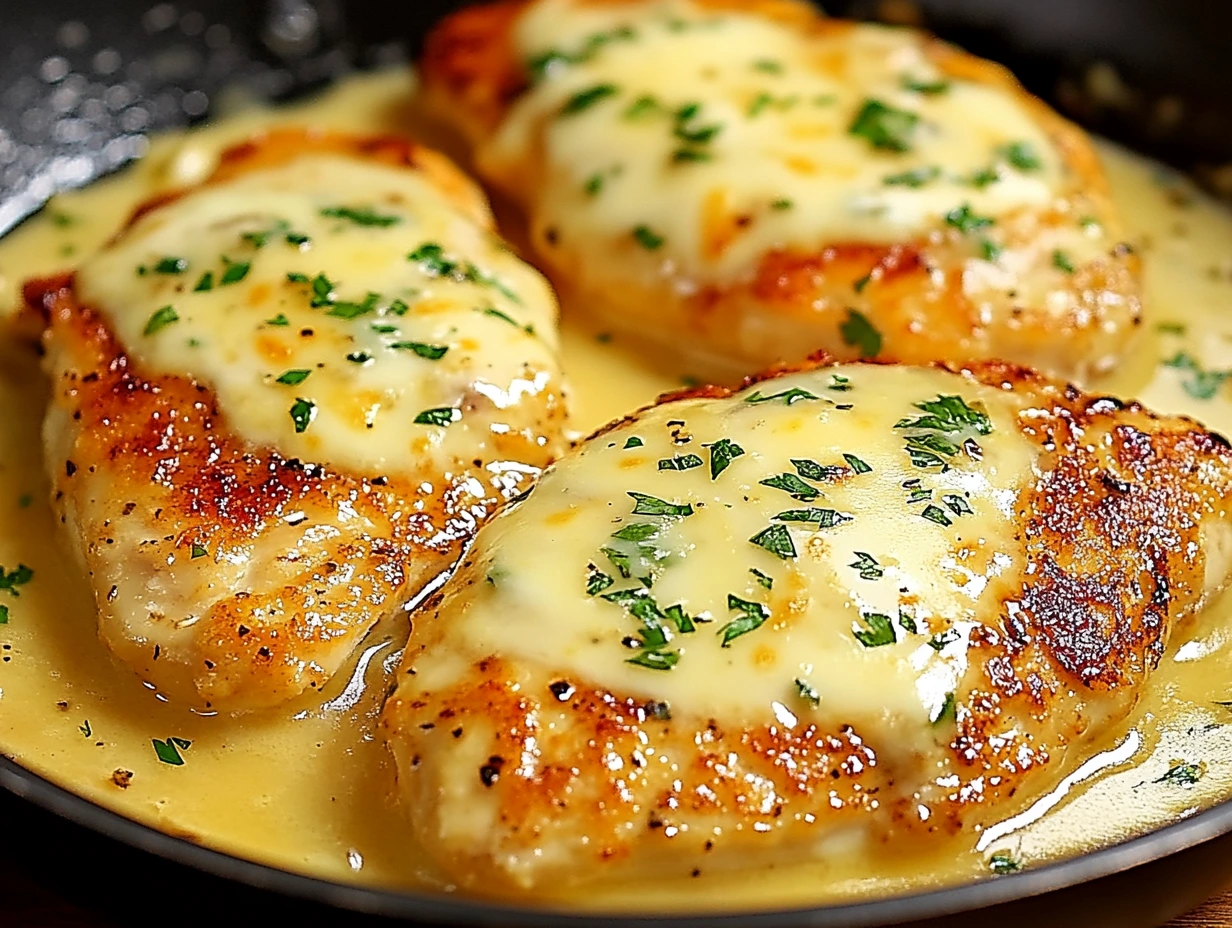
There are some nights when all you want is something creamy, cheesy, and just downright delicious—and this Cheesy Garlic Butter Chicken hits all the right notes. It’s the kind of recipe that feels fancy enough for a Friday night but is easy enough to whip up on a weeknight. With golden seared chicken, melty mozzarella, and a buttery garlic cream sauce, this dish is comfort food on a whole new level.
I’ll admit it: creamy garlic anything is my kryptonite. Whether it’s pasta, potatoes, or this dreamy chicken recipe, if garlic and butter are involved, I’m all in. This dish was born out of a craving for something rich and indulgent that didn’t take an hour to make. Spoiler: it came together in under 30 minutes, and it was love at first bite.
One of the best parts about this chicken is how flexible it is. You can serve it over pasta for a classic vibe, with mashed potatoes for a stick-to-your-ribs kind of meal, or even over a bed of sautéed spinach or roasted veggies if you’re going low-carb. However you serve it, you’ll want to mop up every bit of that cheesy garlic sauce.
So let’s get to it—because once you see how simple this is, it’s going to become a regular in your dinner rotation.
Ingredients You’ll Need
-
2 large chicken breasts, cut into cutlets
-
4 tablespoons unsalted butter
-
4 cloves garlic, minced
-
1 teaspoon Italian seasoning
-
½ teaspoon paprika
-
Salt and pepper, to taste
-
1 cup shredded mozzarella cheese
-
½ cup grated Parmesan cheese
-
½ cup heavy cream
-
Fresh parsley, for garnish
STEP 1: Prep and Season the Chicken
Start by patting your chicken cutlets dry with paper towels. This helps the seasoning stick and gives the chicken that nice, golden crust when seared. Sprinkle both sides with salt, pepper, paprika, and Italian seasoning. Make sure each cutlet is evenly coated—this is where the base flavor starts, and you don’t want to skip this step!
I like using paprika here for a touch of smokiness and color, and the Italian seasoning gives you that herby depth without having to pull out five different spice jars.

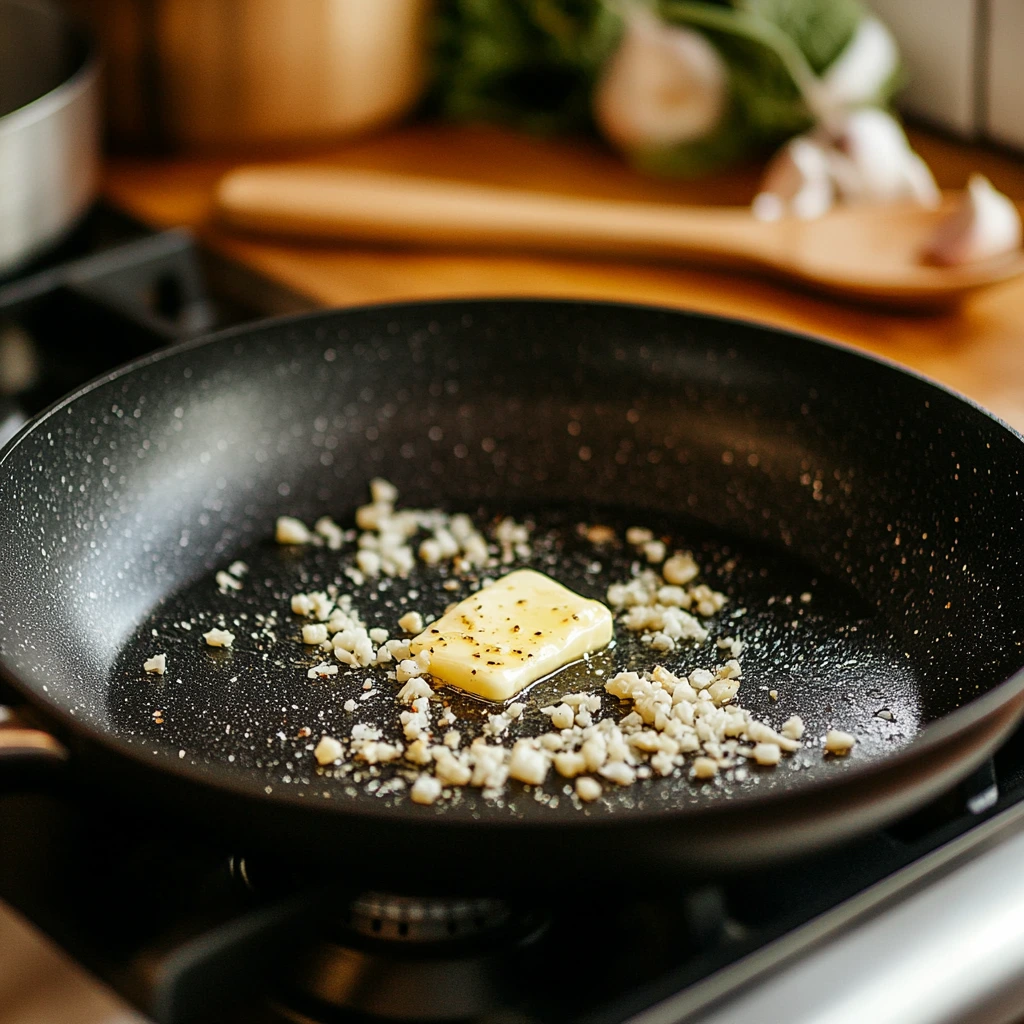
STEP 2: Sear the Chicken in Garlic Butter
In a large skillet, melt 4 tablespoons of unsalted butter over medium heat. Once the butter is melted and bubbling slightly, toss in the minced garlic. Sauté for about 30 seconds or until fragrant—don’t walk away during this part; garlic burns quickly!
Now, add the seasoned chicken cutlets to the skillet. Let them sear for 4 to 5 minutes per side. You’re not aiming to cook them through just yet—just get that beautiful golden-brown crust on both sides. It adds flavor and locks in the juices. If your skillet gets too hot, don’t hesitate to dial the heat back a little.
At this point, your kitchen is going to smell absolutely amazing—like buttery garlic heaven.
STEP 3: Build the Creamy Cheese Sauce
Once your chicken is seared and nearly cooked through, lower the heat to medium-low. Pour in the heavy cream, then sprinkle in the grated Parmesan cheese. Stir gently to combine and let the sauce simmer. You’ll notice it starting to thicken slightly, thanks to the cheese melting into the cream.
This sauce is where the magic happens—it’s garlicky, rich, and just the right amount of cheesy. If it’s looking a little too thick, you can always add a splash of chicken broth or a bit more cream to loosen it up.
Cheesy Garlic Butter Chicken: The Ultimate Comfort Food Dinner
Now that we’ve got our juicy chicken seared and that luscious Parmesan garlic cream sauce starting to bubble, it’s time to take this dish to the next level. In this next part, we’ll finish off the recipe with that gooey, golden mozzarella topping that makes this chicken absolutely irresistible. Plus, I’ve got a few tips and variations to make sure you get perfect results every single time.
Let’s get back to the kitchen and finish this cheesy masterpiece!
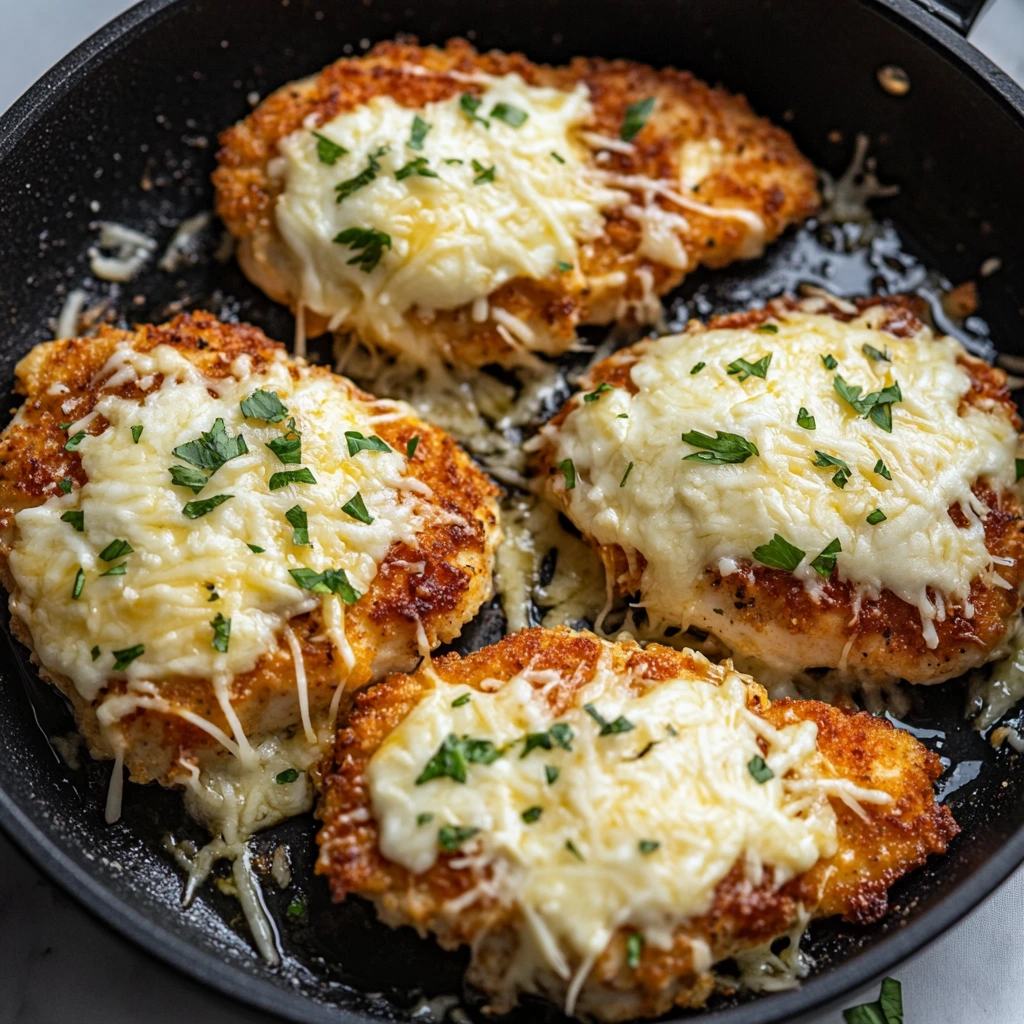
STEP 4: Top with Mozzarella and Let It Melt
Once your sauce is smooth and just starting to thicken, it’s time for the grand finale—mozzarella cheese. Sprinkle 1 cup of shredded mozzarella evenly over the chicken cutlets. If you really love cheese (and who doesn’t?), feel free to add a little extra. There’s no such thing as too much cheese when it comes to comfort food.
Cover the skillet with a lid and let it cook for another 3 to 5 minutes. This helps the mozzarella melt beautifully, turning into that irresistible layer of gooey, golden cheese that you just want to dive into. You’ll know it’s ready when the cheese is fully melted and bubbly, and the chicken is cooked through.
If you’re using an oven-safe skillet and want an extra touch of color, you can pop it under the broiler for a minute or two to lightly brown the top. Just keep an eye on it—it goes from bubbly to burnt fast!
STEP 5: Garnish and Serve
Once everything is melted and looking delicious, sprinkle freshly chopped parsley over the top. This adds a nice pop of color and a little freshness that balances the richness of the dish.
Serve the chicken hot, right from the skillet. It’s perfect with:
-
Creamy mashed potatoes
-
Buttered pasta (fettuccine or penne work great)
-
Steamed broccoli or green beans
-
Roasted cauliflower or a simple side salad
-
Crusty bread to mop up every last bit of that sauce
This dish is incredibly versatile, so feel free to pair it with whatever you’re craving. The sauce is so flavorful, it makes everything taste amazing.
Tips for Perfect Cheesy Garlic Butter Chicken
Cooking creamy chicken dishes doesn’t have to be tricky. Here are a few helpful tips to ensure everything turns out just right:
-
Use thin chicken cutlets – If your chicken breasts are thick, slice them in half lengthwise to create thinner, even pieces. This helps them cook more quickly and evenly.
-
Don’t overcook the garlic – It only needs 30 seconds in the butter before adding the chicken. Burnt garlic can turn bitter and throw off the flavor of the sauce.
-
Let the sauce simmer, not boil – Once you add the cream and cheese, keep the heat on low to avoid breaking the sauce or curdling.
-
Shred your own cheese if you can – Pre-shredded cheeses often contain anti-caking agents that prevent smooth melting. Freshly grated cheese will melt better and taste richer.
-
Add-ins for extra flavor – Want to mix it up a bit? Try adding sliced mushrooms, spinach, or even a few sun-dried tomatoes to the sauce before adding the mozzarella. These ingredients complement the garlic and cheese perfectly.
Simple Variations to Try
This recipe is delicious as-is, but here are a few ways you can change it up:
-
Make it spicy – Add a pinch of red pepper flakes when seasoning the chicken or stir them into the cream sauce for a little heat.
-
Try a different cheese combo – Swap mozzarella for provolone, gouda, or a smoky cheddar for a different twist.
-
Add herbs – Fresh basil, thyme, or oregano sprinkled in right before serving adds an extra layer of flavor.
-
Use chicken thighs – Boneless, skinless thighs work just as well and offer a bit more richness.
Cheesy Garlic Butter Chicken: The Ultimate Comfort Food Dinner
By now, your kitchen probably smells amazing, and you’re just minutes away from digging into a meal that’s equal parts cozy and crave-worthy. But before you grab your plate, let’s take a moment to tackle a few frequently asked questions about this Cheesy Garlic Butter Chicken recipe. Whether it’s your first time making it or you’re already thinking about your next batch, these quick answers should help you along the way.

Frequently Asked Questions
1. Can I make this ahead of time?
You can, but it’s best enjoyed fresh. If you do make it in advance, store it in an airtight container in the fridge for up to 2 days. Reheat it gently on the stove over low heat to avoid breaking the sauce.
2. What kind of pan should I use?
A large non-stick or stainless steel skillet works great. If you plan to broil the cheese at the end, use an oven-safe skillet like cast iron.
3. Can I use milk instead of cream?
Heavy cream creates that rich, silky sauce, but you can use half-and-half or whole milk in a pinch. Just know the sauce will be thinner and a bit less creamy.
4. Is this dish gluten-free?
Yes—just make sure all your ingredients (like the spices and cheeses) are gluten-free certified. If serving with pasta, choose a gluten-free variety.
5. How do I know the chicken is fully cooked?
The internal temperature should reach 165°F (74°C). You can also check by slicing into the thickest part—the meat should be opaque and the juices should run clear.
6. Can I freeze this dish?
It’s not the best candidate for freezing, as the cream sauce can separate when thawed. If you do freeze it, reheat gently and stir well to help bring the sauce back together.
7. What can I serve this with besides pasta?
Mashed potatoes, rice, steamed vegetables, or even over a baked potato all make great pairings. Crusty bread is also perfect for soaking up the sauce.
Final Thoughts
This Cheesy Garlic Butter Chicken is one of those recipes you’ll come back to again and again—not just because it’s easy, but because it hits that perfect sweet spot between comfort food and weeknight convenience. It’s rich without being overwhelming, cheesy without being greasy, and garlicky in the best way possible.
What I love most about it is how flexible it is. You can keep it simple with just chicken and sauce, or add in your favorite veggies or extra spices to really make it your own. No matter how you serve it, it’s always a crowd-pleaser.
If you try this recipe, I’d love to hear how it turned out! Leave a comment with your favorite add-ins or serving ideas, and let me know if you gave it your own twist. And if you’re like me and always on the hunt for easy, comforting dinner ideas, this one’s a keeper.
Print
Cheesy Garlic Butter Chicken
- Author: Sophia
Description
These Taco Ranch Bites are the perfect crowd-pleasing appetizer—savory, cheesy, and full of bold Tex-Mex flavor. Nestled in crisp phyllo shells, each bite delivers a punch of seasoned beef, zesty tomatoes, creamy ranch, and melted cheddar. They’re easy to prep ahead and bake when you’re ready to party.
Ingredients
1 pound lean ground beef
1 package (1 oz) taco seasoning mix
1 can (10 oz) chopped tomatoes with green chiles, including the juice
2 cups grated cheddar cheese
1 bottle (8 oz) ranch sauce
5 packages (15-count each) frozen phyllo cup shells
Instructions
Preheat your oven to 350°F.
In a skillet over medium heat, brown the ground beef until fully cooked. Drain off any excess fat.
Add the taco seasoning and the can of tomatoes with green chiles to the beef. Stir and simmer the mixture for about 5 minutes to allow the flavors to meld.
In a large mixing bowl, stir together the grated cheddar cheese and ranch sauce. Add the taco mixture and mix until everything is well combined.
Fill each phyllo shell with a spoonful of the taco ranch mixture. Arrange them on a baking sheet.
Bake for 8 to 10 minutes if the phyllo shells are thawed. If they’re still frozen, bake for 10 to 13 minutes until heated through and the cheese is melted.
Notes
These bites can be assembled ahead of time and stored in the fridge until you’re ready to bake. They also freeze well for easy prep. Add a dash of hot sauce or chopped jalapeños to the mix for a spicy kick, or garnish with fresh cilantro or diced avocado before serving.


