

If your family is anything like mine, taco night is basically a weekly tradition—and for good reason. But every once in a while, I love flipping that tradition on its head and surprising everyone with something just a little different… and that’s exactly where these Cheesy Taco Sticks come in. Think of all your favorite taco flavors—savory seasoned beef, melty cheese, a bit of salsa—wrapped up in a golden, buttery crust that’s perfect for dipping and sharing.
These cheesy taco sticks are the kind of recipe that makes you say, “Why didn’t I think of this sooner?” They’re crispy on the outside, gooey on the inside, and come together in just 30 minutes. Whether you’re feeding hungry kids after school, putting out a platter for game day, or just want an easy dinner idea that doesn’t involve forks or knives, this recipe has you covered.
Now, I’ve made these for everything from tailgate parties to last-minute weeknight meals, and they never last long. The best part? You can totally make them your own. Add a little heat with jalapeños, swap in black beans for a vegetarian twist, or serve them up with a trio of dips to take things up a notch.
Let’s get into how to make them. I promise—it’s way easier than you’d think.

Ingredients You’ll Need
-
1 pound ground beef
-
1 tablespoon taco seasoning
-
½ cup salsa
-
1 tube refrigerated pizza dough
-
1½ cups shredded cheddar cheese or Mexican blend
-
1 egg, beaten (for egg wash)
-
1 tablespoon melted butter
-
½ teaspoon garlic powder
-
½ teaspoon dried oregano
-
Optional: sour cream or guacamole for dipping
STEP 1: PREP YOUR OVEN AND PAN
Preheat your oven to 400°F (200°C) and line a baking sheet with parchment paper. This makes cleanup a breeze and helps those taco sticks crisp up beautifully on the bottom.
STEP 2: MAKE THE TACO FILLING
Grab a skillet and cook your ground beef over medium heat until it’s fully browned. Drain off any extra grease (this helps avoid soggy dough later). Then stir in your taco seasoning and salsa. Let it all simmer together for about 2 to 3 minutes, until it thickens slightly. Give it a little time to cool—this step is key so the dough doesn’t get too soft or soggy when you fill it.
Tip: If you’re short on time, you can use pre-cooked taco meat or leftover taco filling from the night before.
STEP 3: PREP THE DOUGH
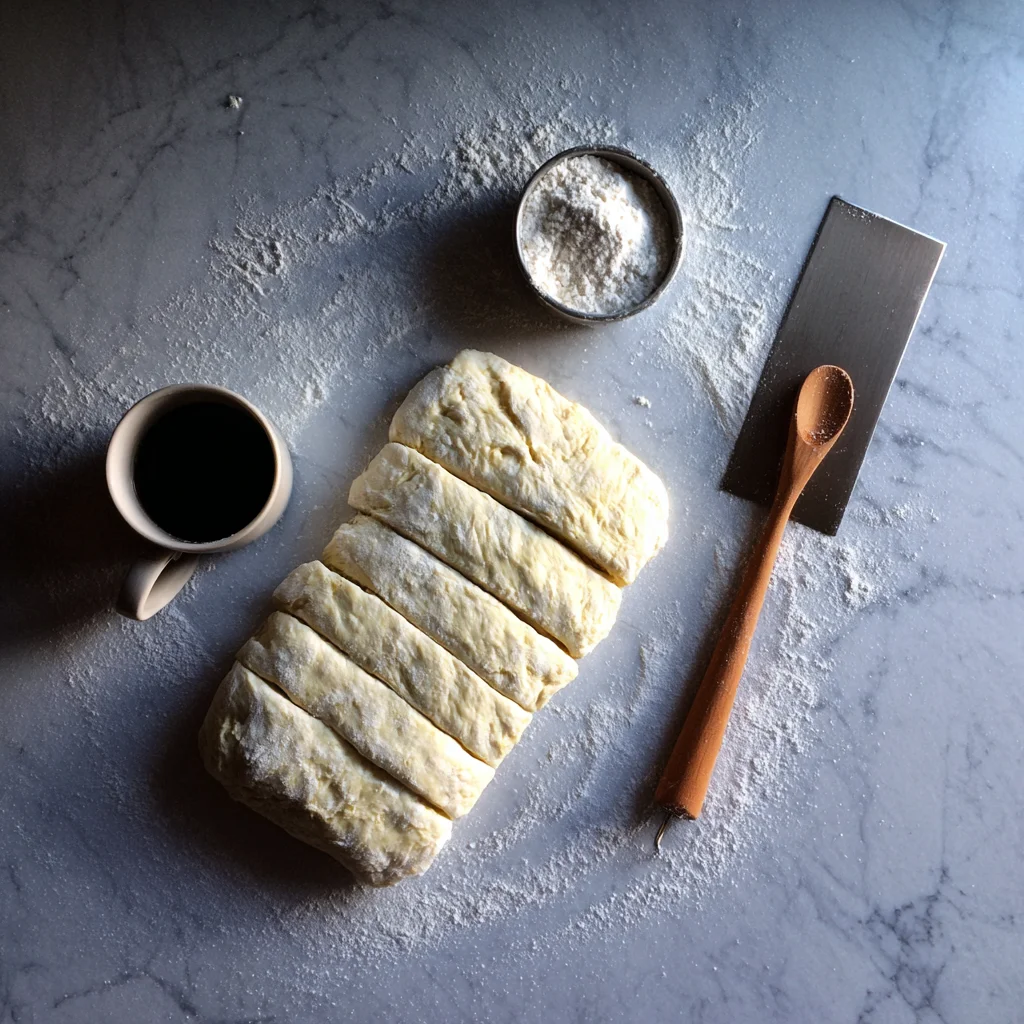
Now it’s time for the dough. Lightly flour your surface and roll out the refrigerated pizza dough into a rectangle. Try to keep it about ¼ inch thick so it bakes evenly. Then cut the dough into 6 to 8 equal pieces, depending on how big you want each taco stick.
STEP 4: FILL AND WRAP
Spoon a portion of the cooled taco meat onto the center of each dough rectangle. Then sprinkle on a generous amount of shredded cheese—this is what makes the inside so gooey and satisfying. Fold the dough over the filling like a burrito, pinch the edges to seal, and roll it gently into a stick shape. Place each one seam-side down on your prepared baking sheet.
STEP 5: ADD THE EGG WASH
Before baking, brush each taco stick with the beaten egg. This step gives them that beautiful, golden-brown shine and helps them crisp up just right.
Cheesy Taco Sticks: Baked to Golden, Gooey Perfection
Welcome back! Now that we’ve prepped and filled our taco sticks, it’s time to get them in the oven and finish them off with a buttery, herby topping that’s going to make your kitchen smell like heaven. This is where everything comes together—the dough gets golden and crispy, the cheese melts perfectly inside, and the flavor? Out of this world.
Whether you’re making these for a casual weeknight meal or prepping them ahead for a weekend get-together, this second part is where the magic happens. Let’s dive right into the final steps and talk about how to get that irresistible crunch on the outside with a melty, savory center.
STEP 6: BAKE UNTIL GOLDEN BROWN
With your taco sticks lined up on the baking sheet and brushed with egg wash, go ahead and slide them into your preheated oven. Bake for 12 to 15 minutes, or until the dough is puffed and golden brown.
You’re looking for a lightly crisp crust with no doughy spots—if the tops aren’t quite golden enough at the 12-minute mark, give them another minute or two. Every oven is a little different, so just keep an eye on them during the last few minutes.
STEP 7: BRUSH WITH SEASONED BUTTER
As soon as those taco sticks come out of the oven, don’t skip this step—it makes all the difference.
In a small bowl, mix together your melted butter, garlic powder, and dried oregano. Brush the tops of the warm taco sticks with this buttery mixture right after they come out of the oven. Not only does this add a rich flavor, but it gives them that irresistible, slightly glossy finish.
Bonus Tip: Want even more flavor? Try adding a pinch of chili powder or smoked paprika to the butter mix for a little kick.
STEP 8: COOL SLIGHTLY AND SERVE
Let the taco sticks cool for 5 to 10 minutes before serving. This helps the filling set slightly, so it doesn’t ooze out when you take a bite (and trust me, it’s worth the wait).
Serve them up with sour cream, guacamole, or even a side of extra salsa for dipping. These are incredibly satisfying on their own, but dipping takes things to the next level.
Tips and Variations to Try
One of the best parts about this recipe is how easy it is to customize. Here are a few fun twists you can try depending on what you have in your fridge—or what your family loves most.
-
Switch Up the Cheese: Mexican blend, pepper jack, or even mozzarella work well here. Want more heat? Try shredded chipotle cheddar.
-
Add More Fillings: Toss in some black beans, corn, or finely chopped jalapeños with the meat mixture.
-
Make It Vegetarian: Use plant-based ground meat or replace the beef with sautéed mushrooms and black beans.
-
Spice It Up: A dash of hot sauce or some crushed red pepper flakes can bring the heat for spice-lovers.
-
Mini Version for Parties: Cut the dough into smaller rectangles and make bite-sized taco sticks—perfect for appetizers.
How to Store and Reheat Leftovers
If you happen to have any taco sticks left (which doesn’t happen often in my house), they store really well!
-
In the Fridge: Let them cool completely, then store in an airtight container in the fridge for up to 3 days.
-
To Reheat: Pop them in the oven at 350°F for about 10 minutes or use the air fryer for that fresh-out-of-the-oven crisp.
-
To Freeze: Wrap individually in foil or plastic wrap and store in a freezer bag. Reheat straight from frozen in the oven at 375°F for 15-20 minutes.
These make an awesome grab-and-go lunch or late-night snack once they’re prepped ahead.

Cheesy Taco Sticks: FAQs and Final Thoughts
By now, your kitchen probably smells amazing and you’ve got a tray of golden, cheesy taco sticks ready to go. Whether you’ve already snuck a bite (no judgment here!) or you’re planning to serve them at your next gathering, this final part covers some of the most common questions I get about this recipe.
From dough swaps to freezing tips, here’s everything you might be wondering—plus a few tricks to help make your taco sticks turn out just right every time.
Frequently Asked Questions
Can I use homemade pizza dough instead of store-bought?
Absolutely! If you’ve got a favorite homemade dough recipe, it’ll work beautifully here. Just be sure to roll it out to about ¼ inch thick and let it rest a bit if it starts to spring back while shaping.
Can I make these taco sticks ahead of time?
Yes! You can assemble the taco sticks a few hours ahead and store them in the fridge (covered) until you’re ready to bake. You may need to add an extra minute or two to the baking time if they’re going into the oven cold.
What other meats can I use besides ground beef?
These are super versatile. Ground turkey, chicken, or even shredded rotisserie chicken tossed with taco seasoning will work. Just make sure the filling isn’t too watery or it might make the dough soggy.
Do I need to use egg wash?
The egg wash helps the dough get that golden, shiny crust, but if you’re out of eggs, you can use a little milk or cream brushed on top as an alternative. It won’t be quite as glossy but will still brown nicely.
How do I keep the cheese from leaking out?
Make sure to seal the dough well—pinch the seams firmly and place the taco sticks seam-side down on the baking sheet. Letting the filling cool slightly before wrapping also helps prevent leaks.
Can I freeze these after baking?
Yes! Once cooled, wrap the taco sticks individually in plastic wrap and store in a freezer-safe bag. They’ll keep for up to 2 months. Reheat in the oven or air fryer (not the microwave) to keep them crispy.
What dipping sauces go best with cheesy taco sticks?
Sour cream and guacamole are my go-tos, but you can also try spicy ranch, queso dip, or chipotle mayo. If you’re making them for a crowd, set out a few dip options for variety.
Final Thoughts
Cheesy Taco Sticks are the kind of recipe that once you try, you’ll find yourself coming back to again and again. They’re everything we love about tacos—melty, seasoned, satisfying—wrapped up in a fun, portable form that even picky eaters can’t resist.
They also happen to be a total lifesaver on busy nights. With just 30 minutes start to finish and ingredients that are easy to keep on hand, they’ve quickly become one of my favorite “in-a-pinch” meals. And the fact that you can tweak them with whatever you’ve got in the fridge? Even better.
If you make a batch (and I really hope you do), be sure to leave a comment and let me know how it went—or what fun twist you tried! Did you go spicy with jalapeños? Add black beans? Serve them with a creamy queso dip? I’d love to hear about it.
Print
Cheesy Taco Sticks
- Author: Sophia
Description
Cheesy Taco Sticks are a fun and satisfying twist on taco night, combining seasoned ground beef, melted cheese, and soft pizza dough into hand-held, dippable sticks. These are perfect as a party appetizer, after-school snack, or quick dinner everyone will love. They’re crispy on the outside, gooey on the inside, and full of bold Tex-Mex flavor.
Ingredients
1 pound ground beef
1 tablespoon taco seasoning
½ cup salsa
1 tube refrigerated pizza dough
1½ cups shredded cheddar cheese or Mexican blend
1 egg, beaten (for egg wash)
1 tablespoon melted butter
½ teaspoon garlic powder
½ teaspoon dried oregano
Optional: sour cream or guacamole for dipping
Instructions
1 Preheat the oven to 400°F (200°C) and line a baking sheet with parchment paper.
2 In a skillet over medium heat, cook the ground beef until browned. Drain any excess grease. Stir in the taco seasoning and salsa. Cook for another 2 to 3 minutes until the mixture thickens slightly. Let it cool for a few minutes.
3 Roll out the pizza dough on a lightly floured surface into a rectangle. Cut the dough into 6 to 8 equal pieces, depending on the size you want.
4 Spoon a portion of the taco meat onto the center of each piece of dough, then top with shredded cheese.
5 Fold the sides of the dough over the filling and pinch to seal, forming a log or stick shape. Place seam-side down on the prepared baking sheet.
6 Brush each stick with beaten egg for a golden finish.
7 Bake for 12 to 15 minutes or until golden brown and cooked through.
8 While they bake, mix the melted butter with garlic powder and oregano. As soon as the taco sticks come out of the oven, brush them with the seasoned butter.
9 Let them cool slightly before serving with sour cream or guacamole.
Notes
You can customize these taco sticks with your favorite fillings, such as black beans, jalapeños, or pepper jack cheese. Store leftovers in the fridge and reheat in the oven or air fryer for best results. These also freeze well, making them a great make-ahead snack or lunchbox option.


