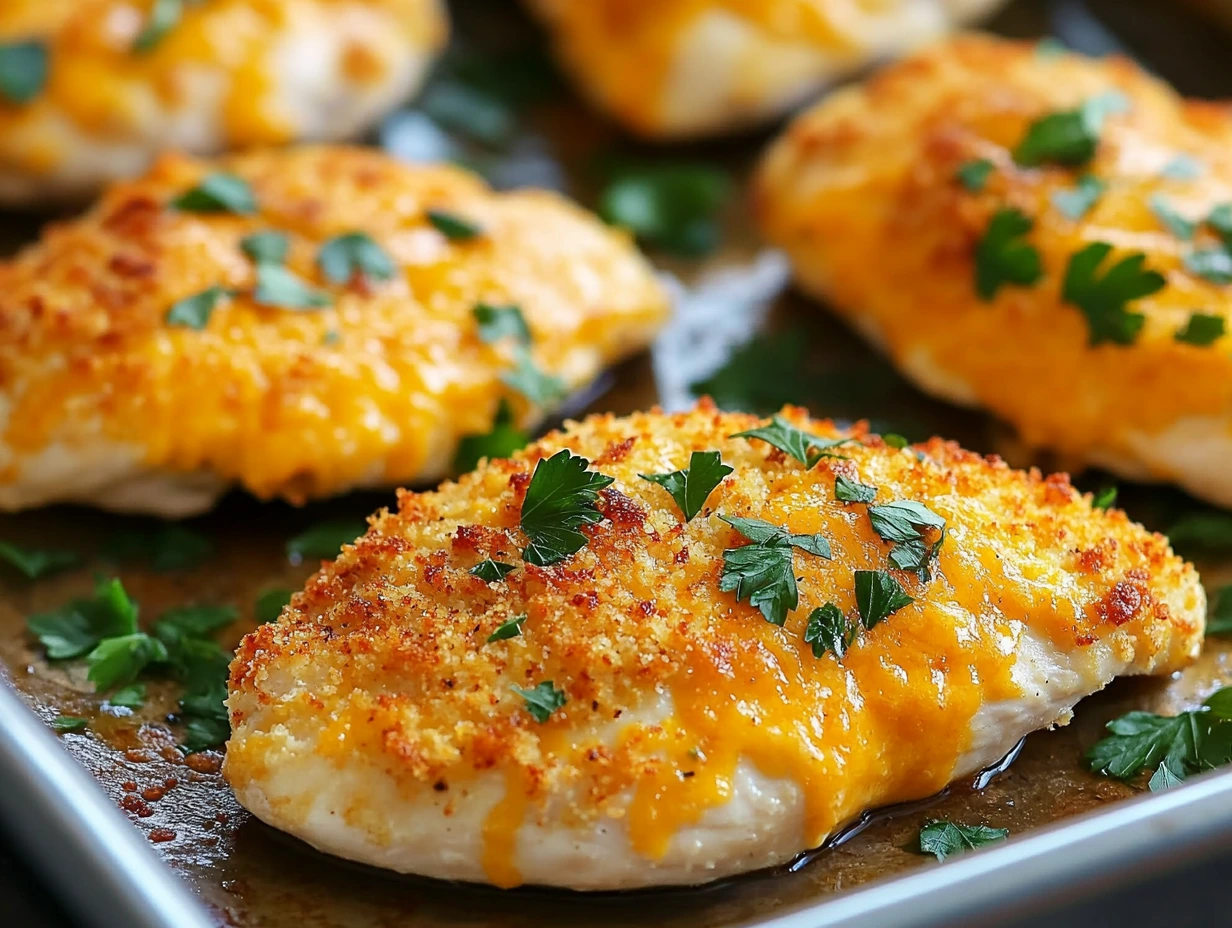
When it comes to easy, delicious, and crowd-pleasing dinners, Crispy Cheddar Chicken hits the mark every single time. This dish combines juicy chicken with a crunchy, cheesy crust that’s bursting with flavor. If you’ve been searching for a recipe that’s equal parts comforting and impressive, you’re in the right place.
Let me tell you, this chicken dish holds a special place in my heart—and kitchen! The blend of cheddar cheese and panko breadcrumbs creates a crust that’s perfectly crispy on the outside and tender on the inside. Add to that the irresistible aroma of garlic and paprika, and you’ll see why this recipe is a hit for weeknight meals and dinner parties alike.
So, grab your apron, and let’s dive into this mouthwatering creation. Trust me, you’re going to want to save this one!
What Makes Crispy Cheddar Chicken So Special?
Before we jump into the recipe, let’s talk about why this dish is such a winner. First off, it’s versatile. You can pair it with just about any side—mashed potatoes, roasted veggies, or even a simple green salad. Second, the ingredients are simple, likely items you already have in your pantry. And finally, the technique is foolproof, so even if you’re not a kitchen pro, you’ll nail this dish on the first try.
Ingredients You’ll Need
Here’s a quick rundown of what you’ll need to get started:
- 4 boneless, skinless chicken breasts
- 2 cups cheddar cheese, shredded
- 1 cup milk
- 1 cup panko breadcrumbs
- 1 teaspoon garlic powder
- 1 teaspoon paprika
- 1/2 teaspoon salt
- 1/2 teaspoon black pepper
- 2 tablespoons fresh parsley, chopped (for garnish)
Step 1: Preheat and Prep
First things first, preheat your oven to 375°F (190°C). While the oven is heating up, take a moment to lightly grease a baking sheet or line it with parchment paper. This little step ensures easy cleanup later—and trust me, you’ll appreciate it after enjoying this delicious dinner.
Step 2: Create the Ultimate Coating
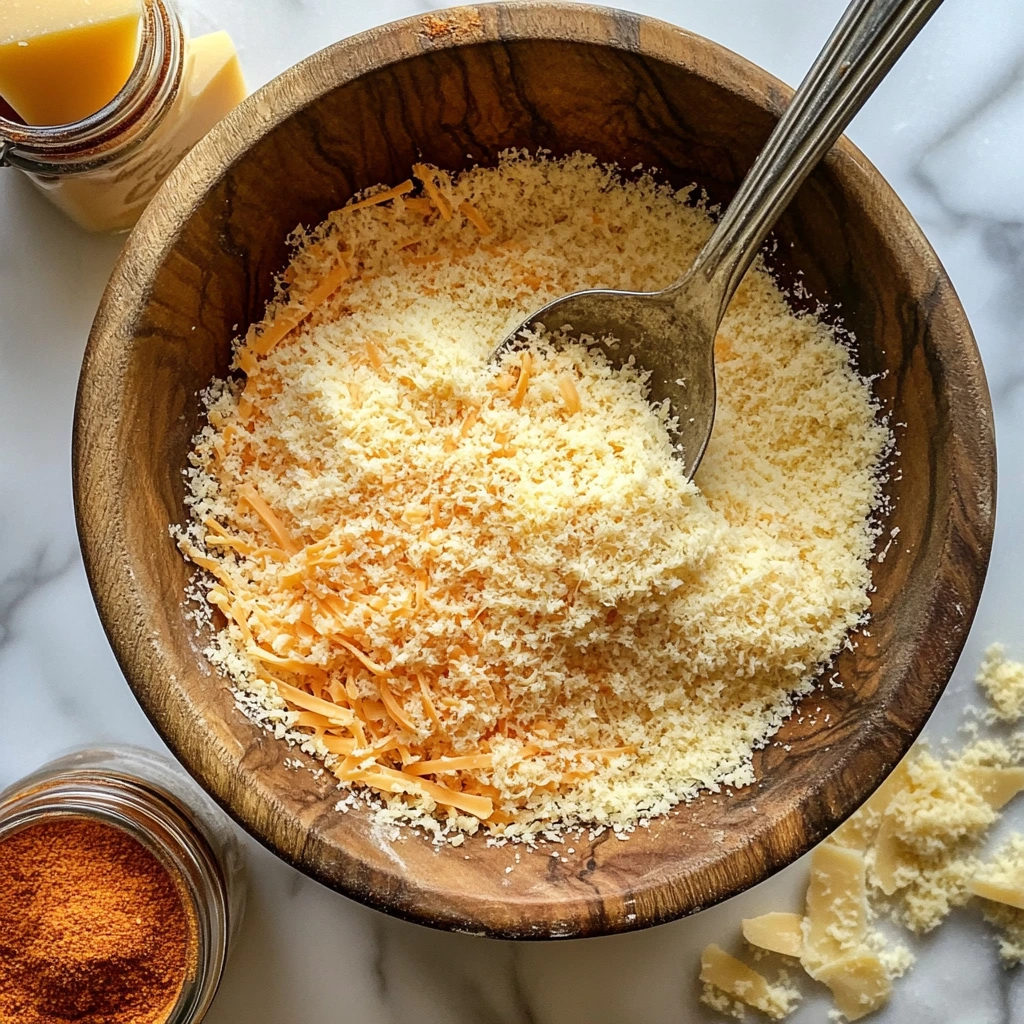
In a shallow bowl, combine the shredded cheddar cheese, panko breadcrumbs, garlic powder, paprika, salt, and black pepper. Mix everything together until you have an even blend. This cheesy, seasoned mixture is what makes the chicken irresistibly crispy.
Step 3: Dip and Dredge
Next, pour the milk into another shallow bowl. Dip each chicken breast into the milk, making sure it’s fully coated. Then, dredge the chicken in the breadcrumb and cheese mixture. Press the coating firmly onto the chicken so it sticks well. Pro tip: Don’t rush this step! The better the coating sticks, the crispier your chicken will be.

Step 4: Ready for the Oven
Place the coated chicken breasts on your prepared baking sheet, spacing them out to allow for even cooking. Pop the tray into the oven and bake for 35-40 minutes. You’ll know the chicken is ready when it reaches an internal temperature of 165°F (74°C) and the coating is golden brown and crispy.

How to Perfect Your Crispy Cheddar Chicken Every Time
Now that your Crispy Cheddar Chicken is in the oven, let’s dive into some tips and tricks to ensure it turns out perfectly golden and flavorful. Baking chicken might seem simple, but a few small adjustments can make all the difference in texture and taste. Whether you’re cooking for family, friends, or just yourself, these tips will help you nail this recipe every single time.
Step 5: Watch the Oven Magic
As your chicken bakes, your kitchen will start to fill with the irresistible aroma of cheesy goodness. Set your timer for 35 minutes and check on the chicken at this point. Depending on your oven, it might need an extra 5 minutes to get that gorgeous golden-brown crust.
Pro Tip: If the cheese coating isn’t as crispy as you’d like, switch to the broil setting for the last 1-2 minutes. Keep a close eye on it to prevent burning—you’re going for crispy, not charred!
Tips for Crispy Coating Success
Achieving that signature crunch isn’t just about the ingredients; it’s also about technique. Here are a few secrets to making sure your chicken is perfectly crispy:
- Dry the Chicken First: Pat the chicken breasts dry with paper towels before dipping them in the milk. This helps the coating stick better.
- Double Dredge for Extra Crunch: If you want an even thicker crust, dip the chicken in the milk and breadcrumb mixture twice. Just be sure to press the coating firmly on the chicken each time.
- Use a Wire Rack: For ultimate crispiness, place the coated chicken on a wire rack set over your baking sheet. This allows heat to circulate around the chicken, ensuring an even, crunchy coating.
Let’s Talk Sides: Perfect Pairings for Crispy Cheddar Chicken
One of the best things about this dish is its versatility. You can pair it with a variety of sides to create a balanced meal that satisfies everyone at the table. Here are a few ideas to get you started:
- Mashed Potatoes: The creamy texture of mashed potatoes is the perfect complement to the crispy chicken.
- Roasted Vegetables: Try roasting carrots, asparagus, or Brussels sprouts with olive oil, garlic, and a pinch of salt.
- Green Salad: A crisp, refreshing salad with a tangy vinaigrette cuts through the richness of the chicken beautifully.
- Garlic Bread: For a truly indulgent meal, serve the chicken with warm, buttery garlic bread.

Variations to Try
Once you’ve mastered the classic version of Crispy Cheddar Chicken, you can easily customize it to suit your taste. Here are some fun twists to experiment with:
- Spicy Kick: Add a teaspoon of cayenne pepper to the breadcrumb mixture for a spicy twist.
- Herb Lover’s Delight: Mix in dried herbs like thyme, rosemary, or Italian seasoning to the coating for an herby flavor boost.
- Cheese Swap: Use Parmesan or a blend of cheeses for a different cheesy profile.
Step 6: Garnish and Serve
When your chicken comes out of the oven, sprinkle it with freshly chopped parsley for a pop of color and freshness. Not only does this make the dish look extra inviting, but it also adds a subtle herbal note that ties everything together.
Serve the chicken hot with your chosen sides, and watch as your family or guests dig in with delight. The crunchy coating and juicy chicken are guaranteed to make this a recipe you’ll return to again and again.
Crispy Cheddar Chicken FAQ and Final Thoughts
You’ve mastered the recipe, but there’s always room for questions when it comes to creating the perfect dish. In this final part, I’ll address some common questions to help you feel even more confident in making Crispy Cheddar Chicken. Then, we’ll wrap things up with some final thoughts and encouragement to make this recipe a staple in your home.
FAQ: Your Crispy Cheddar Chicken Questions Answered
1. How can I prevent the coating from falling off the chicken?
The key is in the prep! Make sure the chicken breasts are dry before dipping them in milk, and press the breadcrumb mixture firmly onto the chicken. Double dredging can also help the coating stick better.
2. Can I use regular breadcrumbs instead of panko?
Yes, you can substitute regular breadcrumbs, but panko breadcrumbs give a lighter, crispier texture. If using regular breadcrumbs, consider mixing them with some crushed cornflakes for added crunch.
3. Is there a way to make this dish gluten-free?
Absolutely! Swap out the panko breadcrumbs for gluten-free breadcrumbs or crushed gluten-free crackers. Just make sure your other ingredients, like the spices, are also certified gluten-free.
4. Can I make this recipe with chicken thighs instead of breasts?
You sure can! Boneless, skinless chicken thighs work wonderfully. Just adjust the cooking time as thighs may take a bit longer to reach an internal temperature of 165°F (74°C).
5. What’s the best way to reheat leftovers?
To maintain the crispy coating, reheat the chicken in an oven or air fryer at 350°F (175°C) for about 10-15 minutes. Avoid microwaving, as it can make the coating soggy.
6. Can I prepare the chicken ahead of time?
Yes! You can coat the chicken and refrigerate it (covered) for up to 4 hours before baking. This is a great option for meal prepping or entertaining.
7. What’s the best way to store leftovers?
Store leftover chicken in an airtight container in the refrigerator for up to 3 days. For longer storage, freeze the cooked chicken in a freezer-safe container for up to 2 months.
Conclusion: Why Crispy Cheddar Chicken Deserves a Spot on Your Table
There’s something magical about a recipe that combines simplicity, flavor, and versatility. Crispy Cheddar Chicken checks all the boxes, making it a must-have in your dinner rotation. It’s a dish that’s perfect for busy weeknights yet impressive enough for guests. Plus, the combination of cheesy crunch and tender chicken is irresistible to even the pickiest eaters.
Print
Crispy Cheddar Chicken
- Author: Sophia
- Total Time: 45-50 minutes
Description
Golden and crunchy on the outside, juicy and flavorful on the inside—this Crispy Cheddar Chicken is a family favorite! Perfectly seasoned and coated with a cheesy breadcrumb crust, it’s as simple to make as it is delicious.
Ingredients
- 4 boneless, skinless chicken breasts
- 2 cups cheddar cheese, shredded
- 1 cup milk
- 1 cup panko breadcrumbs
- 1 teaspoon garlic powder
- 1 teaspoon paprika
- 1/2 teaspoon salt
- 1/2 teaspoon black pepper
- 2 tablespoons fresh parsley, chopped (for garnish)
Instructions
1️⃣ Preheat the Oven:
Preheat your oven to 375°F (190°C) and lightly grease a baking sheet or line it with parchment paper.
2️⃣ Prepare the Coating:
In a shallow bowl, combine the shredded cheddar cheese, panko breadcrumbs, garlic powder, paprika, salt, and black pepper. Mix well.
3️⃣ Dip and Coat the Chicken:
Pour the milk into another shallow bowl. Dip each chicken breast into the milk to moisten, then dredge it in the breadcrumb and cheese mixture. Press the coating firmly onto the chicken to ensure it sticks well.
4️⃣ Arrange for Baking:
Place the coated chicken breasts onto the prepared baking sheet, spacing them evenly to allow for even cooking.
5️⃣ Bake to Perfection:
Bake the chicken for 35-40 minutes, or until the internal temperature of the chicken reaches 165°F (74°C) and the coating is golden and crispy.
6️⃣ Garnish and Serve:
Remove the chicken from the oven and sprinkle with chopped parsley. Serve hot with your favorite sides, such as roasted vegetables, mashed potatoes, or a crisp salad.
Notes
- Make It Your Own: Add a pinch of cayenne pepper for a spicy kick or substitute Parmesan cheese for a sharper flavor.
- Air Fryer Option: Cook the coated chicken in an air fryer at 375°F (190°C) for 15-18 minutes, flipping halfway, for a crispier crust.
- Storage Tip: Leftovers can be stored in an airtight container in the fridge for up to 3 days. Reheat in the oven or air fryer to maintain crispiness.
- Prep Time: 10 minutes
- Cook Time: 35-40 minutes
Nutrition
- Serving Size: 4


