There’s something magical about a plate of crispy, golden-brown chicken tenders fresh out of the oven. They’re nostalgic yet versatile, a crowd-pleaser for kids and adults alike. This recipe for homemade baked chicken tenders is not only delicious but also healthier than the fried version—perfect for family dinners, gatherings, or just a cozy night at home.
I remember the first time I made these chicken tenders; the aroma of garlic and paprika wafting through the kitchen was irresistible. My family couldn’t wait to dig in, and trust me, there were no leftovers that night! Let’s dive into this easy, step-by-step recipe that guarantees tender, crispy bites every single time.
Why You’ll Love This Recipe
- Healthier Alternative: Baking instead of frying means less oil and guilt-free indulgence.
- Customizable: Add your favorite spices or herbs for a personal twist.
- Quick and Easy: Perfect for busy weeknights or impromptu cravings.
Ingredients You’ll Need
For the Chicken:
- 1 lb chicken breasts or chicken tenders (cut into 1-inch strips if using chicken breasts)
For the Breading:
- 2 large eggs, beaten
- 1 cup panko breadcrumbs (or regular breadcrumbs)
- ½ cup grated Parmesan cheese (optional, for extra flavor)
- 1 tsp garlic powder
- 1 tsp paprika
- ½ tsp onion powder
- ½ tsp salt
- ¼ tsp black pepper
For Baking:
- Olive oil spray
Step 1: Preparing the Chicken
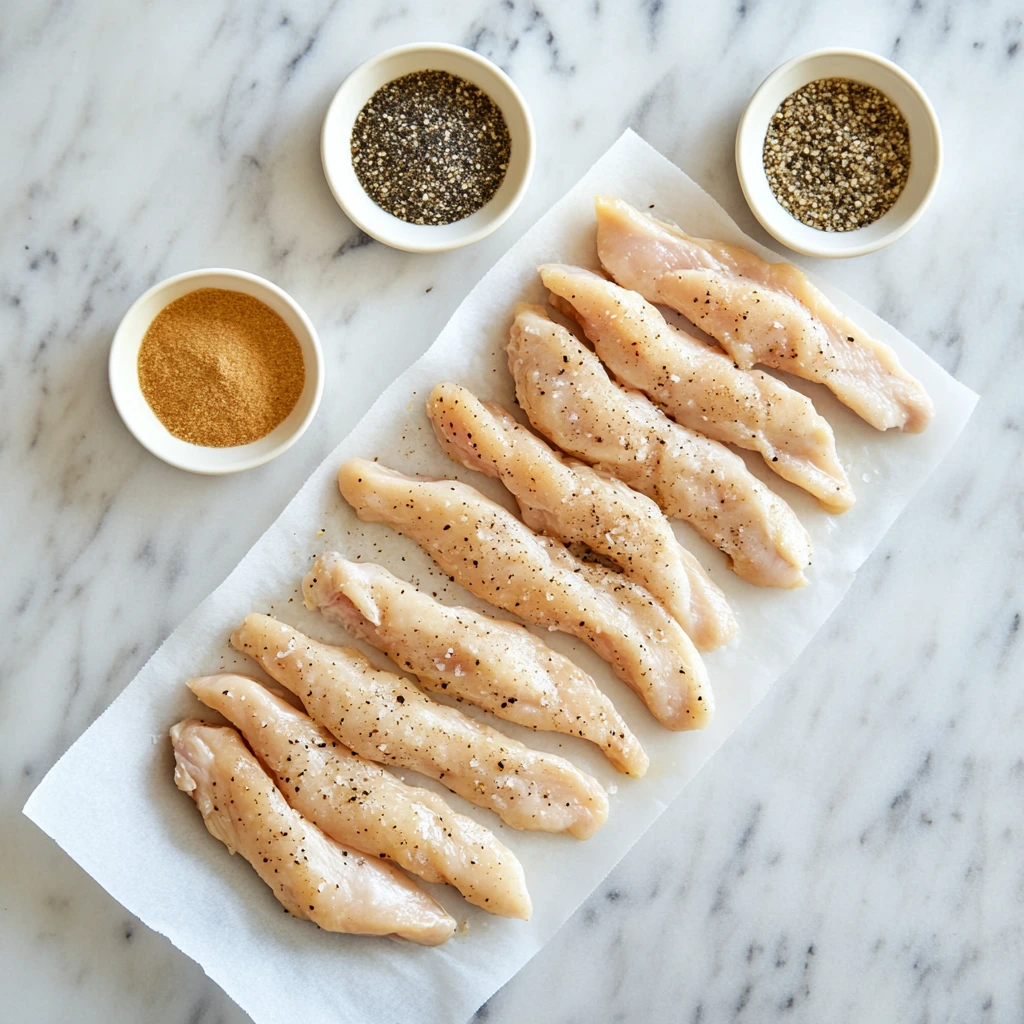
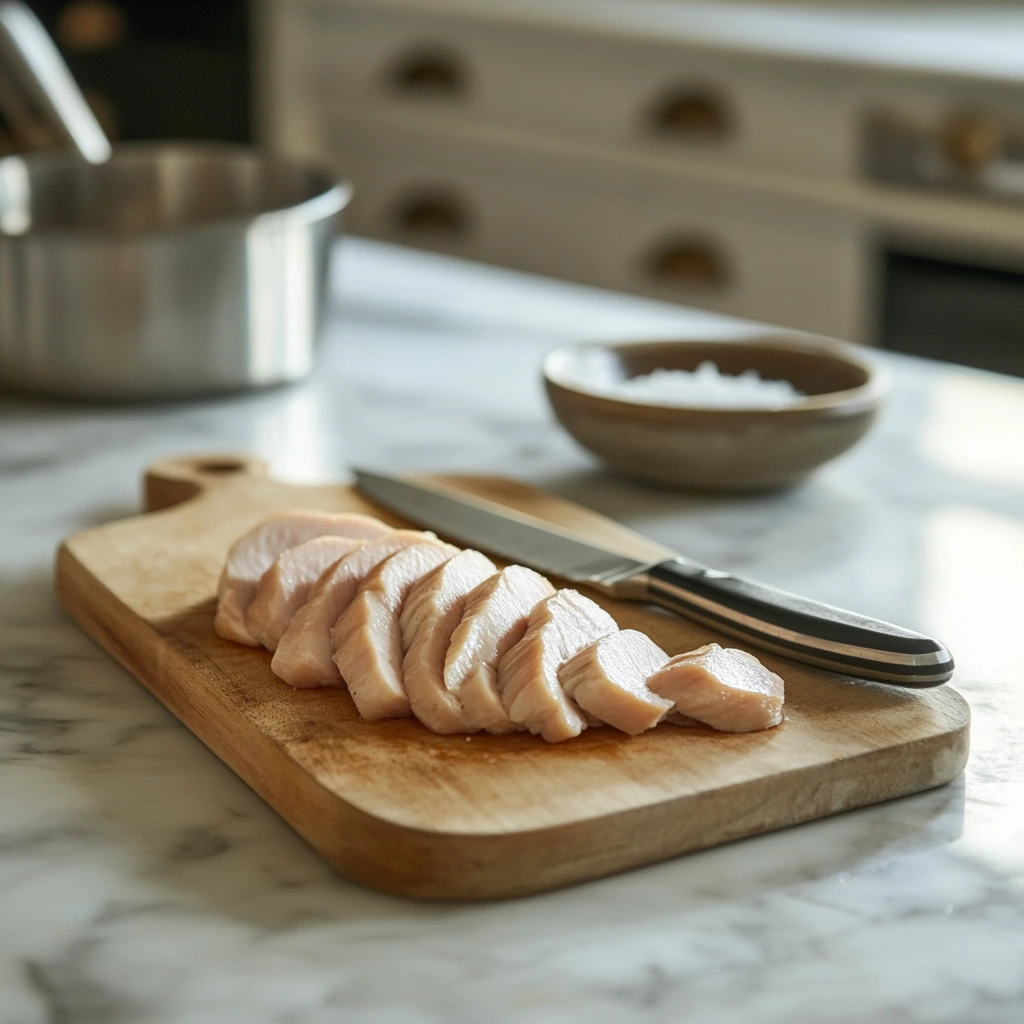
If you’re using chicken breasts, slice them into 1-inch-wide strips. Chicken tenders can be used straight out of the package. Season the chicken lightly with a pinch of salt and pepper. This simple step enhances the natural flavor of the chicken and sets the stage for the seasoning-packed breading.
Step 2: Setting Up the Breading Stations
Here’s where the magic begins! Grab two shallow bowls:
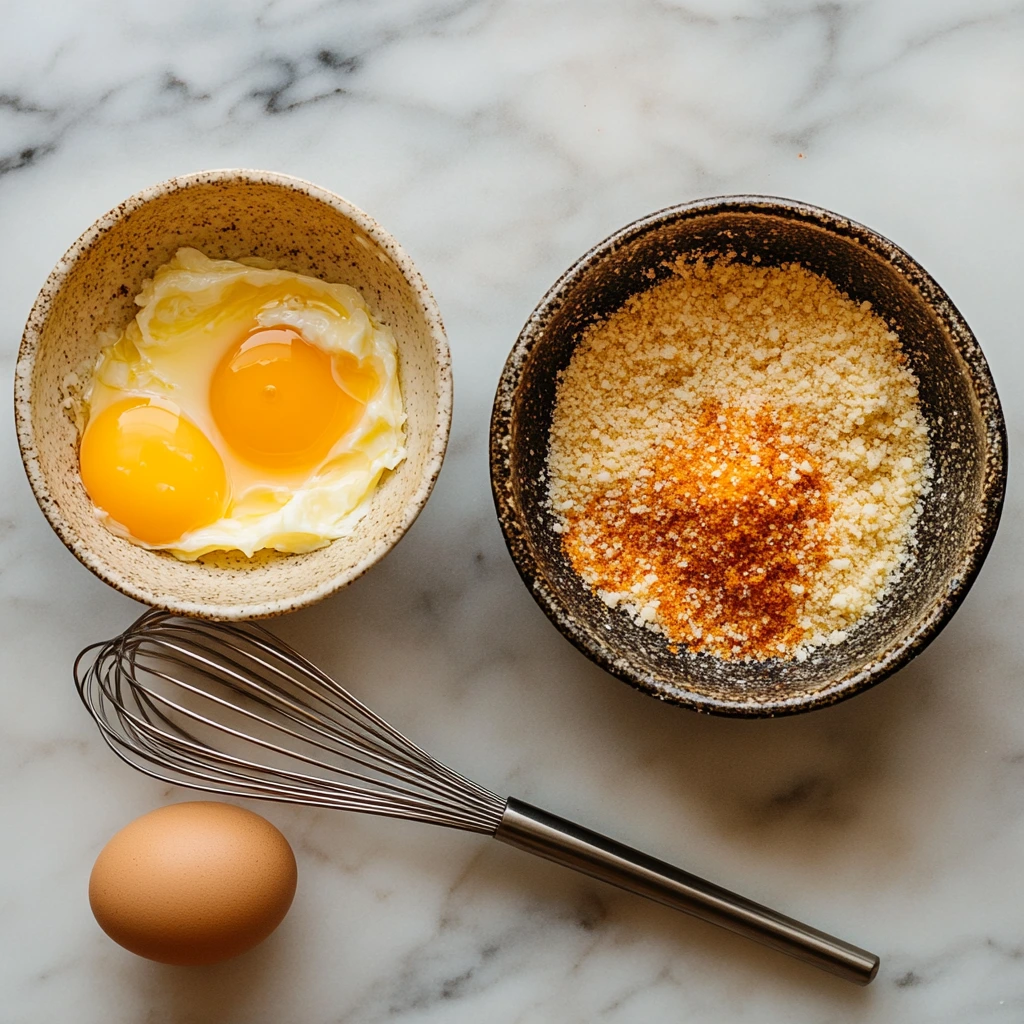
- Beat two large eggs in one bowl until smooth.
- In another bowl, mix together the breadcrumbs, Parmesan cheese, garlic powder, paprika, onion powder, salt, and black pepper. If you’re feeling adventurous, this is where you can add a pinch of cayenne for heat or some dried herbs like parsley or oregano.

Step 3: The Breading Process
Dip each chicken strip into the beaten egg, letting any excess drip off. Next, coat the chicken in the breadcrumb mixture. Press gently to ensure every inch is covered in that deliciously seasoned crust. For an extra-crispy finish, double-coat the tenders by repeating the egg and breadcrumb steps. Yes, it’s worth it!

Step 4: Prepping for the Oven
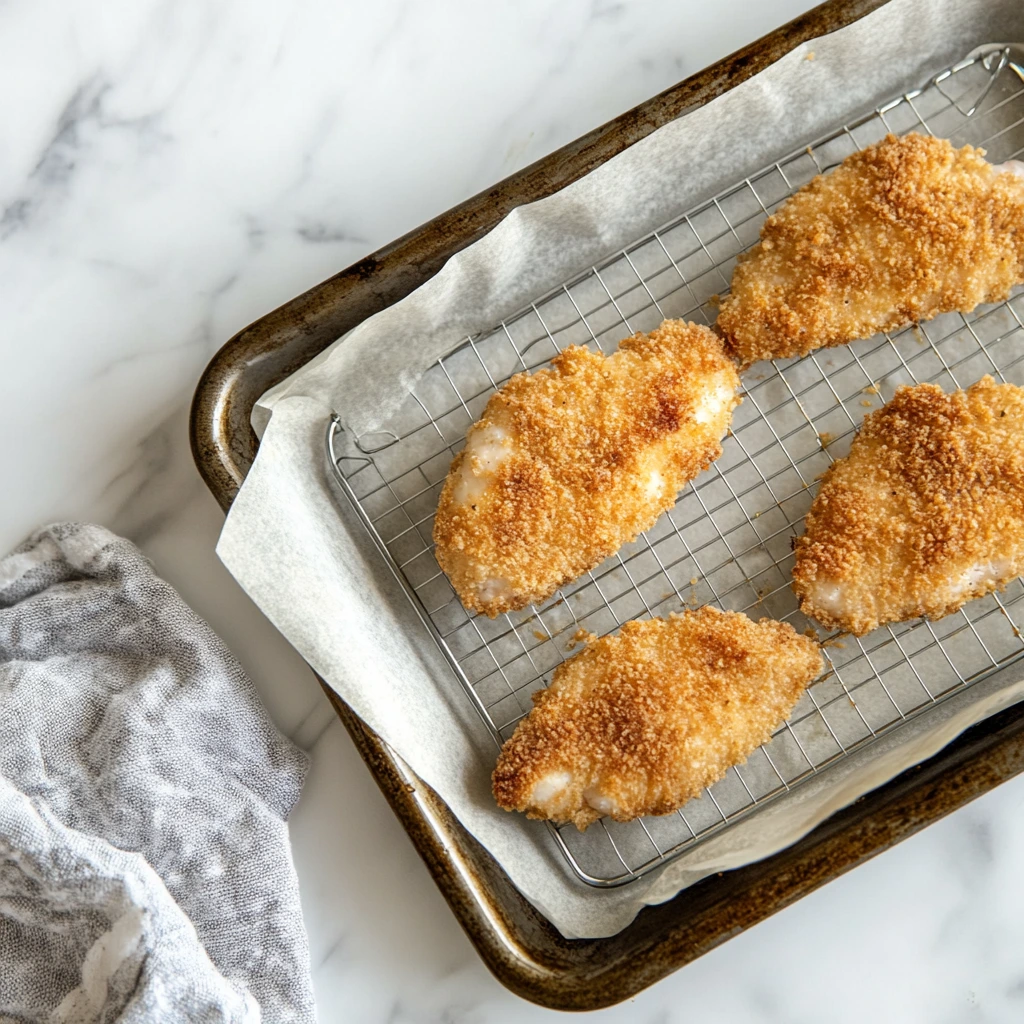
Line a baking sheet with parchment paper or a silicone baking mat for easy cleanup. If you have a wire rack, place it on top of the baking sheet—this allows air to circulate under the chicken for an evenly crispy result. Arrange the breaded chicken tenders on the baking sheet, leaving a bit of space between each piece.
Step 5: Baking to Perfection
Preheat your oven to 400°F (200°C). Before placing the chicken in the oven, lightly spray the tenders with olive oil spray. This step helps achieve that golden-brown color and crispy texture without frying.

Crispy Homemade Baked Chicken Tenders
Now that you’ve prepped your chicken tenders and they’re ready to bake, let’s dive into the cooking process and some tips to make this recipe foolproof. By the end of this section, you’ll have perfectly crispy tenders that are ready to serve with your favorite sauces and sides.
Step 6: Baking the Chicken Tenders
It’s time to transform those breaded chicken strips into golden, crispy perfection. Here’s how:
- Place the baking sheet in the preheated oven (400°F or 200°C).
- Bake for 20–25 minutes, flipping the tenders halfway through. This ensures even browning on both sides.
- For extra crispiness, turn on the broiler for the last 1–2 minutes of baking. Keep a close eye to prevent overbrowning.
To ensure your chicken is cooked safely, use a meat thermometer to check the internal temperature. It should reach 165°F (74°C) at the thickest part of the tender.
Pro Tips for Perfect Chicken Tenders
- Use Panko for Extra Crunch: Panko breadcrumbs are larger and crispier than regular breadcrumbs, giving your tenders a delightful texture.
- Don’t Overcrowd the Pan: Leave space between each piece to allow hot air to circulate. Crowding the pan can lead to soggy breading.
- Olive Oil Spray Is Key: A light spritz before baking helps the breading crisp up beautifully without the need for frying.
- Double-Coat for Crunch: If you have the time, dip each piece in the egg and breadcrumb mixture twice. It’s a game-changer!

Serving Ideas: Take Your Tenders to the Next Level
Crispy chicken tenders are delicious on their own, but pairing them with the right accompaniments makes them irresistible. Here are some ideas to elevate your meal:
Dipping Sauces
- Classic Choices: Honey mustard, ranch dressing, BBQ sauce, or ketchup.
- Something Different: Try a spicy sriracha mayo, garlic aioli, or even a tangy sweet chili sauce.
Sides
- For a light and fresh option, pair your tenders with a crisp side salad or roasted vegetables.
- Craving comfort food? Serve them alongside mac and cheese or seasoned potato wedges.
- Hosting a party? Create a platter with tenders, sauces, and veggies for an easy, crowd-pleasing appetizer.
Variations to Try
If you’re feeling creative, here are a few ways to put your own spin on this recipe:
- Spicy Chicken Tenders: Add cayenne pepper or chili powder to the breadcrumb mixture for a fiery kick.
- Herb-Infused Tenders: Mix dried herbs like parsley, thyme, or rosemary into the breading for an earthy flavor.
- Gluten-Free Option: Substitute regular breadcrumbs with gluten-free panko or almond flour for a gluten-friendly version.
- Cheese Lovers’ Delight: Add shredded cheddar or mozzarella to the breading mixture for gooey, cheesy tenders.
How to Make Ahead and Store
Preparing in Advance
- Bread the chicken tenders and place them on the baking sheet. Cover with plastic wrap and refrigerate for up to 24 hours before baking.
- You can also freeze breaded tenders for up to 3 months. Freeze them on a tray first, then transfer to a freezer bag for storage.
Storing Leftovers
- Store cooked chicken tenders in an airtight container in the fridge for up to 3 days.
- To reheat, bake in the oven at 350°F (175°C) for 8–10 minutes, or until heated through. This keeps the breading crispy.
Crispy Homemade Baked Chicken Tenders
Your chicken tenders are baked, golden, and ready to devour. But before we wrap up, let’s address some frequently asked questions and share a few final tips to ensure this recipe becomes a go-to in your kitchen. Whether you’re serving these tenders as a main dish, appetizer, or snack, they’re bound to be a hit.
Frequently Asked Questions
1. Can I use an air fryer instead of an oven?
Absolutely! Air fryers are a fantastic way to get crispy chicken tenders without extra oil. Preheat your air fryer to 375°F (190°C) and cook the tenders for 10–12 minutes, flipping halfway through. They’ll come out perfectly crispy and golden.
2. What if I don’t have panko breadcrumbs?
No problem! Regular breadcrumbs work fine, though the texture will be slightly less crispy. For a creative twist, you can use crushed cornflakes, pretzels, or even potato chips as a coating.
3. Can I make these tenders dairy-free?
Yes, skip the Parmesan cheese in the breading. For a richer flavor, you can add nutritional yeast or your favorite dairy-free cheese substitute.
4. How do I know when the chicken is fully cooked?
The safest way to check is by using a meat thermometer. The internal temperature of the thickest part of the tender should read 165°F (74°C). No thermometer? Cut into a tender; the meat should be white and juices should run clear.
5. Can I freeze cooked chicken tenders?
Definitely! Place cooked tenders on a baking sheet in a single layer and freeze until solid. Transfer them to a freezer-safe bag and store for up to 3 months. Reheat in the oven or air fryer to restore crispiness.
6. What’s the best way to reheat leftovers?
To maintain the crispy texture, reheat in an oven at 350°F (175°C) for 8–10 minutes. Avoid microwaving, as it can make the breading soggy.
7. Can I use this recipe for other proteins?
Yes! This breading technique works wonderfully with fish fillets, shrimp, or even tofu for a vegetarian option.
Conclusion
There you have it—a recipe for Crispy Homemade Baked Chicken Tenders that’s as easy as it is delicious. These tenders are a healthier take on a beloved classic, perfect for weeknight dinners, game-day snacks, or any time you’re craving something crispy and satisfying. The best part? You can customize them endlessly to suit your family’s preferences.
Print
Crispy Homemade Baked Chicken Tenders
- Author: Sophia
- Total Time: 40 minutes
Description
These crispy baked chicken tenders are juicy on the inside and crunchy on the outside, making them the perfect healthier alternative to fried tenders. Packed with flavor from the seasoned breadcrumb coating, they’re a hit with kids and adults alike!
Ingredients
- For the chicken:
- 1 lb chicken breasts or chicken tenders (cut into 1-inch strips if using chicken breasts)
- For the breading:
- 2 large eggs, beaten
- 1 cup panko breadcrumbs (or regular breadcrumbs)
- ½ cup grated Parmesan cheese (optional, for extra flavor)
- 1 tsp garlic powder
- 1 tsp paprika
- ½ tsp onion powder
- ½ tsp salt
- ¼ tsp black pepper
- For baking:
- Olive oil spray
Instructions
1️⃣ Prep the Chicken:
If using chicken breasts, slice them into 1-inch wide strips. Chicken tenders can be used as is.
2️⃣ Prepare the Breading Stations:
In a shallow bowl, beat the eggs until smooth.
In another shallow bowl, mix together the breadcrumbs, Parmesan cheese (if using), garlic powder, paprika, onion powder, salt, and black pepper.
3️⃣ Season the Chicken:
Lightly season the chicken strips with a pinch of salt and pepper.
4️⃣ Bread the Chicken:
Dip each chicken strip into the beaten egg, letting the excess drip off.
Coat the chicken strip in the breadcrumb mixture, pressing gently to ensure the coating adheres.
For extra crunch, repeat the egg and breadcrumb dipping process (double coating).
5️⃣ Prepare the Baking Sheet:
Line a baking sheet with parchment paper or a silicone baking mat for easy cleanup.
Place a wire rack on top of the baking sheet if available; this allows for even air circulation and a crispier result.
6️⃣ Arrange the Chicken on the Baking Sheet:
Lay the breaded chicken tenders on the prepared baking sheet or wire rack, ensuring space between each piece for even cooking.
7️⃣ Bake the Chicken Tenders:
Preheat your oven to 400°F (200°C).
Lightly spray the tenders with olive oil spray for added crispiness.
Bake for 20–25 minutes, flipping halfway through. The tenders should be golden brown and crispy.
Ensure the chicken reaches an internal temperature of 165°F (74°C) for safety.
8️⃣ Serve and Enjoy:
Remove the tenders from the oven and let them rest for 2–3 minutes.
Serve warm with your favorite dipping sauces like honey mustard, BBQ sauce, or ranch dressing
Notes
- Custom Coating: Add a bit of grated lemon zest to the breadcrumb mixture for a zesty flavor twist.
- Storage: Store leftovers in an airtight container in the refrigerator for up to 3 days. Reheat in the oven at 375°F (190°C) to maintain crispiness.
- Freezer-Friendly: Bread the tenders, arrange them on a baking sheet, and freeze. Once frozen, transfer to a freezer bag. Bake from frozen at 400°F (200°C) for 30–35 minutes.
- Prep Time: 15 minutes
- Cook Time: 25 minutes
Nutrition
- Serving Size: 4


