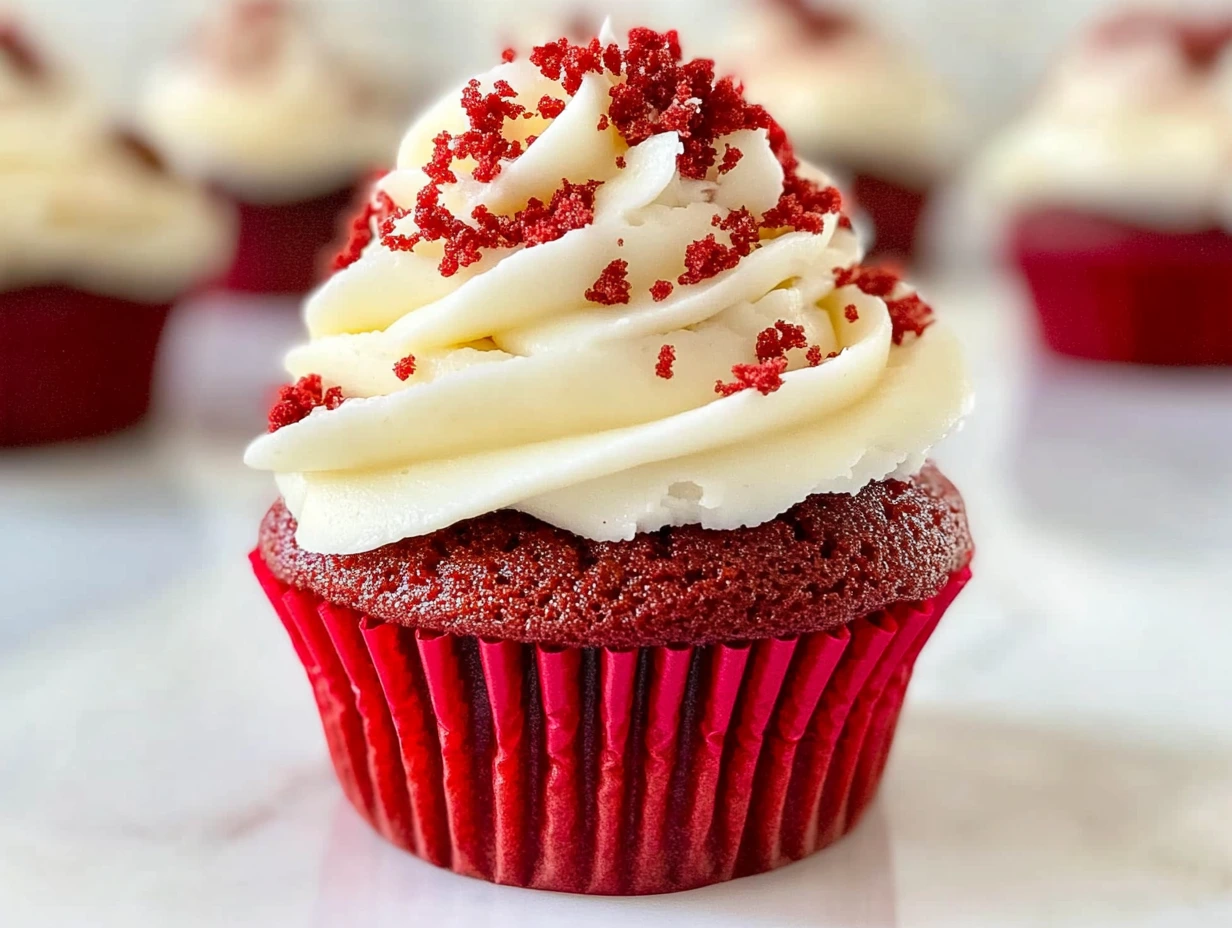
Who doesn’t love a good cupcake? Especially when it’s a red velvet cupcake—rich, moist, and topped with a luscious cream cheese frosting. These cupcakes are the perfect combination of beauty and taste, making them ideal for celebrations or as a sweet treat to brighten any day. Today, I’m sharing my tried-and-true recipe for red velvet cupcakes, guaranteed to win hearts and taste buds alike. Let’s dive into the magic of baking these show-stoppers from scratch.
Setting the Stage for Perfection
Ah, red velvet cupcakes—the dessert that’s equal parts classic and chic. What I love most about this recipe is how simple it is to whip up, yet the end result feels like a gourmet bakery creation. Whether you’re baking for a birthday, Valentine’s Day, or just because, these cupcakes never fail to impress.
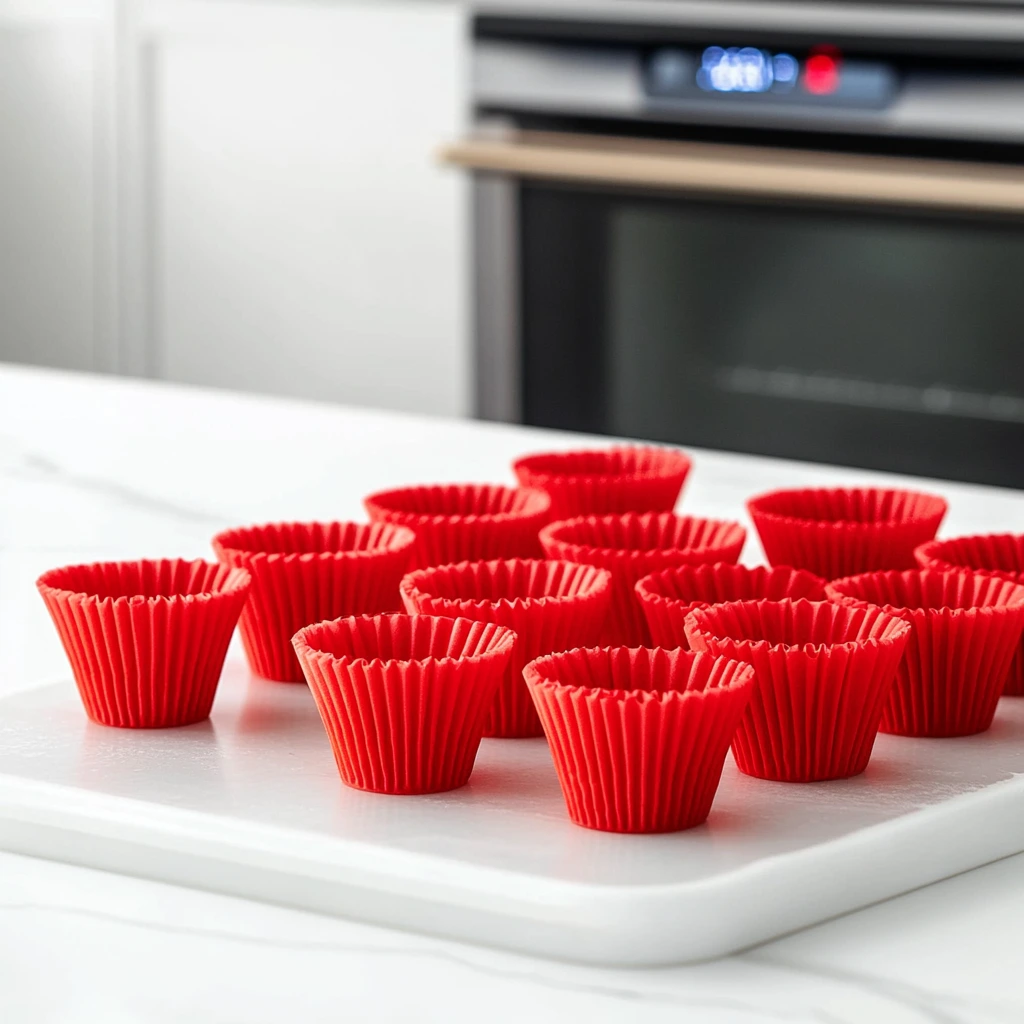
Before we jump into the nitty-gritty, let’s set up our baking game. The key to perfect cupcakes lies in preparation. Start by preheating your oven to 350°F (175°C) and line a 12-cup muffin tin with cupcake liners. This small step ensures easy cleanup and guarantees your cupcakes release effortlessly.
Step-by-Step Magic: Mixing the Dry Ingredients
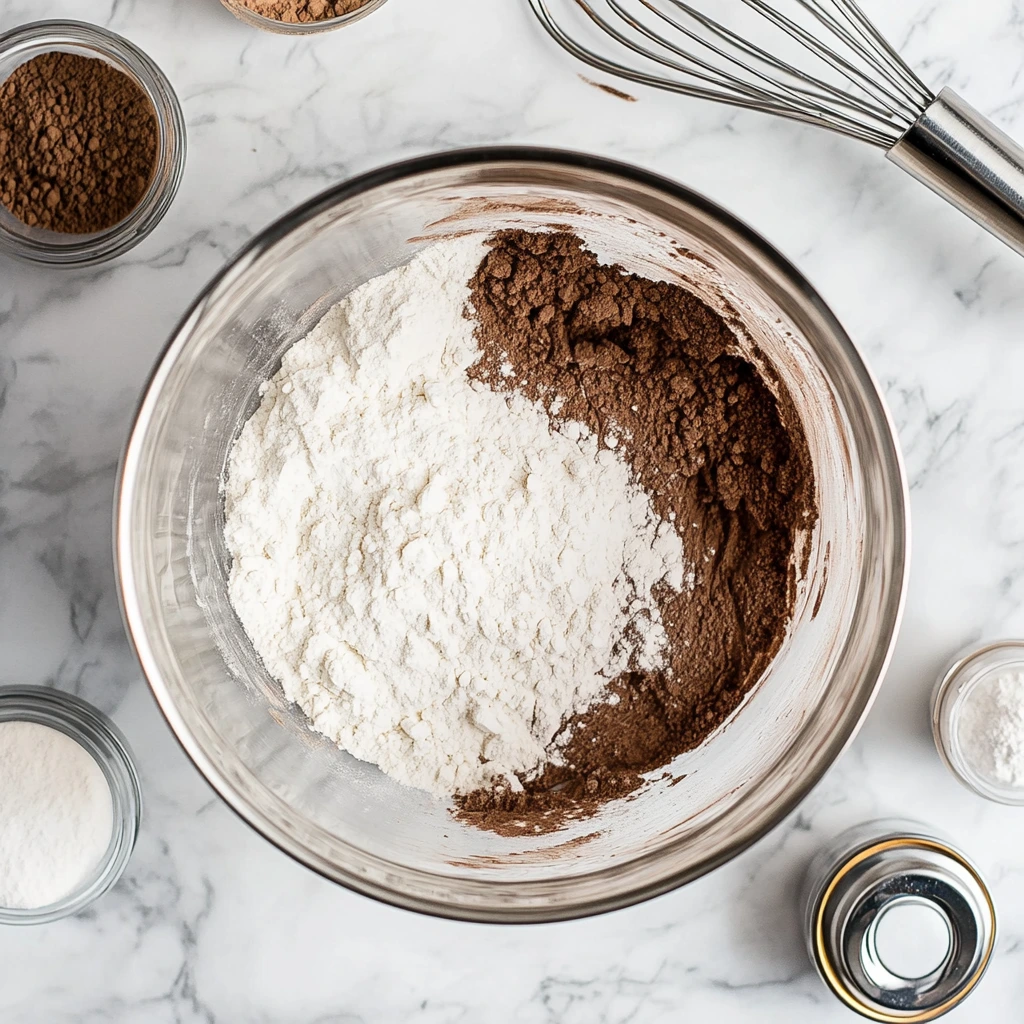
In a large mixing bowl, sift together the all-purpose flour, granulated sugar, unsweetened cocoa powder, baking soda, and salt. Sifting might seem like an extra step, but it’s worth it—it removes lumps and ensures all the dry ingredients are evenly combined. Think of this as the foundation of your cupcakes. A whisk or spatula will help blend the ingredients seamlessly, so no surprise pockets of cocoa powder sneak into your batter later.
The Secret to Moist Cupcakes: The Wet Ingredients
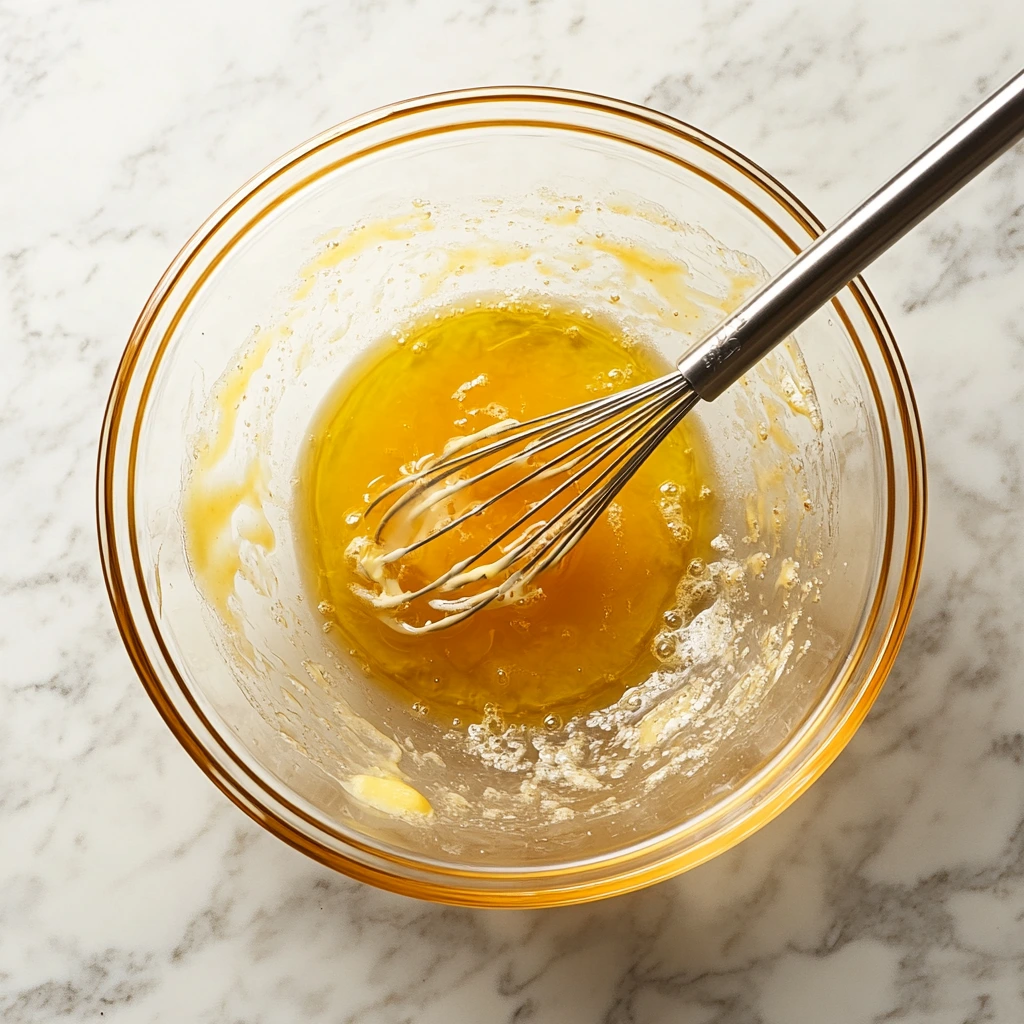
Now for the wet ingredients—the real heroes of this recipe! In another bowl, whisk together vegetable oil, buttermilk, a large egg, vanilla extract, and white vinegar. These ingredients work together to create a batter that’s not only smooth but also guarantees a tender crumb. Buttermilk is especially important, as it adds a slight tang while helping activate the baking soda for that perfect rise.
Adding the Pop of Red
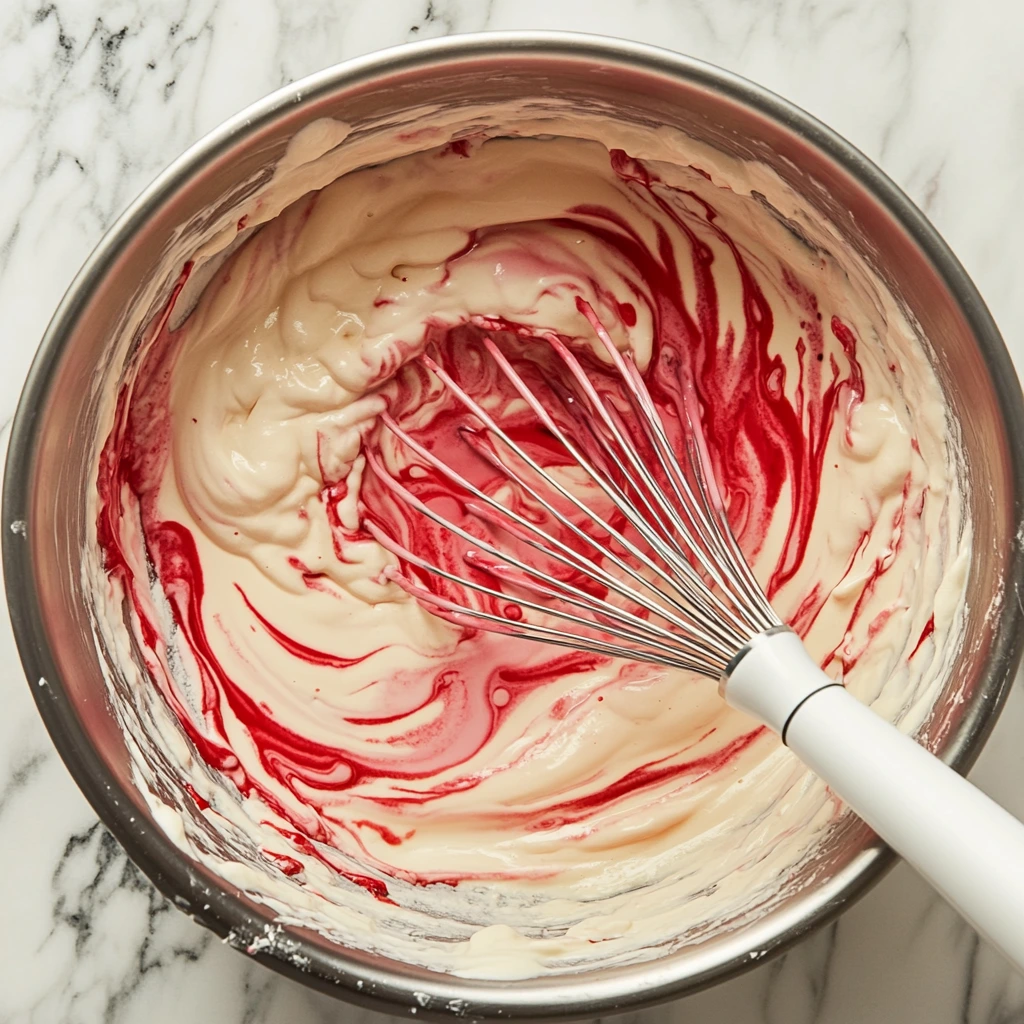
No red velvet cupcake is complete without its signature hue. Here’s where the red food coloring comes in. Stir 1–2 teaspoons of liquid or gel coloring into the wet ingredients until you achieve the shade you want. Pro tip: Gel food coloring gives a more vibrant color without altering the consistency of the batter. It’s a small detail, but it makes all the difference.
Combining Wet and Dry Ingredients
Now it’s time to bring the magic together. Slowly pour the wet ingredients into the dry ingredients. Gently fold the mixture using a spatula, being careful not to overmix. Overmixing can lead to dense cupcakes, and nobody wants that! Your goal here is a smooth, velvety batter—hence the name, red velvet. The batter should be slightly thick but pourable.

Filling the Cupcake Liners
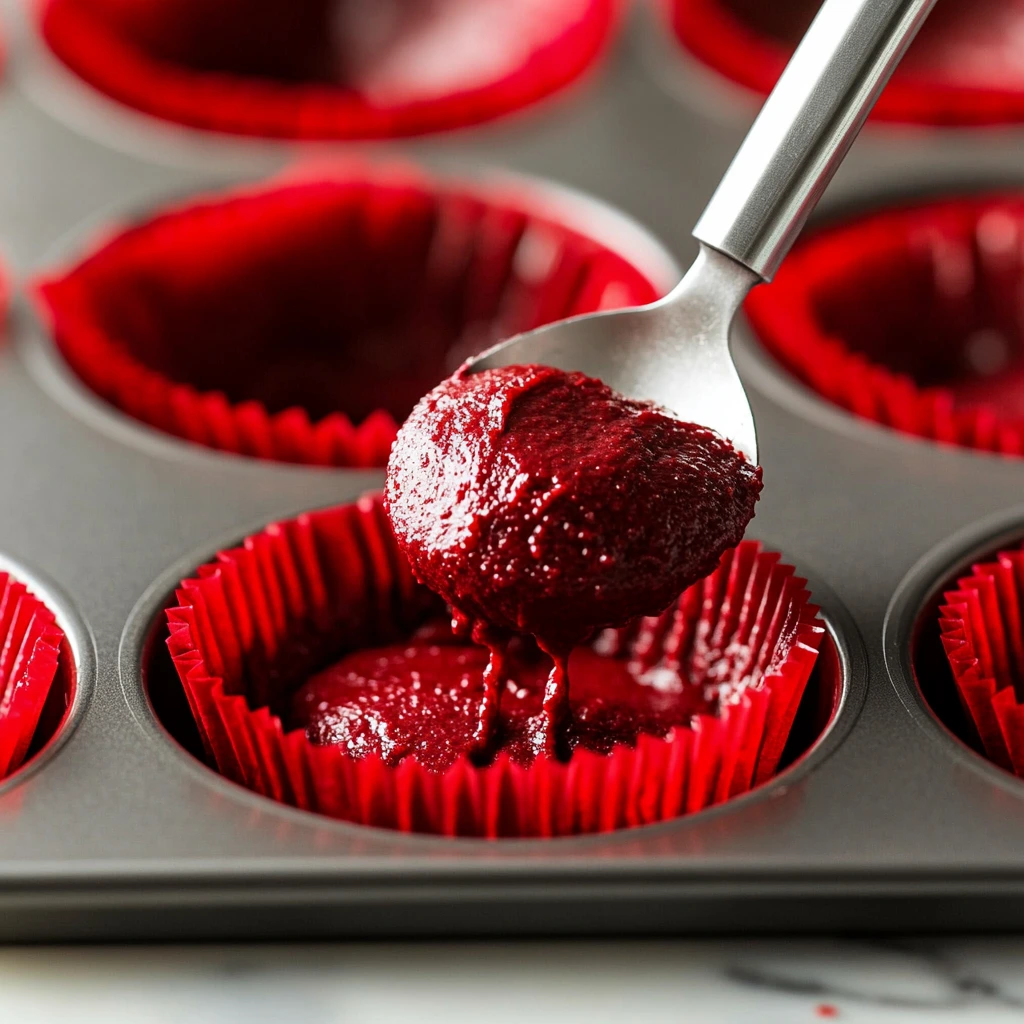
Divide the batter evenly among your cupcake liners, filling each about two-thirds full. This ensures the cupcakes have room to rise beautifully without spilling over. I like using an ice cream scoop for this step—it’s quick, mess-free, and gives you perfectly even cupcakes every time.
Into the Oven They Go!
Place your cupcake tin into the preheated oven and bake for 18–20 minutes. The smell of cocoa and vanilla wafting through your kitchen? Pure bliss. To check if the cupcakes are done, insert a toothpick into the center of one—it should come out clean or with just a few crumbs. Once done, let the cupcakes cool in the pan for about five minutes before transferring them to a wire rack to cool completely.
Crafting the Perfect Cream Cheese Frosting and Final Touches
So, your red velvet cupcakes are cooling on the wire rack, and your kitchen smells like a dream. Now comes the part that truly brings these cupcakes to life: the cream cheese frosting. There’s something so magical about the pairing of tangy, creamy frosting with the rich, cocoa-infused cupcake base. Let’s get started on making this irresistible topping.
Whipping Up the Dreamiest Cream Cheese Frosting
To make the cream cheese frosting, you’ll need just a handful of ingredients: unsalted butter, cream cheese, powdered sugar, vanilla extract, and a pinch of salt. Here’s the secret to achieving that silky, spreadable texture: start with room-temperature ingredients. This ensures your frosting comes together smoothly without any pesky lumps.
1️⃣ Beat the Butter and Cream Cheese
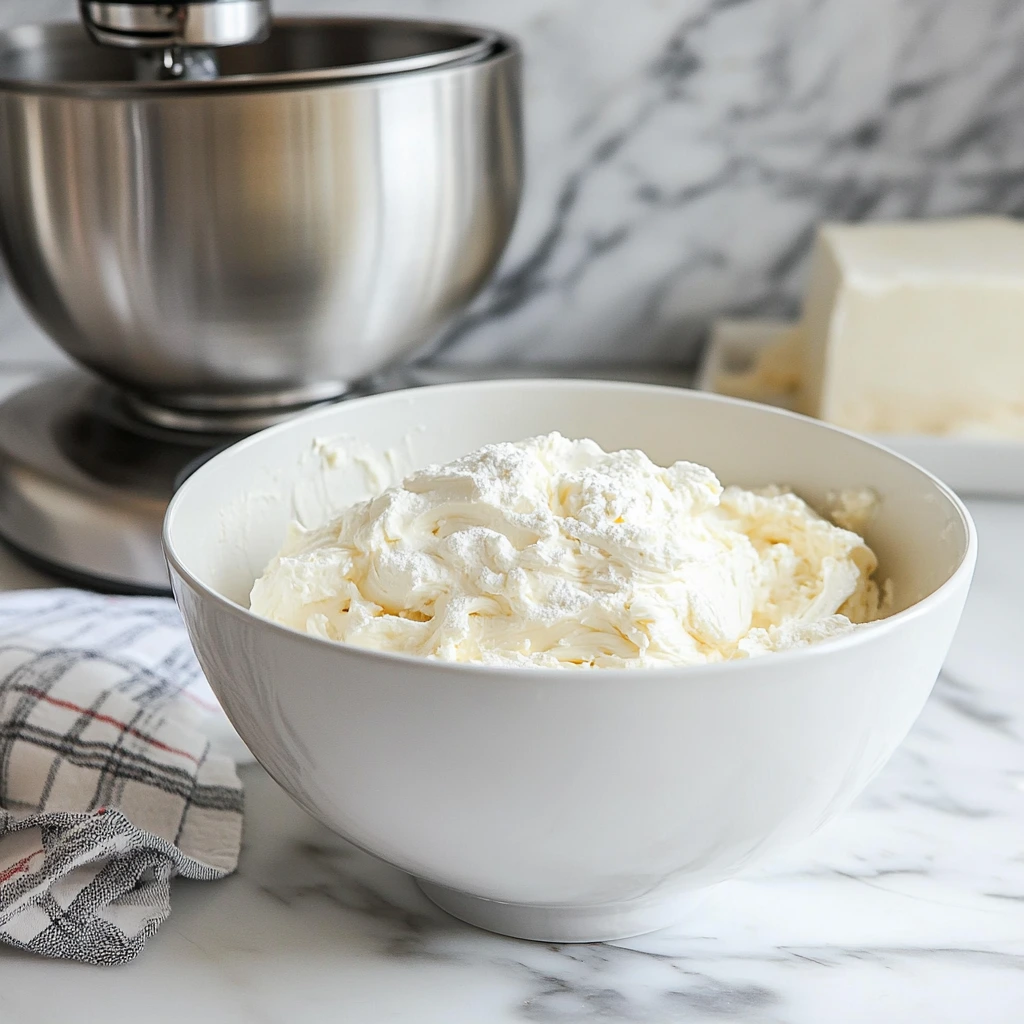
In a mixing bowl, combine 1 cup (230g) of unsalted butter and 8 oz (225g) of softened cream cheese. Using a hand mixer or stand mixer, beat the two together on medium speed until creamy and completely smooth. This step is crucial for creating the luxurious base of the frosting.
2️⃣ Add the Sweetness
Gradually add 4 cups (500g) of powdered sugar, one cup at a time, while mixing on low speed. Starting slowly prevents a powdered sugar explosion all over your kitchen—trust me, I’ve been there! Once all the sugar is incorporated, increase the mixer speed to high and beat for 2–3 minutes. The frosting should be fluffy and light.
3️⃣ Flavor Boost
Add 1 teaspoon of vanilla extract and a pinch of salt to enhance the flavor of the frosting. Mix until combined. At this point, feel free to give the frosting a little taste test (chef’s privilege!) and adjust the sweetness if necessary. If the frosting feels too thick, you can add a splash of milk or cream, one teaspoon at a time, until it reaches your desired consistency.
Frosting Your Red Velvet Cupcakes Like a Pro
Now that your frosting is ready and your cupcakes have cooled completely, it’s time to decorate. Trust me, you don’t want to rush this step—frosting warm cupcakes will cause the frosting to melt, and nobody wants that sad sight.
1️⃣ Choose Your Tools
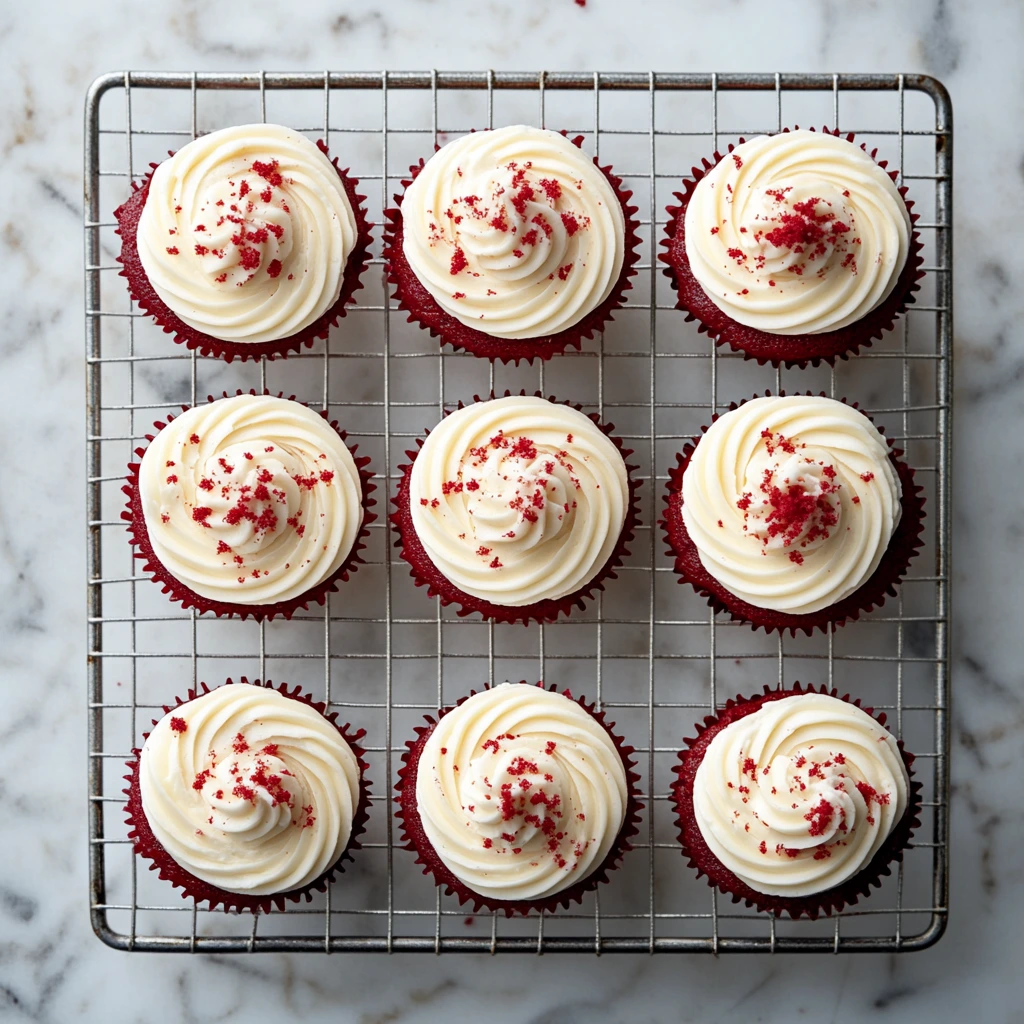
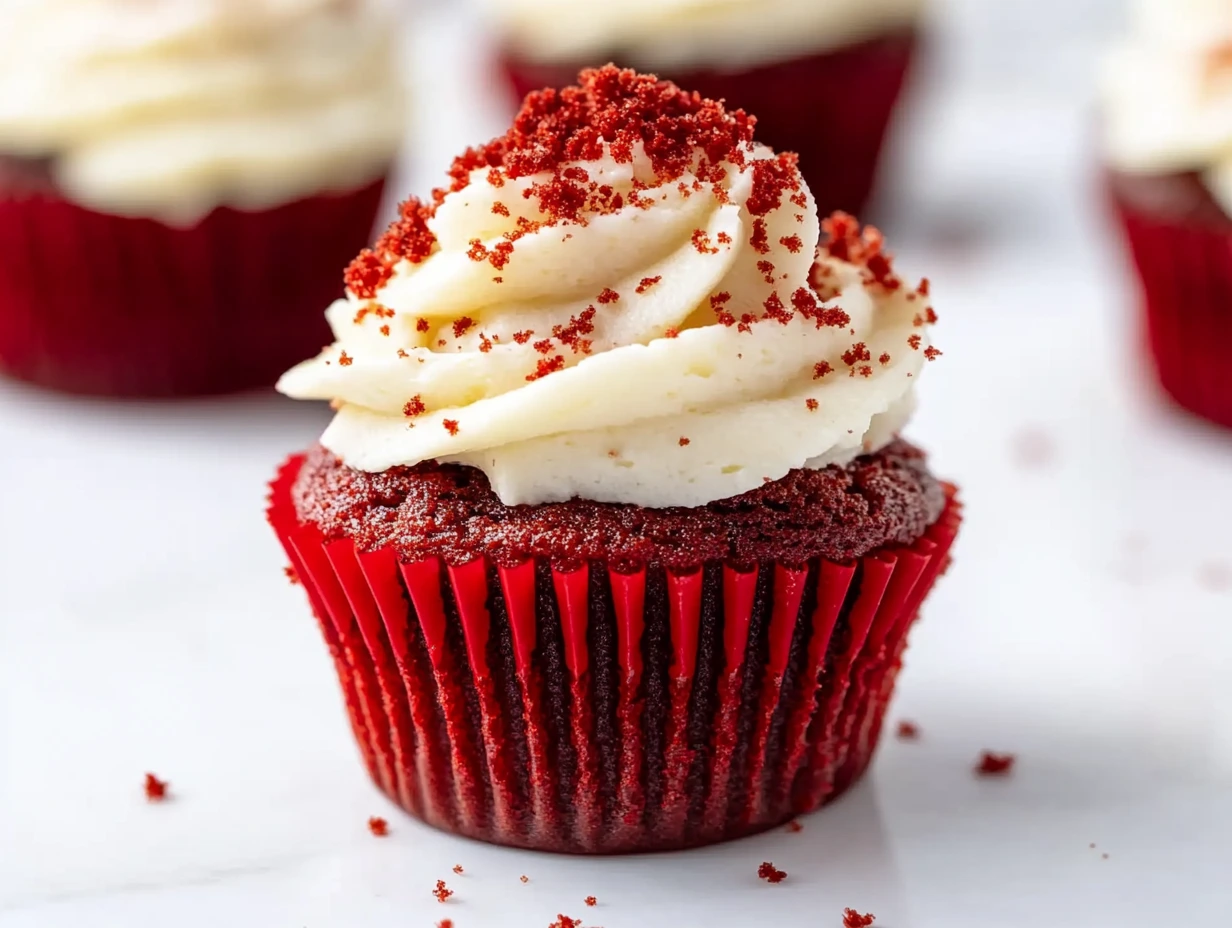
You can use a piping bag with your favorite tip (I love a star tip for those elegant swirls) or simply use a spatula for a more rustic, homey look. If you’re new to piping, don’t stress! Even a simple swirl on top of each cupcake looks stunning.
2️⃣ Frost Away
Fill your piping bag and start frosting from the outer edge of the cupcake, working your way toward the center. If you’re using a spatula, scoop a generous dollop of frosting onto each cupcake and spread it evenly over the top.
Time to Get Creative: Decorating Your Cupcakes
Now comes the fun part—decorating! Red velvet cupcakes are gorgeous on their own, but a few extra touches can make them truly special.
- Sprinkles: A dusting of colorful sprinkles or edible glitter adds a festive touch.
- Crumbs: Save some cupcake crumbs from trimming and sprinkle them lightly over the frosting for a classic red velvet look.
- Toppings: Add a small edible pearl, a chocolate heart, or even a slice of fresh strawberry for that extra wow factor.
Tips for Picture-Perfect Cupcakes
To ensure your cupcakes turn out bakery-worthy, here are a few insider tips:
1️⃣ Cool Completely: Frost only when the cupcakes are completely cool to avoid a frosting meltdown.
2️⃣ Consistent Frosting: If you’re using a piping bag, practice a few swirls on parchment paper first to get the hang of it.
3️⃣ Storage: These cupcakes are best enjoyed fresh, but you can store them in an airtight container in the refrigerator for up to three days. Just let them sit at room temperature for about 15 minutes before serving for the best flavor and texture.
FAQs and Final Thoughts on Red Velvet Cupcakes
Congratulations! By now, you’ve baked a batch of stunning red velvet cupcakes and topped them with the dreamiest cream cheese frosting. Before you dive into enjoying your creations, let’s address some frequently asked questions to make sure you get the most out of this recipe. Then, we’ll wrap up with a few parting thoughts.
Frequently Asked Questions About Red Velvet Cupcakes
Q1: Can I make these cupcakes ahead of time?
Absolutely! You can bake the cupcakes a day in advance and store them in an airtight container at room temperature. If you’ve frosted them, refrigerate them and let them come to room temperature before serving.
Q2: What’s the best way to achieve a vibrant red color?
Gel food coloring works best because it provides intense color without altering the batter’s consistency. If you only have liquid food coloring, you may need to use a bit more to achieve the same result.
Q3: Can I substitute buttermilk?
If you don’t have buttermilk on hand, you can make your own by adding 1 tablespoon of white vinegar or lemon juice to 1 cup of milk. Let it sit for 5 minutes before using.
Q4: How do I store leftover frosting?
Leftover frosting can be stored in an airtight container in the refrigerator for up to 5 days. Before using, let it soften at room temperature and give it a quick whip to restore its creamy texture.
Q5: Why are my cupcakes dry?
Overmixing the batter or overbaking the cupcakes can lead to dryness. Mix the ingredients until just combined, and check the cupcakes for doneness at the 18-minute mark to avoid overbaking.
Q6: Can I freeze these cupcakes?
Yes, you can freeze the unfrosted cupcakes. Wrap each one tightly in plastic wrap, then store them in an airtight container in the freezer for up to 3 months. Thaw them at room temperature and frost them when ready to serve.
Q7: Can I make these cupcakes gluten-free?
You can substitute the all-purpose flour with a 1-to-1 gluten-free baking flour. Ensure all other ingredients, such as the cocoa powder, are certified gluten-free.
Conclusion: A Sweet Treat Worth Sharing
Red velvet cupcakes are more than just a dessert—they’re a statement. Their bold color, subtle cocoa flavor, and luscious cream cheese frosting make them a crowd-pleaser for any occasion. Whether you’re celebrating a birthday, hosting a party, or simply indulging in a bit of self-care, these cupcakes are always the right choice.
What makes this recipe so special is how approachable it is. With just a few simple steps and everyday ingredients, you can create bakery-quality cupcakes in your own kitchen. Plus, the customization options are endless—add sprinkles for a festive vibe, crushed cookies for a bit of crunch, or even a touch of edible glitter for extra pizzazz.
Print
Delicious Red Velvet Cupcake
- Total Time: 40 minutes
Description
Red velvet cupcakes are the epitome of elegance and indulgence. With their vibrant red color, soft and moist crumb, and tangy cream cheese frosting, they’re a crowd-pleaser for any occasion. This step-by-step guide will walk you through creating perfect cupcakes that are as delightful to look at as they are to eat.
Ingredients
For the Cupcakes:
- 1 ¼ cups (160g) all-purpose flour
- 1 cup (200g) granulated sugar
- 1 tbsp unsweetened cocoa powder
- ½ tsp baking soda
- ½ tsp salt
- ½ cup (120ml) vegetable oil
- ½ cup (120ml) buttermilk, room temperature
- 1 large egg, room temperature
- 1 tsp vanilla extract
- 1 tsp white vinegar
- 1–2 tsp red food coloring (liquid or gel, adjust to preference)
For the Cream Cheese Frosting:
- 1 cup (230g) unsalted butter, room temperature
- 8 oz (225g) cream cheese, softened
- 4 cups (500g) powdered sugar
- 1 tsp vanilla extract
- Pinch of salt
Instructions
1️⃣ Preheat the Oven and Prepare the Cupcake Tin
Preheat your oven to 350°F (175°C). Line a 12-cup muffin tin with cupcake liners to make cleanup easy and ensure the cupcakes don’t stick.
2️⃣ Mix the Dry Ingredients
In a large bowl, sift together the flour, sugar, cocoa powder, baking soda, and salt. Whisk until evenly combined and free of lumps.
3️⃣ Combine the Wet Ingredients
In another bowl, whisk together the vegetable oil, buttermilk, egg, vanilla extract, and vinegar until smooth. This mixture keeps the cupcakes moist and flavorful.
4️⃣ Add the Red Food Coloring
Stir the red food coloring into the wet ingredients. Adjust the quantity to achieve your desired shade of red. Gel coloring provides intense color with less product.
5️⃣ Mix Wet and Dry Ingredients Together
Slowly pour the wet ingredients into the dry ingredients. Gently stir until the batter is smooth and fully combined. Avoid overmixing, as this can make the cupcakes dense.
6️⃣ Fill the Cupcake Liners
Divide the batter evenly among the cupcake liners, filling each about two-thirds full. This allows space for the cupcakes to rise properly.
7️⃣ Bake the Cupcakes
Place the tin in the preheated oven and bake for 18-20 minutes. Use a toothpick to check for doneness—it should come out clean. Let the cupcakes cool in the pan for 5 minutes, then transfer them to a wire rack to cool completely.
8️⃣ Prepare the Cream Cheese Frosting
In a mixing bowl, beat the butter and cream cheese together on medium speed until creamy and smooth. Gradually add the powdered sugar, one cup at a time, mixing on low speed. Once fully combined, add the vanilla extract and salt. Increase to high speed and beat for 2-3 minutes until fluffy.
9️⃣ Frost the Cupcakes
Once the cupcakes are completely cool, use a piping bag or a spatula to frost them with the cream cheese frosting. Decorate as desired with sprinkles, crumbs, or edible pearls.
Notes
- Room Temperature Ingredients: Make sure your buttermilk, egg, butter, and cream cheese are at room temperature for the best texture.
- Storage: Store cupcakes in an airtight container in the refrigerator for up to 3 days. Let them come to room temperature before serving.
- Variations: Add a teaspoon of espresso powder to enhance the chocolate flavor, or use different food coloring for a fun twist.
- Prep Time: 20 minutes
- Cook Time: 20 minutes
Nutrition
- Serving Size: 12 cupcakes

