Let me just say this right up front: these Garlic Parmesan Cheeseburger Bombs are ridiculously good. We’re talking melty cheddar, creamy cream cheese, seasoned beef, all tucked inside soft, golden biscuit dough and brushed with garlic-Parmesan butter. Yes, they taste as amazing as they sound. If you’ve ever found yourself craving a juicy cheeseburger but didn’t want to commit to the whole sit-down meal, these little poppable bites are exactly what you need.
I first made these on a game day afternoon when I had exactly one hour to pull together something snacky and satisfying for a few friends. I didn’t expect them to steal the whole show—but wow, they disappeared faster than any dish I’ve ever made. You get that comforting, cheesy, garlicky bite, all in one neat package that’s easy to hold, dip, or devour in two bites flat. It’s basically comfort food on cruise control.
Whether you’re planning a family movie night, throwing a casual get-together, or just want a fun twist on your classic burger, these cheeseburger bombs deserve a spot on your menu. And the best part? You don’t need any fancy tools or ingredients—just some basic pantry items, a skillet, and a baking sheet. Let’s dive in!
Ingredients You’ll Need
Here’s everything you need to bring these cheeseburger bombs to life:
-
1 lb ground beef
-
1 cup shredded cheddar cheese
-
1/2 cup cream cheese, softened
-
1 tsp garlic powder
-
1 tsp onion powder
-
Salt and pepper, to taste
-
1 can (16 oz) refrigerated biscuit dough
-
1/4 cup grated Parmesan cheese
-
2 tbsp butter, melted
-
Fresh parsley, chopped (for garnish)
Step 1: Preheat and Prep
Before you do anything else, preheat your oven to 375°F (190°C). Then, line a baking sheet with parchment paper to prevent sticking and make cleanup a breeze. If you don’t have parchment, a lightly greased pan works too.

Step 2: Cook the Ground Beef
In a medium skillet over medium heat, cook your ground beef until fully browned, breaking it up with a wooden spoon as it cooks. You’ll want it nice and crumbled, so it folds into the cheesy filling smoothly. Once it’s cooked, drain off any excess grease—nobody wants a soggy bomb!
Step 3: Mix in the Flavor
With the skillet still warm, stir in the garlic powder, onion powder, a pinch of salt, and some cracked black pepper. Then, add the softened cream cheese and shredded cheddar cheese. Stir everything together until it’s melty and well combined. The result? A rich, creamy beef filling that smells downright dreamy.
Quick tip: if your cream cheese isn’t soft enough, pop it in the microwave for about 10 seconds. It’ll mix in much easier that way.
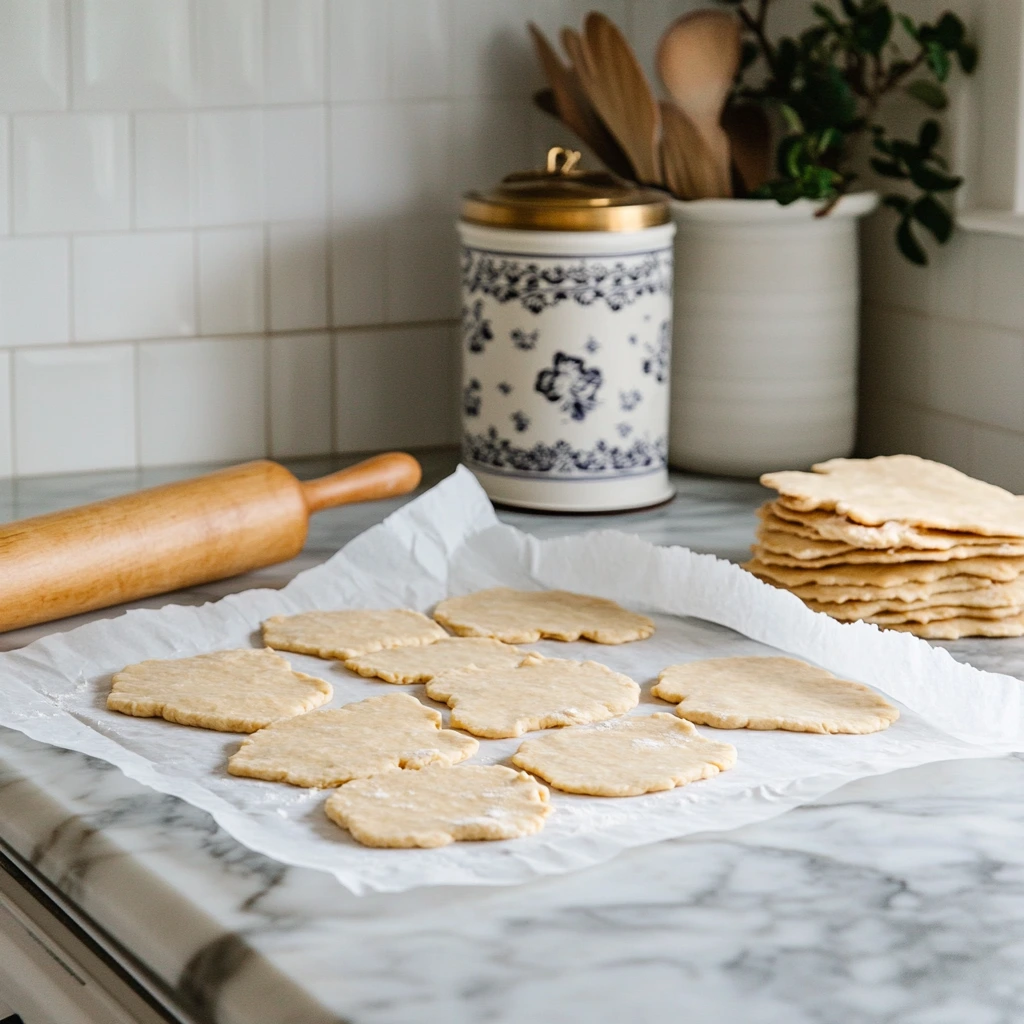
Step 4: Prep the Biscuit Dough
Now for the fun part—building the bombs! Open up your can of refrigerated biscuit dough and separate each piece. Flatten each biscuit gently into a 4-inch circle. I usually just press them out with my fingers right on the counter. No rolling pin needed!
Step 5: Fill and Seal
Spoon a generous tablespoon of the beef and cheese mixture into the center of each flattened biscuit. Then carefully fold the edges of the dough up and over the filling. Pinch the seams tightly closed and gently shape each into a ball.
Here’s a tip: make sure those seams are sealed well. Any little gap could let the cheesy goodness leak out during baking, and we definitely want all that deliciousness to stay inside.
Golden Garlic Parmesan Cheeseburger Bombs: Baking, Variations & Pro Tips
Alright, now that we’ve got those cheesy little beef bundles all sealed up and ready to go, it’s time to take these Garlic Parmesan Cheeseburger Bombs to the next level. This is where they really shine—literally. A buttery, garlicky Parmesan coating gives them that perfect golden-brown crust with a little extra flavor punch.
This step is simple but makes all the difference. It transforms your biscuit dough from basic to something your guests will absolutely rave about. And if you’re anything like me, once you see them puff up and turn that perfect golden color in the oven, you’ll be counting down the seconds to dig in.
Let’s finish these bombs strong—and I’ll also throw in some fun variations and smart tips to make sure they come out just right every time.

Step 6: Make the Garlic Parmesan Butter
In a small bowl, combine your melted butter with the grated Parmesan cheese. Give it a quick stir to make a thick, cheesy butter mixture. If you want to take it up a notch, you can toss in a pinch of garlic powder or even a little Italian seasoning here. This butter mix is the key to that golden, savory finish.
Step 7: Brush the Bombs
Now, place all your filled and sealed biscuit bombs on your prepared baking sheet, seam-side down. Leave some space between each one—these will puff up while baking.
Using a pastry brush (or even the back of a spoon in a pinch), brush the tops of each bomb with the melted butter and Parmesan mixture. You don’t need to drench them—just a nice even coat will give you that golden top and a hint of salty, cheesy flavor in every bite.
Step 8: Bake to Golden Perfection
Slide the tray into your preheated oven and bake for 12 to 15 minutes. You’re looking for a golden-brown top and firm texture. Don’t overbake—once they’re golden and the tops spring back slightly when touched, they’re ready.
Every oven runs a bit differently, so keep an eye on them around the 12-minute mark. Mine were just right at about 14 minutes, but your batch might be a little faster or slower.
Step 9: Cool Slightly & Garnish
Once baked, remove the bombs from the oven and let them cool for about 5 minutes. This gives the filling a little time to settle, so it’s not lava-hot when you bite in.
Then, sprinkle chopped fresh parsley over the top for a pop of color and a touch of freshness. Totally optional, but it does make them look extra polished—especially if you’re serving them at a party.
TASTY TIPS & VARIATIONS
Let’s talk extras. While the basic recipe is absolutely delicious on its own, there are some fun ways to make it your own:
1. Add Bacon:
Crispy chopped bacon stirred into the beef mixture adds a smoky crunch that pairs perfectly with the cheesy filling.
2. Spice It Up:
Toss in some diced jalapeños or a few dashes of hot sauce to bring a little heat. Perfect if you’re making these for game day or spice lovers.
3. Switch the Cheese:
Not a cheddar fan? Try mozzarella for a stretchier center, or pepper jack for a zesty twist.
4. Air Fryer Option:
You can absolutely make these in an air fryer. Cook at 350°F for about 8–10 minutes, depending on your model. Just keep them spaced out so the air circulates evenly.
5. Dipping Sauces:
These are so good on their own, but if you want to level up your snack game, serve them with dipping sauces. Try ranch, burger sauce, honey mustard, or even marinara.
Garlic Parmesan Cheeseburger Bombs: FAQs & Final Thoughts
By now, your kitchen probably smells amazing and your cheeseburger bombs are golden brown and just begging to be devoured. But before we wrap up this delicious adventure, let’s go over a few common questions that might pop up when you’re making these for the first time—or even the fifth.
Whether you’re prepping ahead for a party, curious about substitutions, or wondering how best to store leftovers (if you’re lucky enough to have any), I’ve got you covered.

FREQUENTLY ASKED QUESTIONS
1. Can I make these cheeseburger bombs ahead of time?
Yes, absolutely! You can prep the filling and stuff the biscuit dough up to a day ahead. Just keep them covered in the fridge until you’re ready to bake. If baking from cold, you might need to add a minute or two to the cooking time.
2. What’s the best way to reheat them?
For best results, reheat them in the oven or an air fryer at 350°F until warmed through. This helps the outside stay crispy. The microwave works too, but the biscuit might get a little soft.
3. Can I freeze them?
Yes! Let the baked bombs cool completely, then freeze them in a single layer on a baking sheet before transferring to a freezer bag. To reheat, pop them in the oven straight from frozen at 350°F for about 12–15 minutes.
4. What type of biscuit dough should I use?
I recommend using regular-sized refrigerated biscuit dough (like Pillsbury Grands Jr. or a similar brand). Avoid flaky layers, as they’re harder to seal around the filling.
5. Can I use ground turkey instead of beef?
Definitely. Ground turkey works great and is a bit lighter. Just make sure to season it well since it’s a bit leaner and milder in flavor than beef.
6. What can I serve with these?
These are great on their own, but if you’re turning them into a meal, a fresh side salad, sweet potato fries, or even some crispy onion rings would be perfect.
7. My bombs are leaking! What went wrong?
The most common reason is that the dough wasn’t sealed completely. Make sure to pinch the edges together tightly, and place the seam side down on the baking sheet to keep everything tucked in during baking.
FINAL THOUGHTS: BRING ON THE BOMBS
There’s just something about a bite-sized version of a classic comfort food that makes it so much more fun—and honestly, so much more irresistible. These Garlic Parmesan Cheeseburger Bombs bring all the flavor of a juicy burger, but in a snackable, party-perfect form that’s easy to prep, bake, and enjoy.
What I really love about this recipe is how versatile it is. You can stick with the classic beef and cheddar combo, or you can get creative with fillings, cheeses, and spice levels. It’s one of those recipes that’s easy enough for a weeknight but impressive enough to serve at a gathering.
So whether you’re hosting friends, feeding your family, or just craving something cheesy and satisfying, give these bombs a try. And if you do, don’t forget to leave a comment, share your own twist, or tag your creations online—I’d love to see how yours turn out!
Print
Garlic Parmesan Cheeseburger Bombs
- Author: Sophia
Description
These Garlic Parmesan Cheeseburger Bombs are the ultimate comfort food snack or party appetizer. Packed with a creamy, cheesy beef filling and wrapped in soft, buttery biscuit dough, they deliver big burger flavor in a fun, poppable form. Brushed with melted butter and Parmesan cheese, then baked until golden brown, these little bombs are sure to disappear fast at any gathering.
Ingredients
1 lb ground beef
1 cup shredded cheddar cheese
1/2 cup cream cheese, softened
1 tsp garlic powder
1 tsp onion powder
Salt and pepper, to taste
1 can (16 oz) refrigerated biscuit dough
1/4 cup grated Parmesan cheese
2 tbsp butter, melted
Fresh parsley, chopped (for garnish)
Instructions
Preheat your oven to 375°F (190°C) and line a baking sheet with parchment paper.
In a skillet over medium heat, brown the ground beef until fully cooked. Drain any excess grease.
Add garlic powder, onion powder, salt, and pepper to the beef. Mix in the cream cheese and shredded cheddar cheese until well combined, then remove from heat.
Open the can of biscuit dough and separate into individual biscuits. Flatten each biscuit into a circle.
Place a spoonful of the beef and cheese mixture in the center of each flattened biscuit. Fold the dough over the filling and pinch the edges tightly to seal completely.
In a small bowl, mix melted butter with grated Parmesan cheese. Brush the tops of the bombs with the mixture.
Arrange the bombs on the prepared baking sheet and bake for 12-15 minutes, or until golden brown.
Let the bombs cool slightly before serving. Garnish with fresh parsley for a pop of color and enjoy.
Notes
Make sure the dough is sealed well to prevent the filling from leaking during baking. You can add a bit of chopped bacon or jalapeño for an extra kick. These are best served warm but can be reheated in the oven or air fryer for a crispy exterior.