
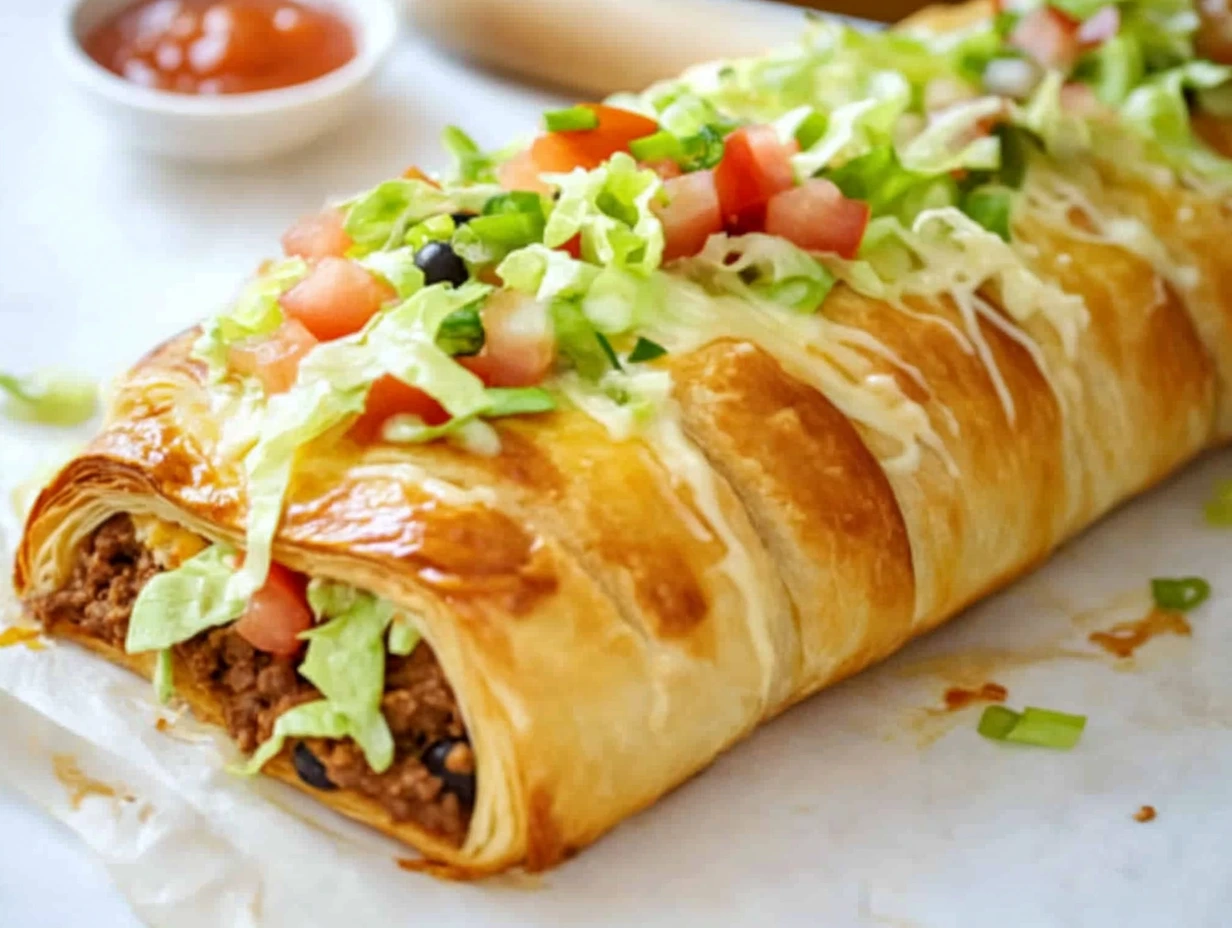
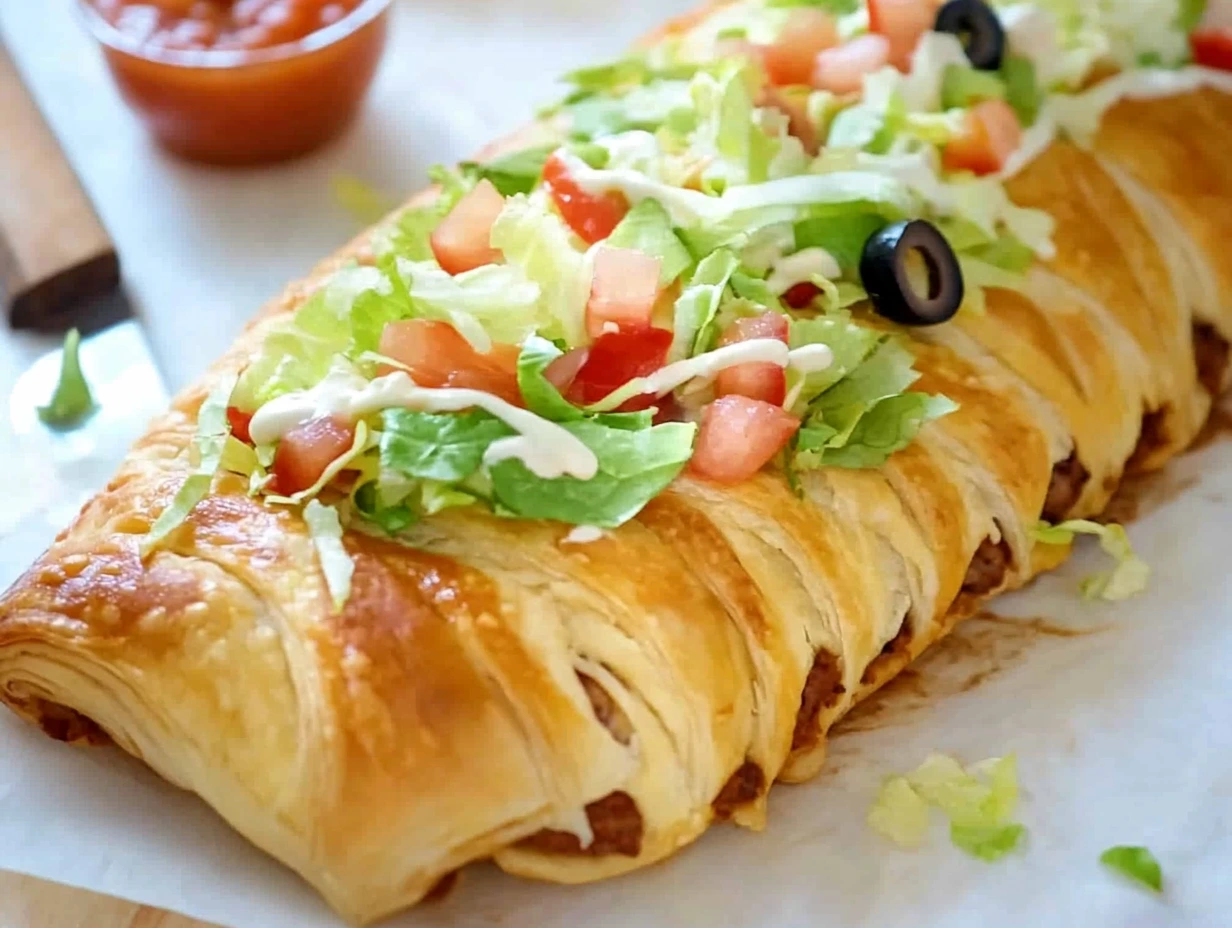
Taco night is sacred in our house — it’s one of those dependable dinners we all look forward to. But every now and then, I like to shake things up a bit while still keeping those bold, comforting flavors that make tacos so irresistible. That’s exactly how this Easy Taco Braid came to life. Imagine everything you love about tacos — seasoned beef, gooey cheese, fresh toppings — all wrapped up in a warm, golden crust of pizza dough. It’s portable, sliceable, and honestly, a total showstopper.
Whether you’re feeding hungry kids after practice, hosting a casual game-day get-together, or just need something a little different for dinner, this recipe delivers every single time. And don’t worry — while it looks fancy with its beautiful braid, it’s surprisingly simple to put together. Seriously, if you can fold laundry (and let’s be real, even if you can’t), you can master this taco braid.
So grab that tube of refrigerated pizza dough and let’s dive in!

Why You’ll Love This Easy Taco Braid
This taco braid hits that magical trifecta: easy, delicious, and totally customizable. You can switch up the meat, throw in different veggies, or even spice it up with jalapeños if your crowd loves heat. The crust bakes up beautifully crisp on the outside and stays soft and pillowy on the inside. Add your favorite taco toppings on the side — sour cream, salsa, or fresh cilantro — and you’ve got yourself a fun, flavorful meal everyone will want more of.
It’s the kind of recipe that looks impressive but doesn’t require hours in the kitchen. Let’s break it down step-by-step!
Ingredients You’ll Need
Here’s what you’ll need to get started:
-
1 (13.8-ounce) tube refrigerated pizza dough
-
1 pound ground beef
-
1 packet (1 ounce) taco seasoning mix
-
¾ cup water
-
1 cup shredded Mexican-blend cheese
-
½ cup diced tomatoes
-
¼ cup sliced black olives
-
2 green onions, thinly sliced
-
1 tablespoon olive oil
-
Optional toppings: sour cream, salsa, chopped cilantro
STEP 1: Preheat and Prep Your Baking Sheet
Start by preheating your oven to 400°F (200°C). This gets things hot and ready for that golden crust. Line a baking sheet with parchment paper so cleanup is a breeze later.
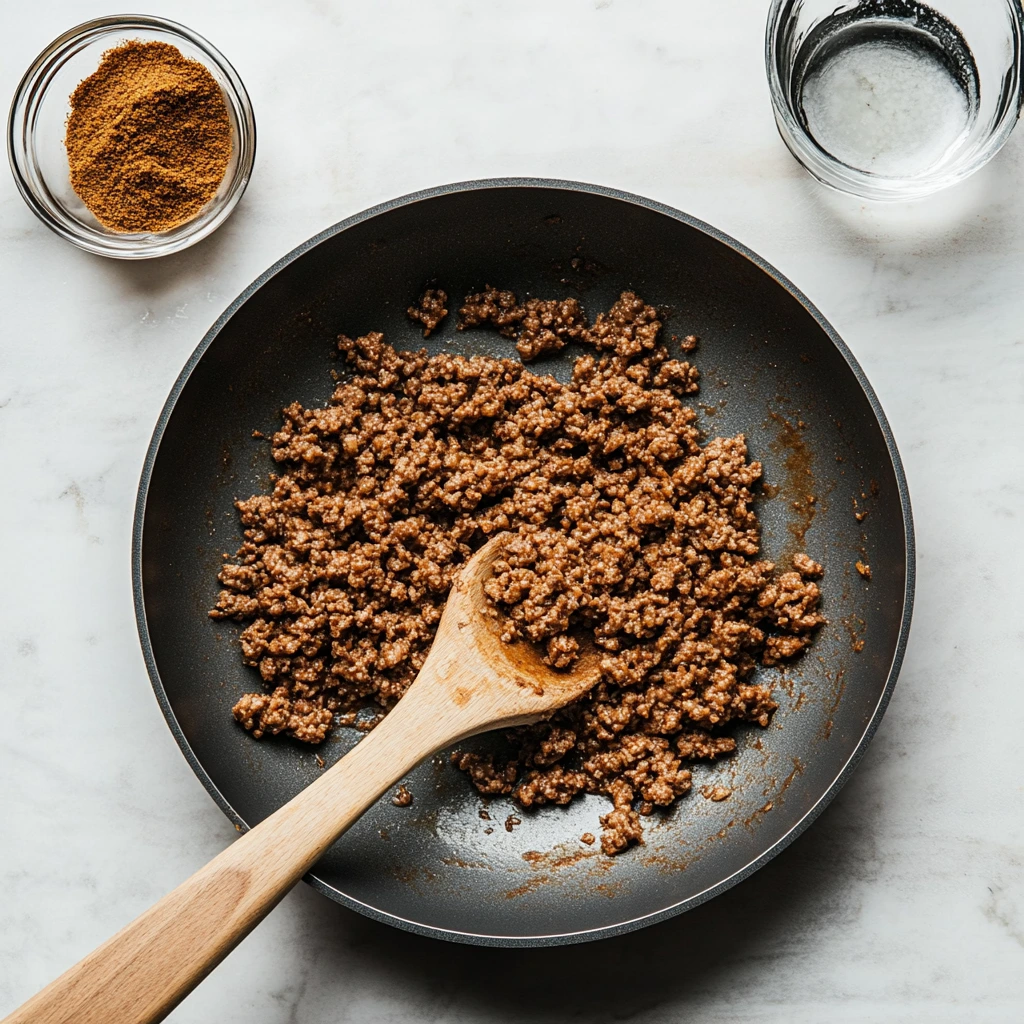
STEP 2: Cook the Beef
In a large skillet, warm up the olive oil over medium heat. Add the ground beef and cook it through, breaking it up with a wooden spoon. It should take about 6–8 minutes, and you’ll know it’s ready when there’s no more pink. Drain off any extra fat so the filling doesn’t get soggy later.
STEP 3: Season the Meat
Sprinkle in the taco seasoning and pour in the water. Give it all a good stir, then bring it to a simmer. Let it cook for another 2–3 minutes until the sauce is thickened and clings to the meat. You want a nice, rich filling that won’t run all over the dough. Once it’s done, set it aside to cool just a bit. (Hot meat + dough = potential soggy disaster.)
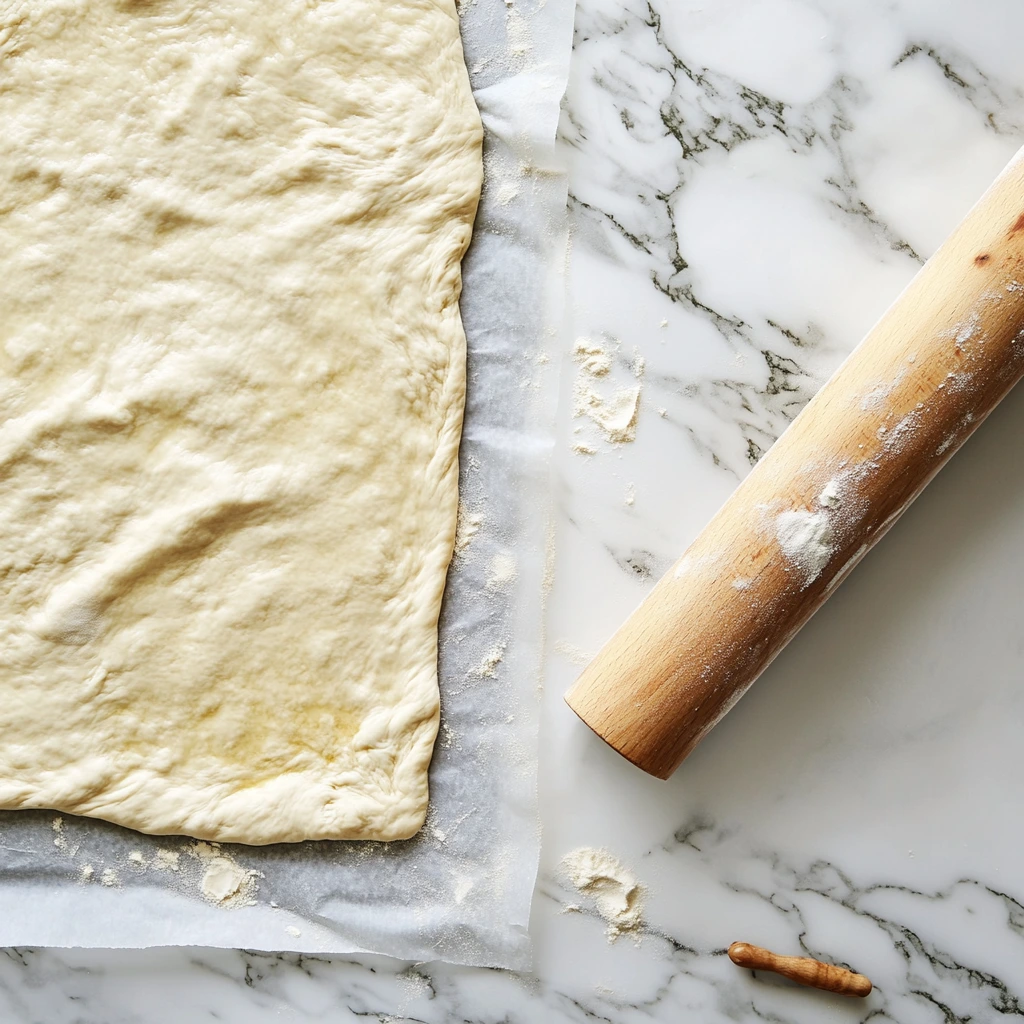
STEP 4: Roll Out the Dough
On a lightly floured surface, roll your pizza dough out into a rectangle about 12×10 inches. Don’t stress too much about the size — just try to get it even and not too thin. Once it’s rolled out, transfer it to your parchment-lined baking sheet.
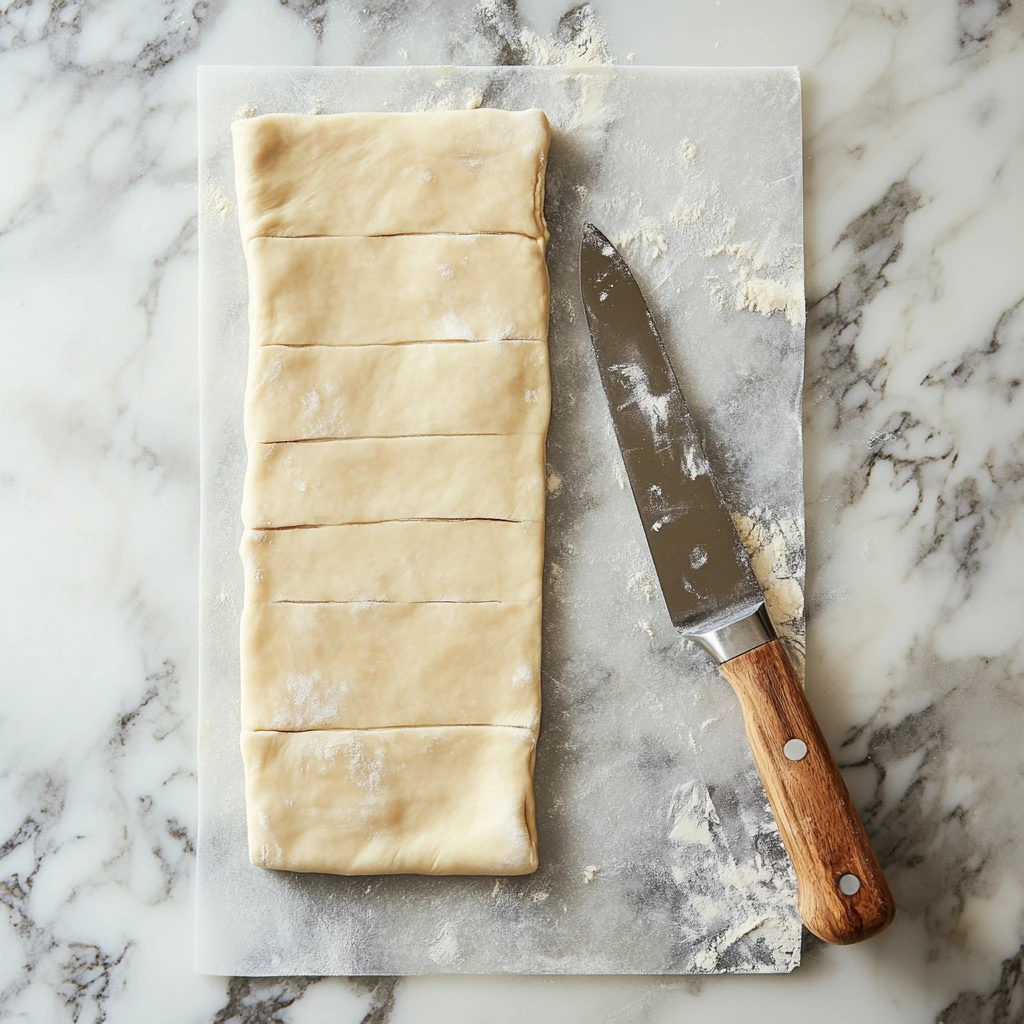
STEP 5: Slice and Prep for Filling
This is the part that gives the braid its wow-factor look. Using a sharp knife or a pizza cutter, cut ½-inch-wide strips along the long sides of the dough, stopping about 2 inches from the center. Think of it like fringe on both sides — the center strip stays intact because that’s where the filling goes.
STEP 6: Add the Filling
Spoon your slightly cooled beef mixture right down the middle section of the dough, leaving a 1-inch border at the top and bottom. Then sprinkle on that glorious shredded cheese (I like using a Mexican blend for that creamy melt and touch of spice). Finish it off with your toppings: diced tomatoes, olives, and green onions.
Already drooling? Same.
Easy Taco Braid: A Fun Twist on Taco Night That Everyone Will Love
Alright, now that we’ve got our dough rolled out and stuffed with all that delicious taco goodness, it’s time to bring this beauty together. If you’ve never braided dough before, don’t worry — it’s way less complicated than it looks. I promise, once you’ve done it once, you’ll want to braid everything from now on. Trust me, it’s kind of addictive!
In this part, we’ll walk through the braiding process, get that taco braid into the oven, and cover some fun variations and helpful tips. Let’s get into it.
STEP 7: Braid the Dough
Now comes the fun part — the braid! Start at one short end and gently fold the strips over the filling, alternating sides to create that classic braided look. You’ll want to overlap them just slightly as you go, which helps keep everything snug and secure.
It doesn’t have to be perfect — the braid will puff up beautifully in the oven and hide any little imperfections. When you get to the end, just tuck in the top and bottom pieces of dough underneath to keep the ends neat and sealed.

STEP 8: Brush and Bake
Using a pastry brush (or even just your fingers), lightly brush the top of the braid with a little olive oil. This helps it get that gorgeous golden-brown color in the oven.
Slide the tray into your preheated 400°F oven and bake for 18–20 minutes. You’re looking for a golden crust, melted cheese, and bubbling edges. Your kitchen will smell amazing at this point — it’s totally the kind of dish that makes everyone wander in and ask, “What’s that??”
STEP 9: Let It Rest, Then Slice and Serve
Once the taco braid is baked to perfection, take it out of the oven and let it rest for about 5 minutes. This helps everything settle a bit and makes slicing much easier (and cleaner).
Using a serrated knife, cut into slices and serve warm. I like to set out bowls of sour cream, salsa, and chopped cilantro so everyone can add their favorite toppings. You could even do guacamole or a drizzle of hot sauce if you’re feeling extra.
Tips & Variations to Make It Your Own
This taco braid is endlessly customizable — here are a few fun ways to make it work for your taste buds or what you have on hand:
1. Change up the protein
Swap out the ground beef for shredded chicken, ground turkey, or crumbled chorizo. Even black beans or lentils work if you’re going meatless.
2. Add some crunch
Before braiding, sprinkle crushed tortilla chips over the beef for a little surprise crunch when you bite in. It’s subtle but so satisfying.
3. Spice it up
If your crew likes heat, toss in some diced jalapeños, a spoonful of chipotle in adobo, or a few dashes of hot sauce with the beef filling.
4. Make it ahead
Yes, you can totally prep this earlier in the day. Assemble the whole braid, cover it with plastic wrap, and refrigerate for up to 8 hours. Just add a few extra minutes to the baking time when cooking it straight from the fridge.
5. Leftovers? No problem.
Leftover slices reheat beautifully in a 350°F oven — just 8 to 10 minutes on a baking sheet will bring that crisp crust right back. It makes a great lunch the next day.
Easy Taco Braid: A Fun Twist on Taco Night That Everyone Will Love
We’ve mixed, filled, braided, and baked our way to taco braid greatness — but before we wrap this up, let’s talk about some of the most common questions I get whenever I share this recipe. Whether you’re wondering about dough swaps or how to keep it from getting soggy, I’ve got answers to help you feel totally confident tackling this recipe at home.
Frequently Asked Questions
1. Can I use homemade pizza dough instead of store-bought?
Absolutely! If you have a favorite homemade pizza dough recipe, it’ll work perfectly here. Just make sure it’s rolled out to roughly the same 12×10-inch size for best results.
2. How do I keep the bottom of the braid from getting soggy?
Make sure to let the meat mixture cool slightly before adding it to the dough — hot filling can release steam and make the dough soggy. Also, avoid overfilling, and always drain excess fat from the cooked meat.
3. Can I freeze the taco braid?
Yes, you can freeze it after it’s baked. Let it cool completely, then wrap tightly in foil or plastic wrap and freeze. Reheat in a 350°F oven for about 15–20 minutes until warmed through. It’s great for make-ahead meals!
4. What other toppings can I add inside the braid?
Feel free to get creative! Try corn, beans, jalapeños, or even a little cream cheese blended with the meat for a creamy twist. Just avoid overly wet ingredients that could affect the dough.
5. What side dishes go well with this taco braid?
Keep it simple with a side of Spanish rice, a tossed salad, or chips and guacamole. It also works great solo as a handheld meal — especially for game day or potlucks.
6. Can I make this vegetarian?
Definitely. Replace the ground beef with black beans, lentils, or a plant-based meat substitute. Add sautéed peppers and onions for extra flavor and texture.
7. How do I store leftovers?
Store any leftover slices in an airtight container in the refrigerator for up to 2 days. Reheat in the oven (not the microwave) to maintain that crisp crust.
Final Thoughts
There’s just something so satisfying about making a recipe that looks like it came out of a bakery window — but only takes a handful of everyday ingredients and less than an hour from start to finish. This Easy Taco Braid is a real dinner hero in our house. It’s flavorful, kid-approved, and versatile enough that I never get tired of making it.
So the next time you’re in a dinner rut, reach for that tube of pizza dough and give this recipe a try. Whether you serve it as a casual family dinner, a party appetizer, or pack up slices for lunch the next day, it’s bound to become a regular in your rotation.
Print
Easy Taco Braid
- Author: Sophia
Description
This Easy Taco Braid transforms simple pizza dough into a handheld, flavor-packed braid filled with seasoned ground beef, melty cheese, and taco-inspired toppings. It’s a fun, portable twist on tacos that’s perfect for weeknight dinners, game-day snacking, or lunchboxes.
Ingredients
– 1 (13.8-ounce) tube refrigerated pizza dough
– 1 pound ground beef
– 1 packet (1 ounce) taco seasoning mix
– ¾ cup water
– 1 cup shredded Mexican-blend cheese
– ½ cup diced tomatoes
– ¼ cup sliced black olives
– 2 green onions, thinly sliced
– 1 tablespoon olive oil
– Sour cream, salsa, and chopped cilantro for serving (optional)
Instructions
1️⃣ Preheat your oven to 400°F (200°C). Line a baking sheet with parchment paper.
2️⃣ In a skillet over medium heat, warm the olive oil. Add the ground beef and cook, breaking it up with a spoon, until no longer pink, about 6–8 minutes. Drain any excess fat.
3️⃣ Stir in the taco seasoning mix and water. Bring to a simmer, then cook until the sauce is absorbed and the mixture is thick, about 2–3 minutes. Remove from heat and let cool slightly.
4️⃣ On a lightly floured surface, roll out the pizza dough into an approximately 12×10-inch rectangle. Transfer it to the prepared baking sheet.
5️⃣ Using a sharp knife, cut ½-inch-wide strips along both long sides of the rectangle, stopping about 2 inches from the center.
6️⃣ Spoon the cooled beef mixture down the center of the dough, leaving a 1-inch border at each short end. Sprinkle the shredded cheese over the beef, then top with diced tomatoes, olives, and green onions.
7️⃣ Working from one short end, fold the strips over the filling in an alternating pattern, creating a braided effect and overlapping slightly to seal. Tuck the ends under to secure.
8️⃣ Brush the braid lightly with a bit of olive oil. Bake until the crust is golden brown and the cheese is melted, 18–20 minutes.
9️⃣ Let the braid rest for 5 minutes before slicing. Serve with sour cream, salsa, and cilantro if desired.
Notes
Adjust the filling by swapping ground beef for cooked shredded chicken or crumbled chorizo.
For extra crunch, add a layer of crushed tortilla chips beneath the meat before braiding.
Make-ahead tip: Assemble the braid, cover with plastic wrap, and refrigerate up to 8 hours; bake straight from the fridge, adding a couple of extra minutes to the baking time.
Leftover slices keep well in the refrigerator for up to 2 days; reheat in a 350°F oven until warmed through to keep the crust crisp.


