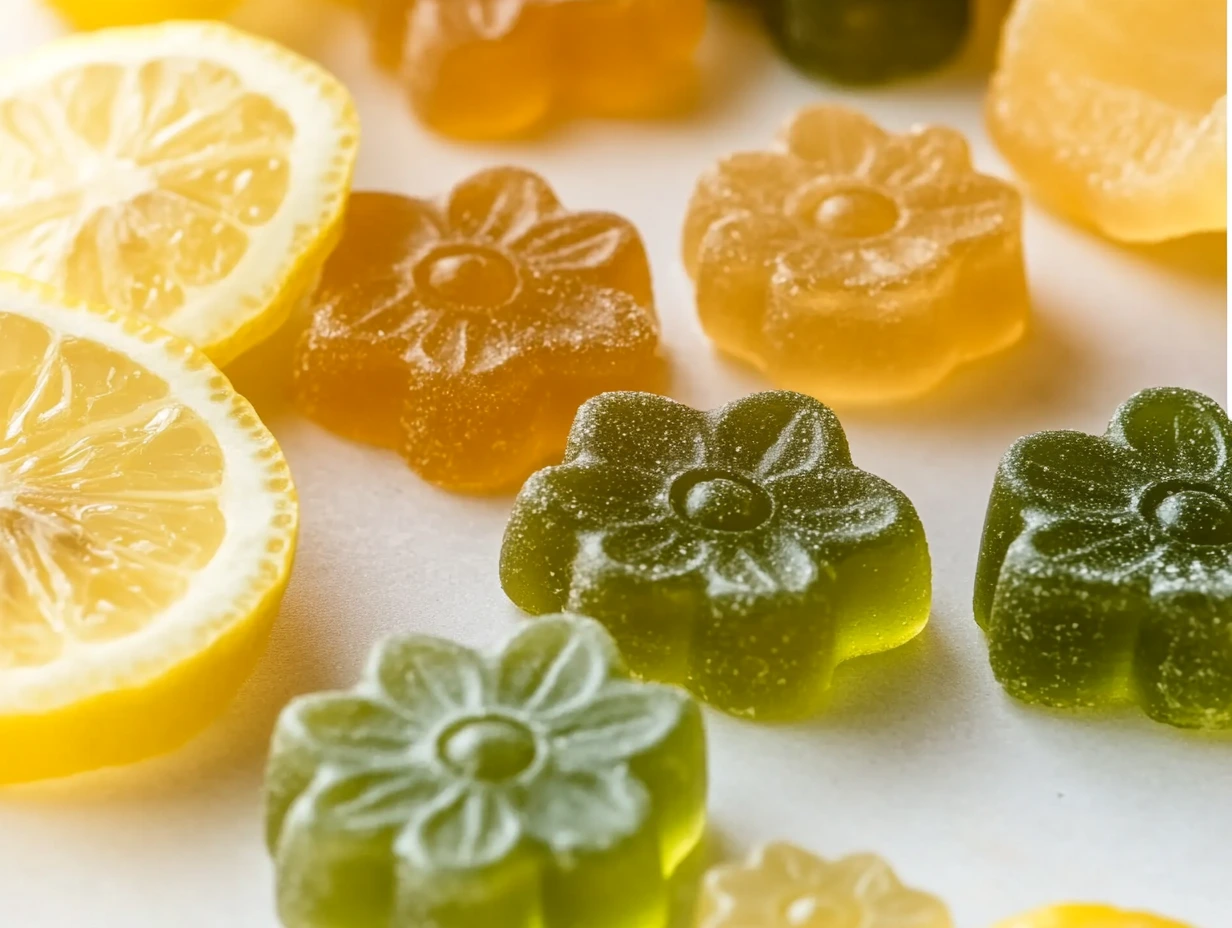
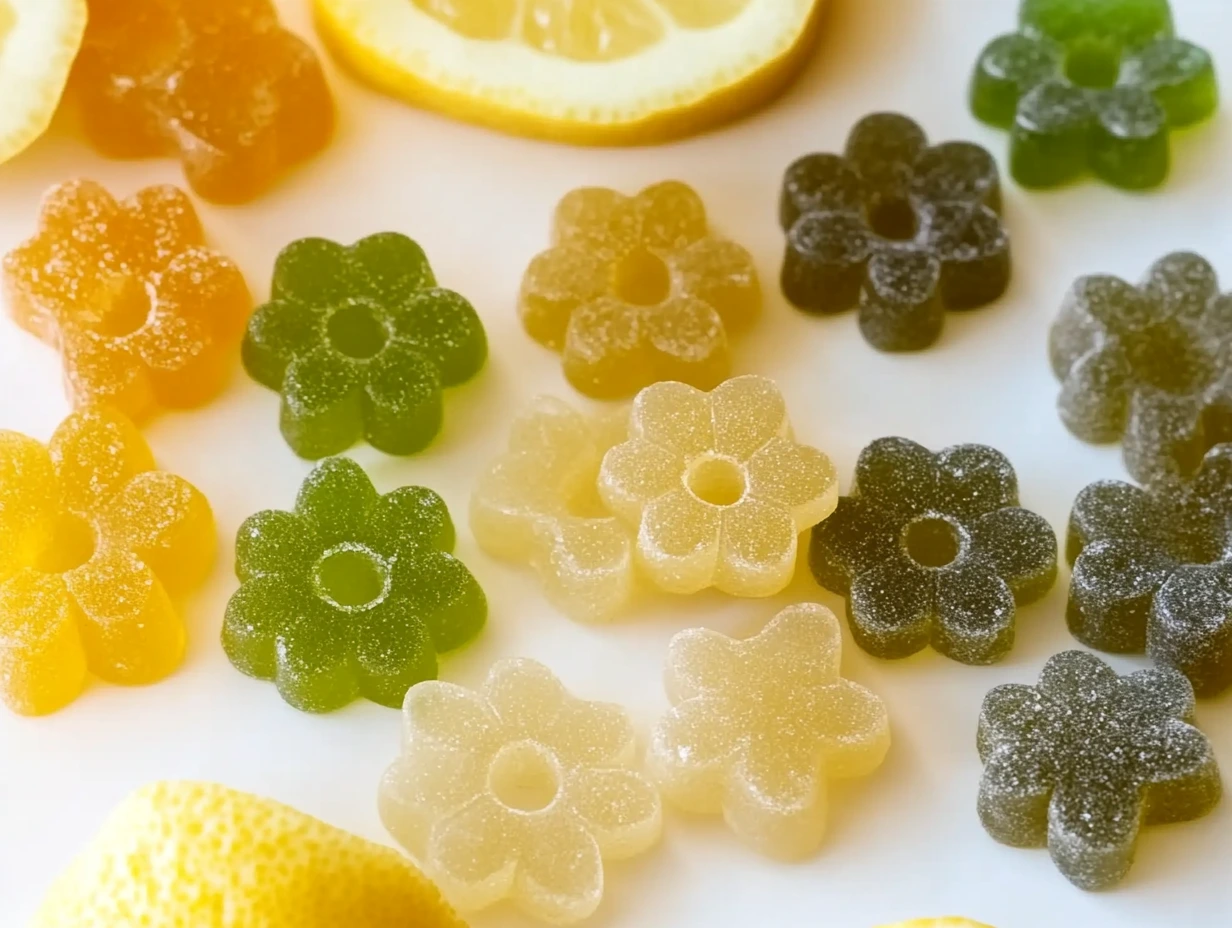
We’ve all been there—looking for a snack that’s not only delicious but also packed with health benefits. Well, I’ve got the perfect solution for you: Green Tea, Lemon & Ginger Gummies. These little beauties are a game-changer when it comes to satisfying your sweet tooth while sneaking in some antioxidants and digestive benefits. The combination of earthy green tea, zesty lemon, and a warming kick of ginger makes these gummies not only tasty but also incredibly good for you.
These gummies are incredibly easy to make, and they’re the perfect way to treat yourself to a refreshing snack or even boost your energy when you need a pick-me-up. The great thing about making them at home is that you control the ingredients, so no need to worry about artificial flavors or preservatives. Plus, they store well in the fridge for up to a week, making them an ideal snack to have on hand whenever you want something healthy and flavorful.
In this article, I’m going to walk you through the simple steps of making your very own Green Tea, Lemon & Ginger Gummies. Don’t worry if you’ve never made gummies before; this recipe is super beginner-friendly, and I’ll guide you through each step with plenty of tips and tricks to make it as easy as possible.
Why These Gummies Are So Special
These gummies are not your average store-bought candy. While most gummies are packed with sugar and artificial colors, these ones are made with all-natural ingredients. Green tea, lemon, and ginger are known for their impressive health benefits, and incorporating them into a fun and tasty treat is a fantastic way to boost your well-being without compromising on flavor.
-
Green Tea is rich in antioxidants, which help protect your body from free radicals. It’s also known for improving brain function and boosting metabolism.
-
Lemon is packed with vitamin C, which is great for supporting your immune system and skin health.
-
Ginger has long been used for its digestive benefits. It can help soothe nausea, reduce inflammation, and improve overall digestion.
When combined, these ingredients create a deliciously tangy, spicy, and energizing gummy that you’ll actually look forward to eating. They’re not only a healthy snack but also a way to indulge in something that makes you feel good from the inside out.
Gather Your Ingredients
Before we get started with the recipe, let’s make sure you have all the ingredients you need:
-
3/4 cup cold water (for blooming the gelatin)
-
5 tablespoons unflavored gelatin powder (this is what gives the gummies their chewy texture)
-
1/2 cup strongly brewed green tea (about 4 tea bags)
-
1/3 cup freshly squeezed ginger juice (for that zesty, warming kick)
-
1/4 cup freshly squeezed lemon juice (adds tartness and vitamin C)
-
3 tablespoons honey (or to taste, for a touch of natural sweetness)
Once you have these items ready, you’re all set to begin making your gummies!
Step-by-Step Instructions: How to Make Green Tea, Lemon & Ginger Gummies
1. Brew the Green Tea
Start by boiling water and steeping your green tea bags. For this recipe, you’ll need about 1/2 cup of strong green tea. I usually steep four tea bags in hot water for about 5 minutes to make sure the tea is nice and flavorful. Once it’s brewed, remove the tea bags and let the tea cool slightly.
This is the perfect moment to take a deep breath and relax while you wait for the tea to cool down. Trust me, this little step will help set the tone for your upcoming delicious treats!
2. Prepare the Gelatin
Now, let’s get our gelatin ready. In a small bowl, pour the 3/4 cup of cold water and evenly sprinkle the gelatin powder over the water’s surface. You’ll want to let it sit for about 5–10 minutes to “bloom,” which means allowing the gelatin to absorb the water and soften. The gelatin should become a bit spongy and thicker in texture.
While the gelatin blooms, take a moment to marvel at how this little ingredient is going to turn your green tea, lemon, and ginger liquid into the perfect gummy texture. Trust the process, and keep your focus on that perfect chewy result!
3. Heat the Mixture
In a saucepan over low heat, combine the brewed green tea, ginger juice, lemon juice, and honey. Stir gently to dissolve the honey into the mixture. It should come together nicely, but make sure to keep the heat low—don’t let it boil, as boiling can affect the setting properties of the gelatin.
Now, take your bloomed gelatin and add it to the saucepan, stirring constantly until it dissolves completely. You’ll want the mixture to be smooth and well-combined, with no lumps of gelatin floating around. This step is essential for achieving that perfect gummy texture.
Stay patient and gentle with the heat. We’re in no rush, and trust me, the payoff will be worth it!
Final Steps to Make Your Green Tea, Lemon & Ginger Gummies
Now that we’ve got our gelatin mixture all smooth and ready to go, it’s time to take these Green Tea, Lemon & Ginger Gummies from liquid to delicious gummy goodness. Don’t worry, we’re almost there! Just a few more easy steps and you’ll have your very own homemade gummies that are perfect for snacking, sharing, or even gifting.

Step-by-Step Instructions: How to Make Green Tea, Lemon & Ginger Gummies (Continued)
4. Pour into Molds
Once your green tea, ginger, lemon, and gelatin mixture is fully combined and smooth, it’s time to transfer it into molds. If you have silicone molds, these are perfect for creating fun, bite-sized gummies. I personally love using silicone molds because they make it easy to pop the gummies out once they’ve set.
If you don’t have silicone molds, no worries—just use a shallow baking dish, and once the gummies are set, you can cut them into squares or fun shapes using a sharp knife.
Pour the mixture carefully into the molds or baking dish. If you want to make this step even easier, you can use a small measuring cup or a squeeze bottle to pour the liquid into the molds without making a mess. You want to make sure the molds are filled evenly without spilling over the edges.
At this point, the gummy mixture will still be liquid, but don’t worry—this is exactly what we want. Just let it settle into the molds, and don’t worry if it’s a little bit messy.
5. Chill and Set
After you’ve poured the gummy mixture into your molds, let it sit at room temperature for about 10 minutes to cool slightly. This helps prevent condensation when you transfer them to the fridge, which will help keep your gummies looking fresh.
Once the mixture has cooled, place the molds in the refrigerator and let them chill for about 1–2 hours, or until they’ve fully set. The gelatin will firm up as it chills, giving you that perfect chewy texture.
I know it’s tempting, but try to be patient during this step! Trust me, the wait will be worth it when you finally get to pop one of these gummies into your mouth. While they set, you can take a moment to clean up your kitchen (or just daydream about how delicious these are going to be).
6. Remove and Store
Once the gummies have fully set and are firm to the touch, it’s time to remove them from the molds. If you used silicone molds, this part is easy—just gently pop them out. If you used a baking dish, simply cut the set mixture into squares or your desired shapes.
Now that your gummies are ready, it’s time to store them. Keep them in an airtight container in the refrigerator, where they’ll stay fresh for up to one week. I recommend labeling the container if you have other treats in the fridge, just to make sure everyone knows what they’re about to enjoy!
These gummies are perfect for a quick snack or even a healthy treat to share with friends and family. You can also get creative with your molds, trying different shapes for fun presentations or seasonal themes (think heart-shaped gummies for Valentine’s Day or stars for the holidays!).

Tips and Variations
-
Adjust Sweetness: The amount of honey you use can be adjusted to your taste. If you prefer a sweeter gummy, feel free to add a little extra honey. You can always taste-test the mixture before pouring it into the molds to make sure it’s just right for you.
-
Try Different Flavors: While the green tea, lemon, and ginger combo is fantastic, you could experiment with other flavors as well. For example, you could add a splash of pomegranate juice or a little mint extract for a fresh twist.
-
Use Fresh Ginger or Store-bought Ginger Juice: If you don’t have fresh ginger juice, you can grate fresh ginger and squeeze it to extract the juice. Alternatively, store-bought ginger juice is a great shortcut, especially if you’re short on time.
-
Mold Shapes: Get creative with your gummy molds. Try using fun shapes like hearts, stars, or even simple squares. It makes the gummies even more enjoyable to eat!
Frequently Asked Questions and Conclusion
Now that you’ve learned how to make these Green Tea, Lemon & Ginger Gummies, you might have a few questions or want some clarification on the process. Don’t worry, I’ve got you covered! In this section, I’m answering some of the most common questions about the recipe and its preparation to help ensure your gummy-making experience goes smoothly. Let’s dive in!
Frequently Asked Questions
1. Can I use a different type of tea for this recipe?
Absolutely! While green tea is the star of this recipe due to its antioxidant benefits, you can swap it out for other types of tea if you prefer. Black tea, chamomile, or even matcha would all make great alternatives. Just keep in mind that the flavor of the gummies will change depending on the tea you use, so choose one that complements the lemon and ginger well.
2. Can I make these gummies without gelatin?
Gelatin is what gives these gummies their chewy texture, so unfortunately, there isn’t a direct substitute that will produce the same results. However, if you’re looking for a plant-based alternative, you can try agar-agar, which is a vegan-friendly option. If you choose to use agar-agar, you’ll need to follow the instructions on the package, as it behaves a little differently than gelatin.
3. How can I adjust the texture if my gummies are too soft or too firm?
If your gummies turn out too soft, it’s likely that you didn’t use enough gelatin or didn’t allow them to set long enough in the fridge. If this happens, try adding a little more gelatin next time and make sure they chill for the full 1–2 hours.
On the flip side, if your gummies are too firm, you may have used too much gelatin. To correct this in future batches, reduce the amount of gelatin slightly. Keep in mind that small adjustments can make a big difference, so don’t be afraid to experiment until you find your perfect gummy texture!
4. Can I use a different sweetener instead of honey?
Yes! If you prefer not to use honey, you can substitute with other natural sweeteners like maple syrup, agave nectar, or stevia. Just keep in mind that the flavor of your gummies might change depending on the sweetener you choose. Maple syrup, for example, will give your gummies a slight maple flavor, which could be a nice twist! Taste-test the mixture before pouring it into molds to make sure it’s the right level of sweetness for your liking.
5. Can I make these gummies in advance?
Yes, these gummies are perfect for making ahead of time! You can store them in an airtight container in the fridge for up to one week. This makes them a great option for meal prepping or for having a healthy snack readily available. They’re also a fantastic treat to share with friends or take to gatherings.
6. How do I store my gummies?
Once your gummies are set and ready to go, store them in an airtight container in the fridge. This will keep them fresh and prevent them from sticking together. You can even layer them between pieces of parchment paper if you’re stacking them in the container to keep them from touching.
7. Can I freeze these gummies for longer storage?
While these gummies can technically be frozen, the texture may change slightly once thawed. Freezing could cause the gummies to become a bit softer or chewier than when they were originally set. If you want to try freezing them, I recommend storing them in a freezer-safe container with layers of parchment paper in between to avoid sticking.
Conclusion
Making your own Green Tea, Lemon & Ginger Gummies is an easy and fun way to enjoy the health benefits of green tea, lemon, and ginger in a convenient, chewy snack. Not only are these gummies packed with antioxidants, vitamin C, and digestive support, but they also offer a deliciously natural sweetness from honey and a spicy kick from ginger. Whether you’re looking for a quick energy boost or just want to treat yourself to something healthy and homemade, these gummies are sure to satisfy.
Don’t be afraid to get creative with the flavors, molds, and sweetness levels—you can really make this recipe your own. I encourage you to experiment with different ingredients and molds for a fun, customizable snack that’s perfect for any occasion.
So go ahead, give these Green Tea, Lemon & Ginger Gummies a try! I’d love to hear how they turn out for you and if you tried any fun variations. Drop a comment below and let me know how your gummy-making adventure went. Happy snacking!
Print
Green Tea, Lemon & Ginger Gummies
- Author: Sophia
Description
These Green Tea, Lemon & Ginger Gummies offer a delightful combination of earthy green tea, zesty lemon, and a warming ginger kick in a fun, chewy form. Naturally sweetened with honey, these homemade gummies provide a healthy, antioxidant-rich snack that’s also packed with the digestive benefits of ginger. They are perfect as a quick energy boost or a healthy treat, and can be stored for up to a week in the fridge.
Ingredients
For the Gummies:
3/4 cup (180 ml) cold water – For blooming the gelatin
5 tablespoons unflavored gelatin powder – Creates the gummy texture
1/2 cup strongly brewed green tea (about 4 tea bags) – Rich in antioxidants and provides a subtle earthy flavor
1/3 cup (80 ml) ginger juice – Freshly juiced ginger for a spicy, warming kick
1/4 cup (60 ml) fresh lemon juice – Adds tartness and vitamin C
3 tablespoons honey (or to taste) – Natural sweetener to balance the tart and spicy flavors
Instructions
Brew the Green Tea Boil water and steep 4 tea bags of green tea in 1/2 cup of hot water for about 5 minutes. Remove the tea bags and let the tea cool slightly.
Prepare the Gelatin In a small bowl, pour the 3/4 cup of cold water and sprinkle the gelatin powder evenly over the surface. Let the gelatin bloom for 5–10 minutes, or until it absorbs the water and becomes spongy.
Heat the Mixture In a saucepan over low heat, combine the brewed green tea, ginger juice, lemon juice, and honey. Stir gently to dissolve the honey. Add the bloomed gelatin to the saucepan, stirring constantly until the gelatin is fully dissolved. Be careful not to let the mixture boil, as this can affect the gelatin’s setting properties.
Pour into Molds Once the mixture is smooth and well-combined, remove it from the heat. Pour the liquid into silicone molds or a shallow baking dish. Use a small measuring cup or squeeze bottle for easy pouring. Let the molds sit at room temperature for about 10 minutes, then transfer them to the refrigerator.
Chill and Set Allow the gummies to chill in the refrigerator for 1–2 hours, or until they are fully set and firm.
Remove and Store Carefully pop the gummies out of the molds or cut them into squares if using a baking dish. Store the gummies in an airtight container in the refrigerator for up to 1 week.
Notes
These gummies are a great way to incorporate the health benefits of green tea, lemon, and ginger into your diet in a fun, convenient form. Feel free to adjust the sweetness by adding more or less honey according to your taste. You can also experiment with different molds or shapes for a fun presentation. If you don’t have ginger juice, you can grate fresh ginger and squeeze it to extract the juice, or use store-bought ginger juice if preferred.


