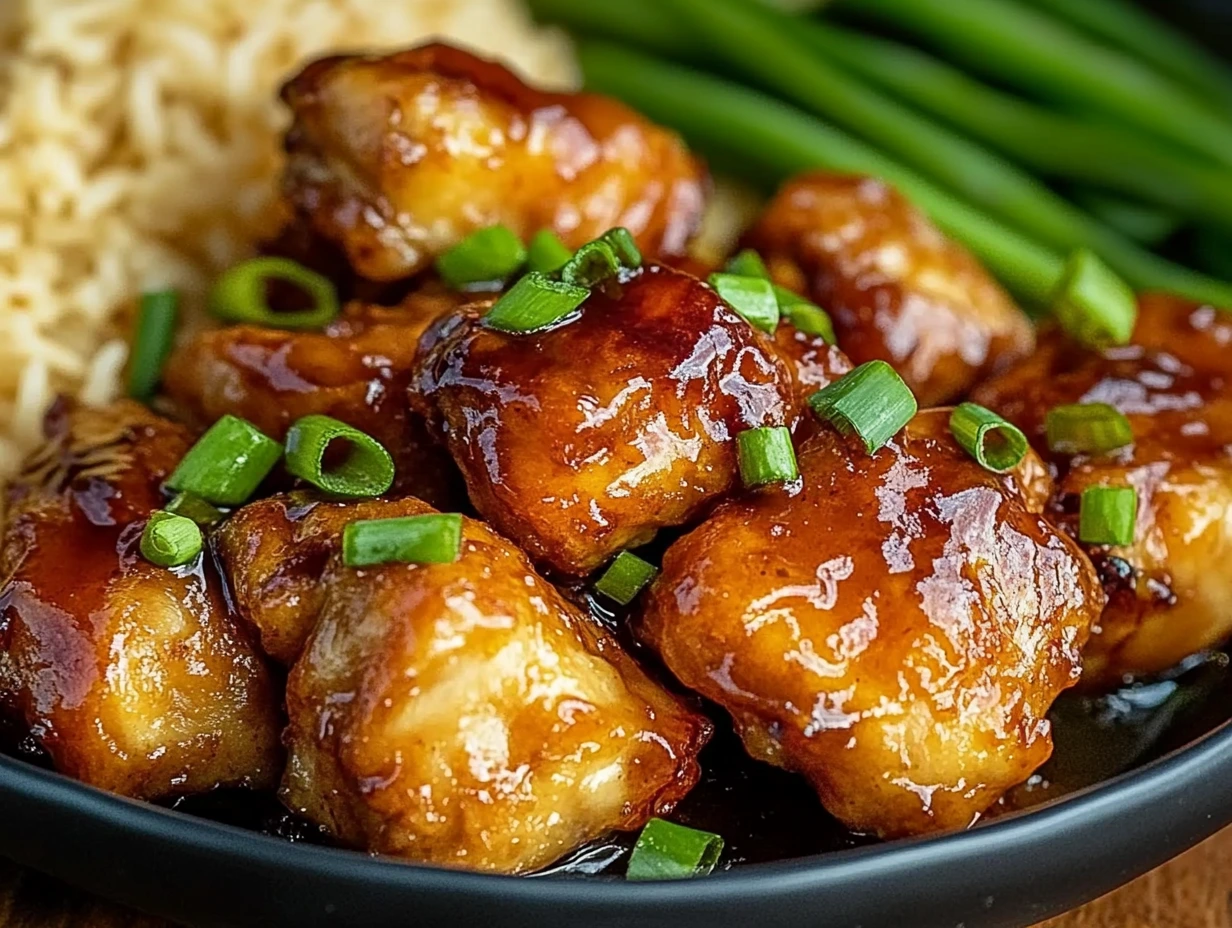
If you’ve been craving a quick, crispy, and irresistibly delicious chicken dish, look no further! This Honey Butter Chicken is the ultimate comfort meal—golden brown bites of tender chicken, coated in a buttery, sweet, and slightly tangy glaze that will have you licking your fingers. It’s the kind of dish that feels fancy but is ridiculously easy to whip up, making it perfect for a cozy weeknight dinner.
Pair it with fragrant ginger rice and sautéed green beans, and you have a complete meal that is as satisfying as it is effortless. Trust me, once you try this, it’ll become a staple in your recipe rotation!
WHY YOU’LL LOVE THIS RECIPE
- Quick & Easy – Ready in under 30 minutes, making it perfect for busy weeknights.
- Crispy & Tender – The flour coating gives the chicken a slight crisp, while the inside remains juicy and tender.
- Sweet & Savory Perfection – The honey butter sauce is rich, buttery, slightly tangy, and absolutely divine.
- Minimal Ingredients – You probably have most of these ingredients in your kitchen already!
LET’S TALK INGREDIENTS
Before we jump into the cooking process, let’s break down the key ingredients and why they’re essential for this dish.
For the Chicken:
- Chicken Breasts (1 lb, diced): Boneless, skinless chicken breasts work best here, but you can swap for chicken thighs if you prefer juicier meat.
- All-Purpose Flour (½ cup): Helps create a light crust on the chicken, giving it a slight crisp.
- Garlic Powder (½ tsp) & Onion Powder (½ tsp): Adds depth of flavor to the coating.
- Cayenne Pepper (¼ tsp): Just a touch of spice to balance the sweetness. Adjust to your heat preference!
- Salt (1 tsp) & Black Pepper (¼ tsp): Enhances the overall flavor.
- Butter (1 tbsp) & Canola Oil (1 tbsp): The combination of butter and oil ensures golden, crispy chicken without burning.
- Green Onions (1 tbsp, sliced): A fresh garnish that adds a pop of color and flavor.
For the Honey Butter Sauce:
- Butter (1 tbsp): Gives the sauce a silky, rich texture.
- Honey (¼ cup): The star ingredient that adds natural sweetness.
- Soy Sauce (1 tbsp): Balances the sweetness with a little umami depth.
- Apple Cider Vinegar (1 tsp): A touch of acidity to cut through the richness and balance the flavors.
- Salt & Pepper: Adjust to taste!
STEP 1: COATING THE CHICKEN
First things first, let’s get that chicken nice and crispy!
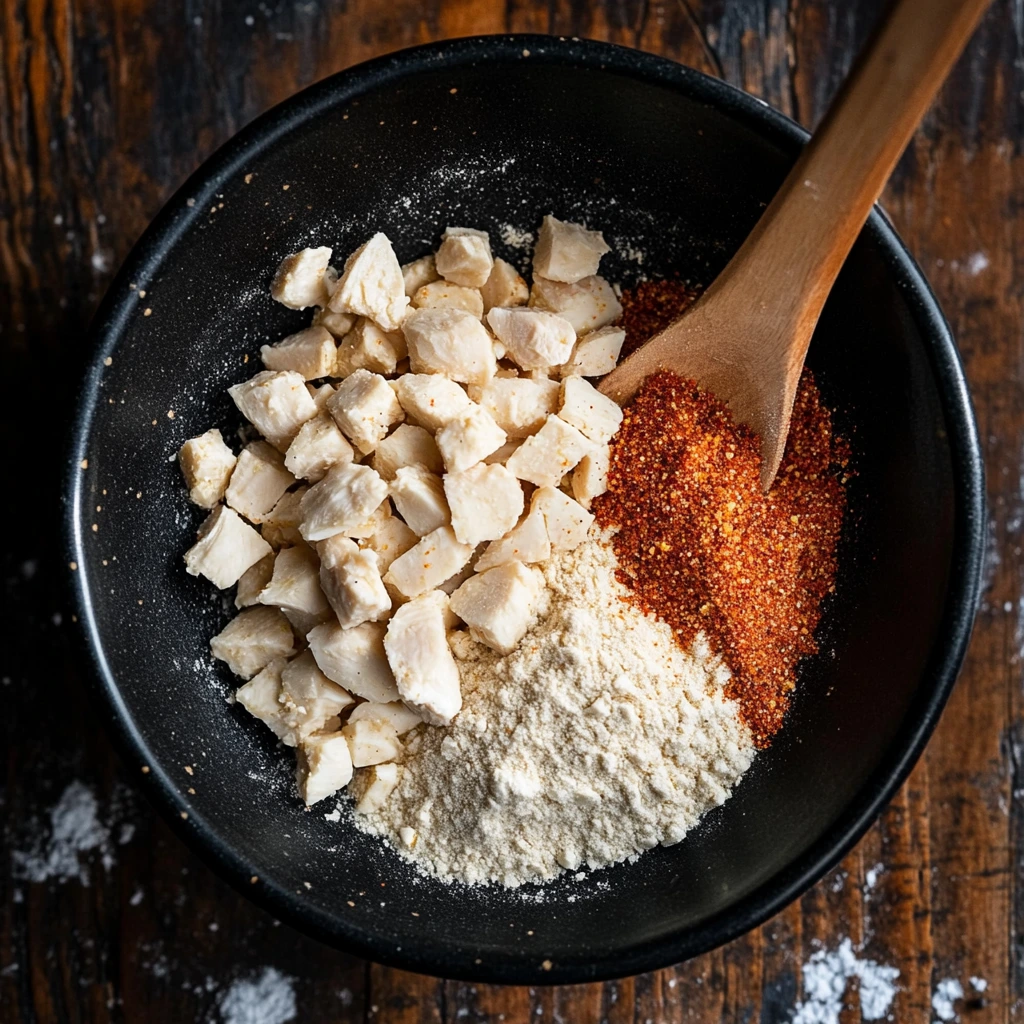
1️⃣ In a large bowl, whisk together the flour, garlic powder, cayenne pepper, onion powder, salt, and black pepper.
2️⃣ Toss in the diced chicken, making sure each piece is evenly coated in the seasoned flour mixture.
🔥 Pro Tip: Shaking the chicken in a ziplock bag with the flour mixture ensures even coating and less mess!
STEP 2: COOKING THE CHICKEN
Now it’s time to sear the chicken to golden brown perfection.
1️⃣ Heat a cast-iron skillet (or any heavy-bottomed pan) over medium heat.
2️⃣ Add butter and canola oil to the pan—this combo helps achieve a crisp, golden crust.
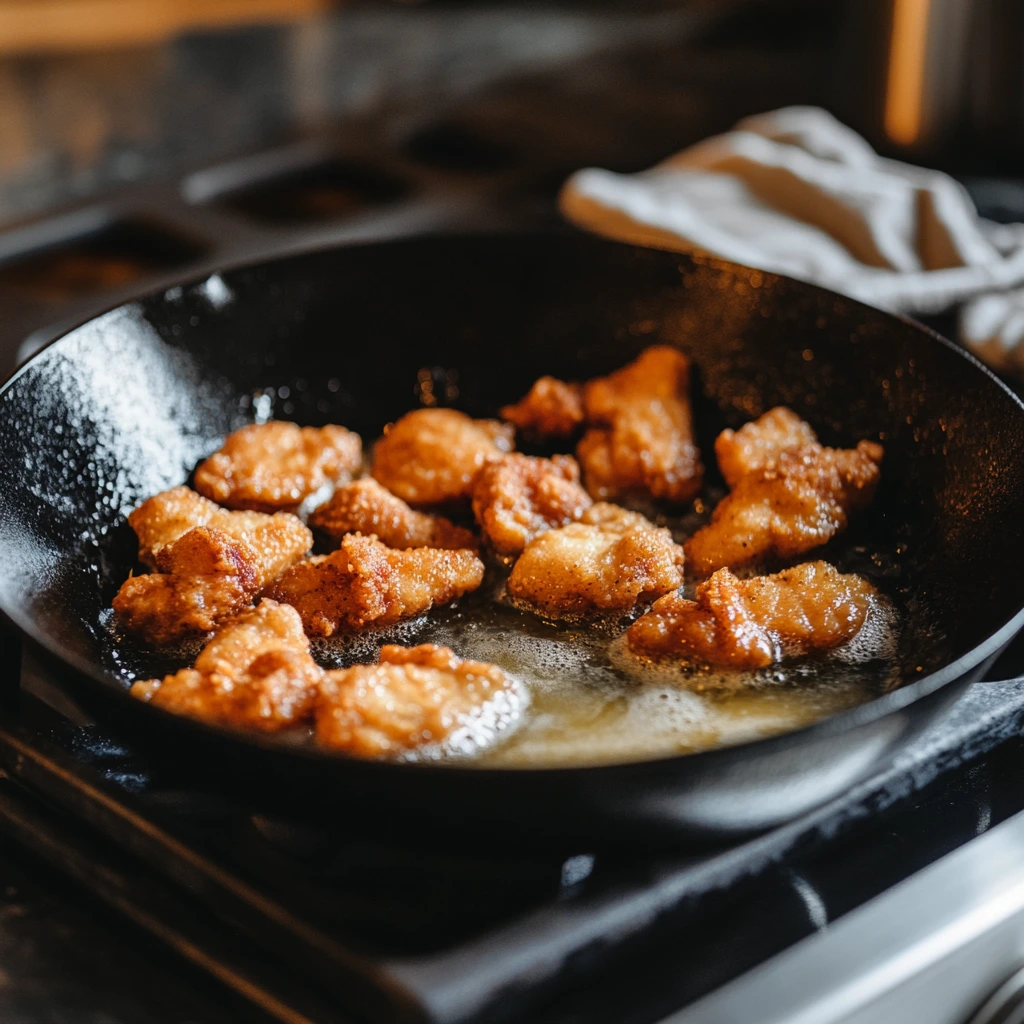
3️⃣ Arrange the chicken in a single layer and let it cook for 3-4 minutes per side, flipping once. The goal is a deep golden-brown color with juicy, cooked-through centers.
4️⃣ Once done, remove the chicken from the pan and set it aside.
🔥 Pro Tip: Avoid overcrowding the pan! Cook in batches if needed to ensure crispy, evenly cooked pieces.
MAKING THE IRRESISTIBLE HONEY BUTTER SAUCE
Now that our chicken is beautifully crispy and golden brown, it’s time to take things to the next level with the rich, sweet, and savory honey butter sauce. This sauce is the real showstopper—it coats every bite of chicken in a buttery, sticky glaze that’s downright addictive!
STEP 3: MAKING THE HONEY BUTTER SAUCE
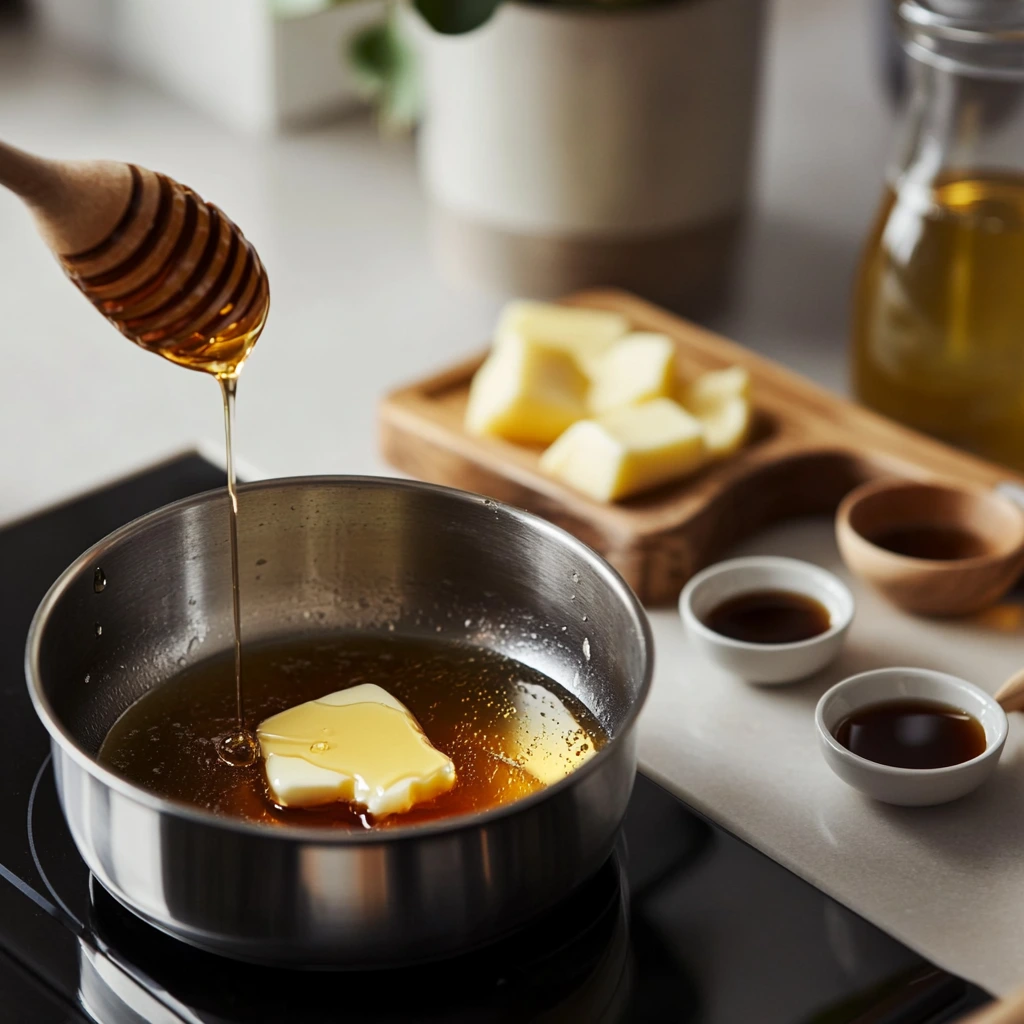
1️⃣ In the same skillet (don’t clean it—we want all those flavorful bits from the chicken!), melt 1 tablespoon of butter over low heat.
2️⃣ Stir in ¼ cup honey, 1 tablespoon soy sauce, and 1 teaspoon apple cider vinegar.
3️⃣ Let the mixture simmer for 1-2 minutes until it slightly thickens. You’ll notice it getting glossy and rich.
🔥 Pro Tip: Keep the heat on low! You don’t want to burn the honey—it should gently bubble and thicken into a smooth glaze.
The balance of sweet honey, salty soy sauce, and tangy vinegar makes this sauce unbelievably good. It’s the perfect coating for our crispy chicken!
STEP 4: COATING THE CHICKEN IN SAUCE
Now for the fun part—tossing the chicken in this magical glaze!
1️⃣ Add the cooked chicken back into the skillet.
2️⃣ Toss it gently, making sure every piece gets fully coated in the honey butter sauce.
3️⃣ Let it rest for 5 minutes so the chicken absorbs all that delicious flavor.
🔥 Pro Tip: Letting the chicken sit in the sauce helps it soak up the sweetness and makes every bite juicy and flavorful.
At this point, your kitchen will smell insanely good, and you’ll be tempted to eat the chicken straight from the pan—but hold on! We’re almost there.
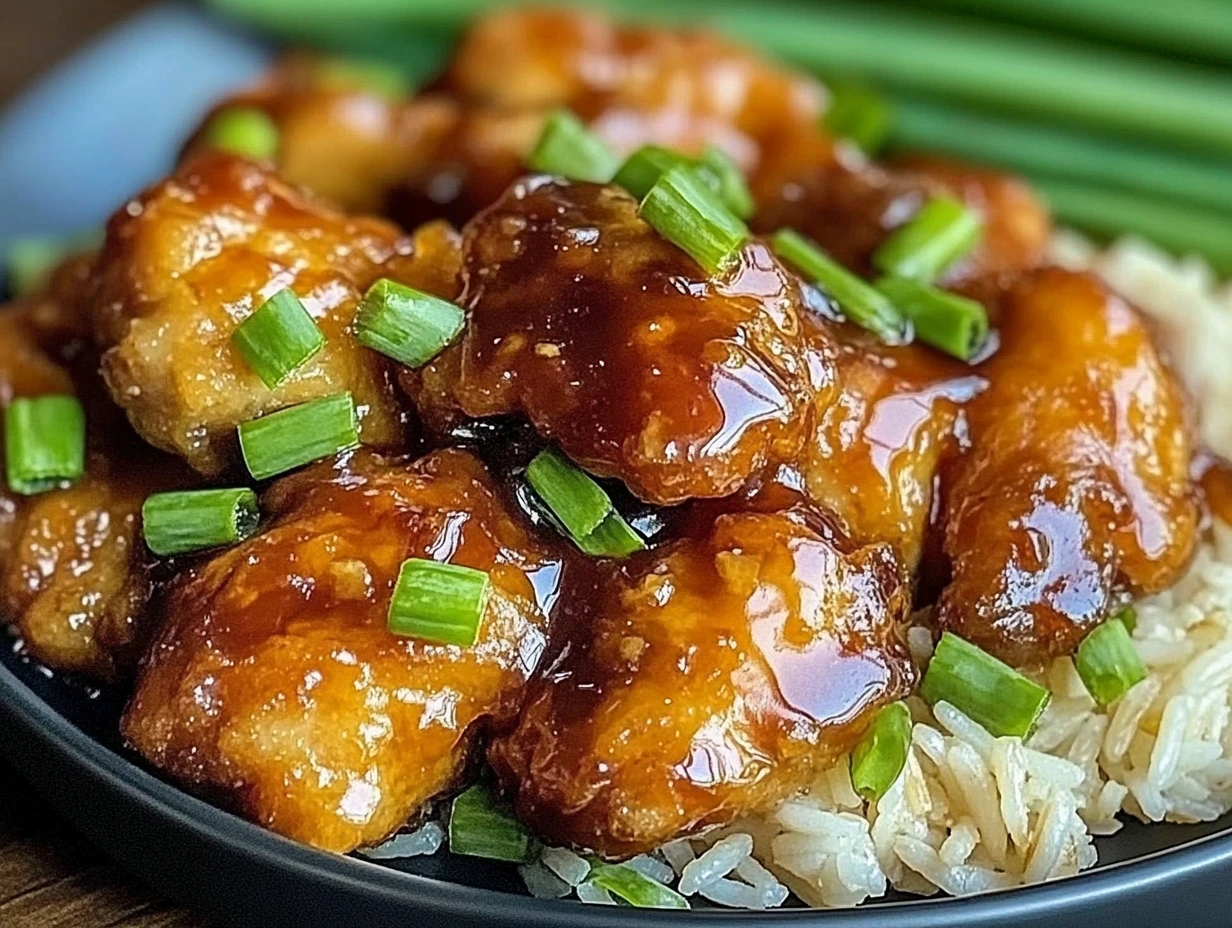
STEP 5: GARNISH AND SERVE!
For the finishing touch, sprinkle sliced green onions over the top. Not only do they add a pop of freshness, but they also bring a subtle bite that balances the sweetness of the dish.
Serving Suggestions:
- With Ginger Rice: The mild spice and aromatic warmth of ginger rice pair beautifully with the honey butter chicken.
- Sautéed Green Beans: A simple side of crisp green beans adds a fresh contrast to the rich, sticky chicken.
- Steamed Broccoli or Roasted Vegetables: If you want to add extra greens, roasted carrots, broccoli, or asparagus make fantastic sides!
🔥 Pro Tip: If you want extra sauce, double the honey butter sauce recipe and drizzle some over your rice. Trust me, you won’t regret it!
VARIATIONS & CUSTOMIZATIONS
Want to make this dish your own? Here are a few fun twists:
🔹 Spicier Version: Add ½ teaspoon red pepper flakes to the sauce for a spicy-sweet kick.
🔹 Extra Crispy Chicken: Instead of just flour, dip the chicken in an egg wash and coat it in panko breadcrumbs for an ultra-crispy texture.
🔹 Gluten-Free Option: Swap the all-purpose flour for gluten-free flour and use tamari or coconut aminos instead of soy sauce.
🔹 Air Fryer Method: Cook the chicken in an air fryer at 375°F for 12-15 minutes, flipping halfway through, then toss in the sauce.
FAQ & FINAL TIPS FOR PERFECT HONEY BUTTER CHICKEN
You’re almost ready to dig in! But before we wrap things up, let’s tackle some frequently asked questions to ensure your Honey Butter Chicken turns out flawless every single time.
FREQUENTLY ASKED QUESTIONS
1. Can I use chicken thighs instead of chicken breasts?
Absolutely! Chicken thighs tend to be juicier and have more flavor. You can swap them in using the same method, just be sure to cut them into similar-sized pieces for even cooking.
2. How do I make this dish less sweet?
If you prefer a more savory flavor, simply reduce the honey to 2 tablespoons and add an extra splash of soy sauce or a squeeze of fresh lemon juice to balance the sweetness.
3. Can I make this dish ahead of time?
Yes! While the chicken is best fresh, you can cook it ahead and store it in an airtight container in the fridge for up to 3 days. When reheating, add a little extra sauce or water to keep it from drying out.
4. How do I store and reheat leftovers?
- Refrigerate: Store in an airtight container in the fridge for up to 3 days.
- Reheat: Warm in a skillet over low heat with a splash of water or extra honey butter sauce to keep it moist. You can also microwave it for 1-2 minutes, stirring halfway.
5. Can I freeze honey butter chicken?
Yes! Freeze the cooked and cooled chicken in a freezer-safe container for up to 3 months. When ready to eat, thaw overnight in the fridge and reheat in a skillet over low heat.
6. What other vegetables pair well with this dish?
Besides green beans and broccoli, you can serve this with snap peas, bok choy, or roasted carrots. Anything with a bit of crunch works beautifully against the rich, sticky glaze.
7. How can I make the sauce thicker?
If you want a thicker sauce, mix ½ teaspoon cornstarch with 1 teaspoon water and stir it into the sauce while simmering. It’ll create a glossier, richer texture.
FINAL THOUGHTS & CONCLUSION
If you’re looking for a quick, flavorful, and crowd-pleasing meal, this Honey Butter Chicken is a total game-changer. It’s crispy, sweet, buttery, and packed with rich umami flavors—everything you could want in a comfort food classic.
Print
Honey Butter Chicken
- Author: Sophia
- Total Time: 25 minutes
Description
This Honey Butter Chicken is crispy, tender, and coated in a rich, sweet, and savory glaze. Perfect for a quick weeknight dinner with ginger rice and sautéed green beans!
Ingredients
For the Chicken:
- 1 lb chicken breasts, diced
- ½ cup all-purpose flour
- ½ tsp garlic powder
- ¼ tsp cayenne pepper
- ½ tsp onion powder
- 1 tsp salt
- ¼ tsp ground black pepper
- 1 tbsp unsalted butter
- 1 tbsp canola oil
- 1 tbsp green onions, sliced (for garnish)
For the Honey Butter Sauce:
- 1 tbsp unsalted butter
- ¼ cup honey
- 1 tbsp soy sauce
- 1 tsp apple cider vinegar
- Salt and pepper to taste
Instructions
1️⃣ Coat the chicken:
In a large bowl, mix together flour, garlic powder, cayenne pepper, onion powder, salt, and black pepper. Add the diced chicken and toss until fully coated.
2️⃣ Cook the chicken:
In a cast-iron skillet, heat butter and oil over medium heat. Add the chicken in a single layer and fry for 3-4 minutes per side until golden brown and cooked through. Remove and set aside.
3️⃣ Make the honey butter sauce:
In the same skillet, melt butter, then add honey, soy sauce, and apple cider vinegar. Stir over low heat for 1-2 minutes until the sauce thickens slightly.
4️⃣ Coat the chicken:
Return the cooked chicken to the pan and toss it in the sauce until fully coated. Let it rest for 5 minutes before serving.
5️⃣ Garnish and serve:
Sprinkle with sliced green onions and serve with ginger rice and sautéed green beans. Enjoy!
Notes
- For extra heat, add ½ tsp red pepper flakes to the sauce.
- Use chicken thighs instead of breasts for a juicier texture.
- Serve with steamed broccoli or roasted carrots for a complete meal.
- Prep Time: 10 minutes
- Cook Time: 15 minutes
Nutrition
- Serving Size: 4

