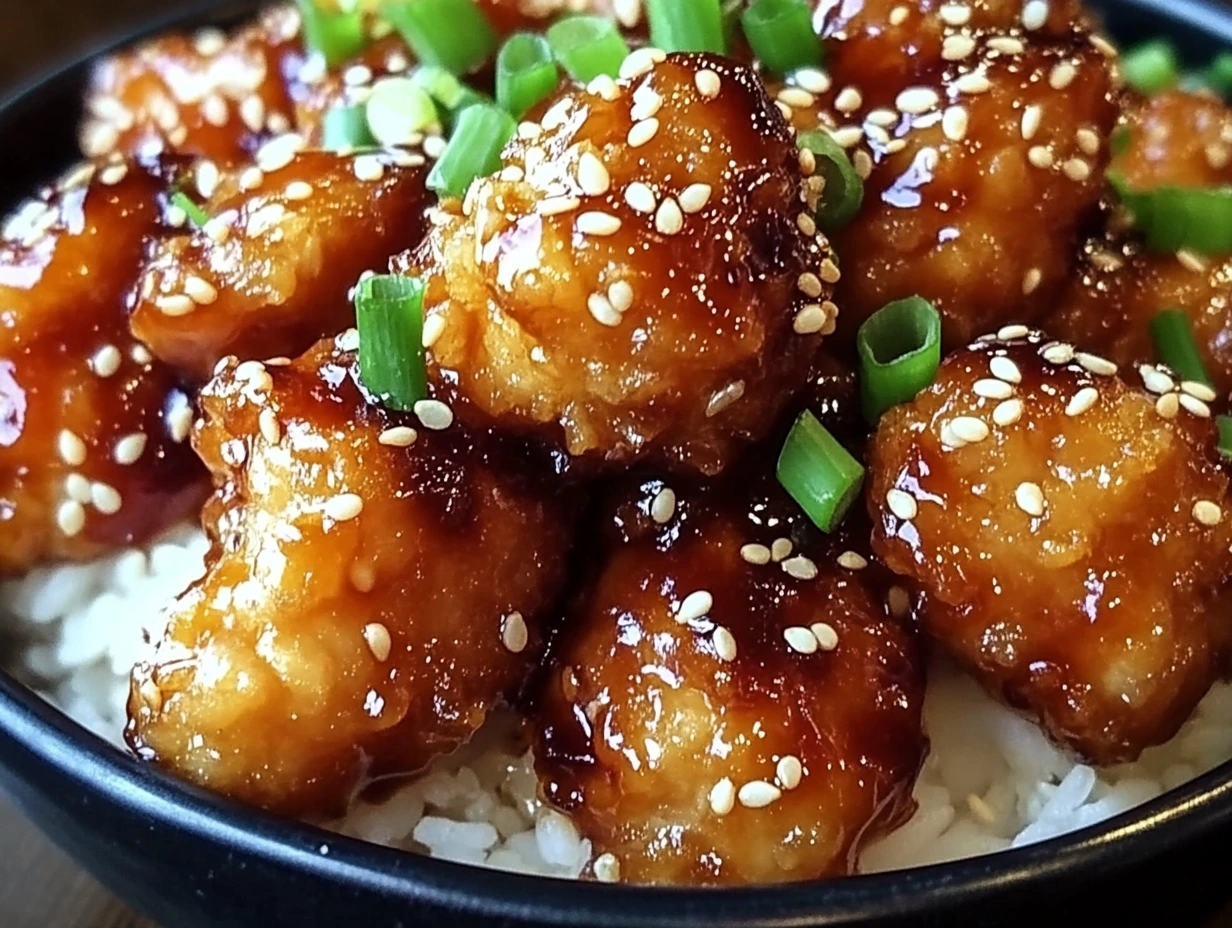
If there’s one thing I love more than a quick and easy dinner, it’s one that also tastes like pure magic. And let me tell you—this Honey Garlic Chicken is exactly that. It’s crispy, golden, and coated in the most addictive sweet-and-savory garlic sauce. Pair it with steamed rice or noodles, and you’ve got a restaurant-quality meal in less than 30 minutes!
We all have those days when we want something homemade but don’t feel like spending hours in the kitchen. That’s where this recipe shines! It’s a lifesaver for busy weeknights, picky eaters, and anyone who craves flavor-packed, sticky, and slightly crispy chicken bites. Plus, you only need a handful of ingredients—most of which you probably already have in your pantry.
So, grab your skillet, and let’s dive into making this glossy, garlicky, and completely irresistible chicken dish.
INGREDIENTS YOU’LL NEED
Before we start cooking, let’s go over the ingredients. The list is simple but delivers BIG flavor.
For the Chicken:
- 1 ½ pounds boneless, skinless chicken thighs or breasts (cut into bite-sized pieces)
- 2 tablespoons cornstarch (for that light, crispy coating)
- 2 tablespoons vegetable oil (for frying)
For the Honey Garlic Sauce:
- 4 garlic cloves, minced (trust me, fresh garlic makes all the difference!)
- ⅓ cup honey (for that perfect sticky sweetness)
- ¼ cup low-sodium soy sauce (balances the sweetness with umami)
- 2 tablespoons rice vinegar or apple cider vinegar (adds a slight tang)
- 1 teaspoon sesame oil (for that nutty depth of flavor)
- ½ teaspoon chili flakes (optional, for a bit of heat)
For Garnish:
- Sesame seeds (adds a tiny crunch)
- Chopped green onions (for freshness and a pop of color)
STEP 1: COATING THE CHICKEN
The secret to making this chicken crispy without deep frying? Cornstarch! It creates a light, crispy coating that clings beautifully to the sauce.
- Place the bite-sized chicken pieces in a bowl.
- Sprinkle 2 tablespoons of cornstarch over them.
- Toss everything together until the chicken is evenly coated.
✅ Pro Tip: Cornstarch helps create a light, crispy texture when pan-fried. If you want even crispier chicken, you can use a mix of cornstarch and a little flour.

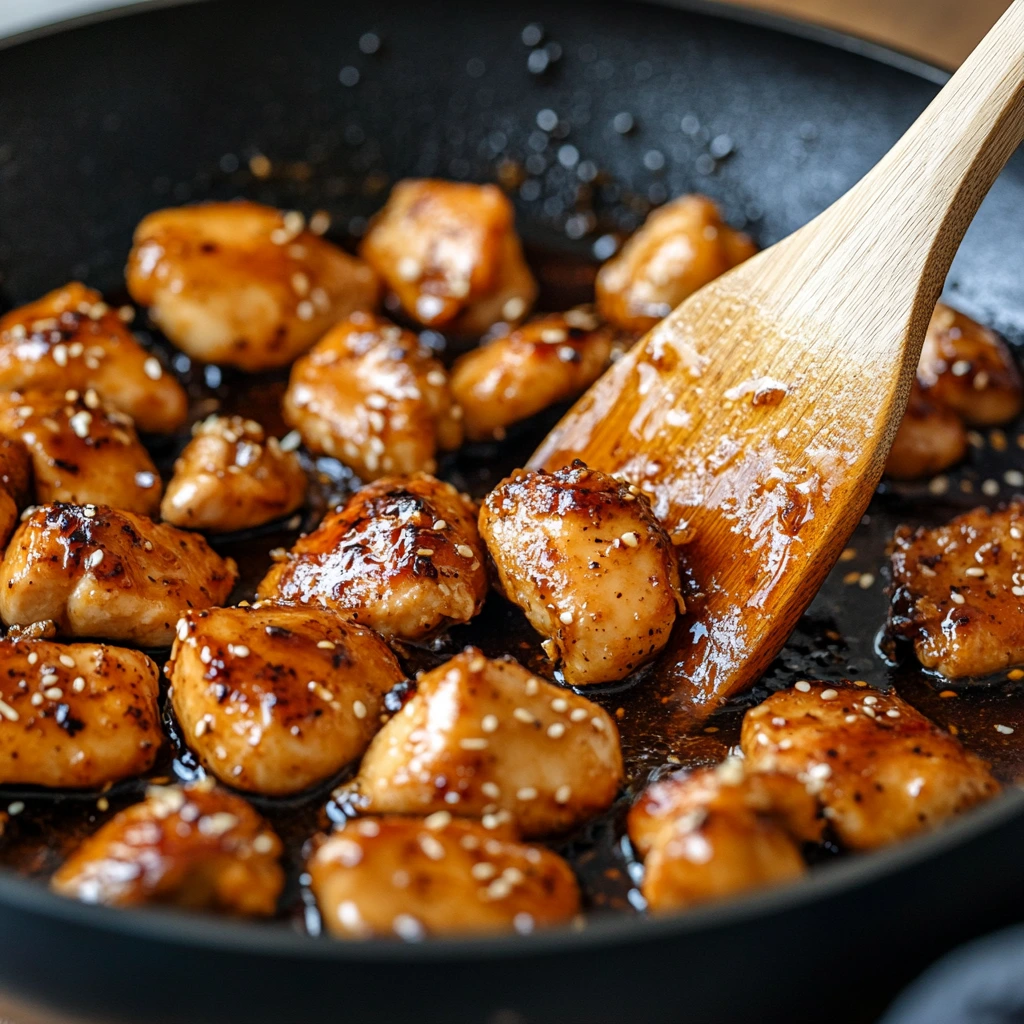
STEP 2: COOKING THE CHICKEN
Now that our chicken is coated, it’s time to get that golden, crispy goodness.
- Heat 2 tablespoons of vegetable oil in a large skillet over medium heat.
- Add the chicken pieces in a single layer (don’t overcrowd the pan!).
- Cook for 5-6 minutes, flipping halfway through, until golden brown and fully cooked.
- Once done, remove the chicken from the skillet and set it aside.
✅ Pro Tip: If using chicken breasts, be careful not to overcook them—they cook faster than thighs and can dry out. Thighs are more forgiving and stay juicier!

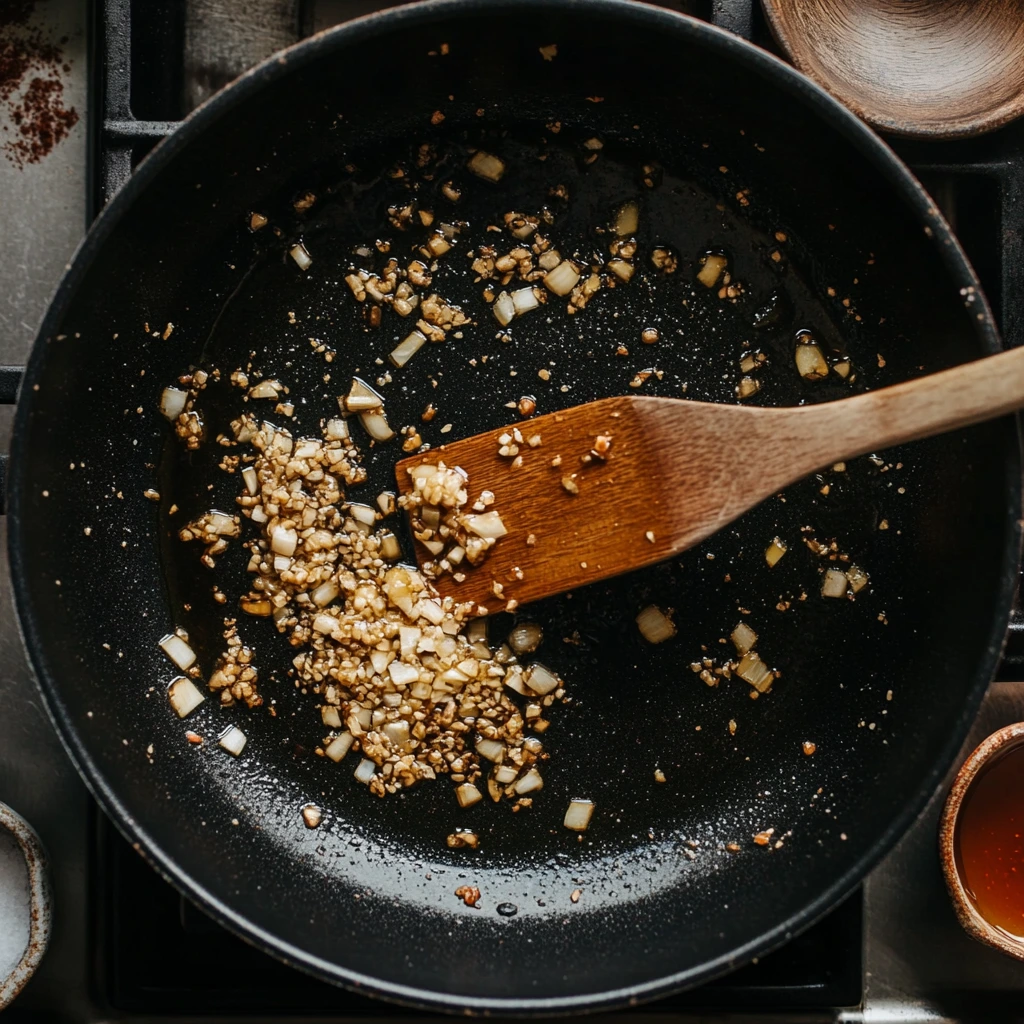
STEP 3: SAUTÉING THE GARLIC
This is where the magic starts happening. Garlic + heat = pure bliss!
- In the same skillet, reduce heat to medium-low.
- Add the minced garlic and sauté for about 1 minute, just until fragrant.
✅ Pro Tip: Garlic burns fast! Stir constantly and don’t let it turn brown, or it will taste bitter.
MAKING THE SAUCE & BRINGING IT ALL TOGETHER
Now that we’ve got crispy, golden chicken and beautifully sautéed garlic, it’s time to make the star of the show—the sweet, savory, and slightly tangy honey garlic sauce. This sauce is what makes this dish so irresistibly delicious, coating each piece of chicken in a sticky, flavorful glaze.
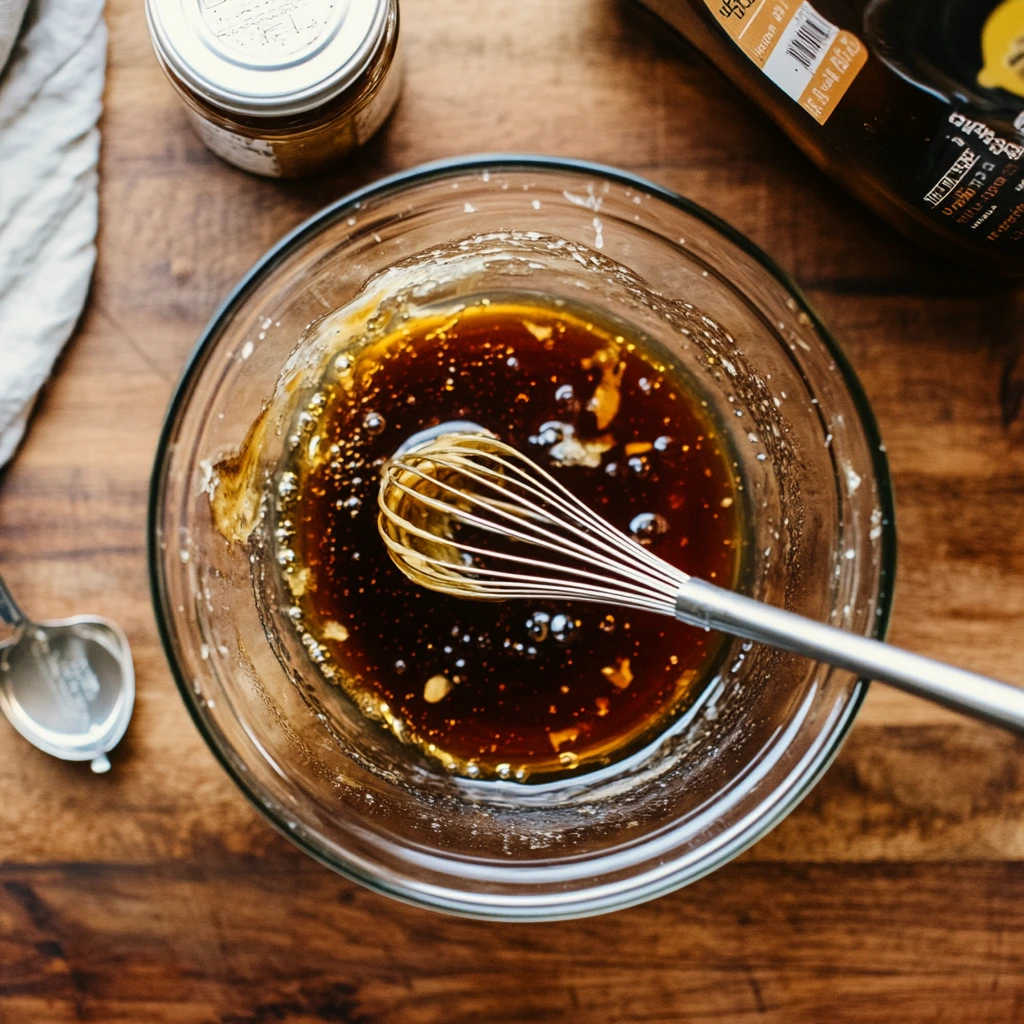
STEP 4: MAKING THE HONEY GARLIC SAUCE
This sauce comes together in seconds but packs layers of flavor. You don’t need anything fancy—just a few pantry staples.
1️⃣ In a small bowl, whisk together:
- ⅓ cup honey (for natural sweetness)
- ¼ cup low-sodium soy sauce (for a deep umami kick)
- 2 tablespoons rice vinegar or apple cider vinegar (adds a touch of acidity to balance the sweetness)
- 1 teaspoon sesame oil (for nuttiness)
- ½ teaspoon chili flakes (optional, for those who like a little heat)
2️⃣ Pour the sauce mixture into the same skillet where the garlic is sautéing.
3️⃣ Bring the sauce to a gentle simmer over medium heat, stirring occasionally.
✅ Pro Tip: If you want a thicker sauce, mix 1 teaspoon of cornstarch with 1 tablespoon of water, then stir it into the simmering sauce. This helps it coat the chicken beautifully.
STEP 5: COMBINING EVERYTHING
Now it’s time to bring back the crispy chicken and coat it in that incredible sauce.
1️⃣ Add the cooked chicken back into the skillet with the simmering sauce.
2️⃣ Stir everything together so the sauce evenly coats the chicken.
3️⃣ Let it cook for 2-3 minutes, stirring occasionally, until the sauce thickens slightly and clings to the chicken.
4️⃣ Turn off the heat and get ready to plate!
✅ Pro Tip: If you love extra saucy chicken, you can double the sauce ingredients and let it simmer for an additional minute to thicken.
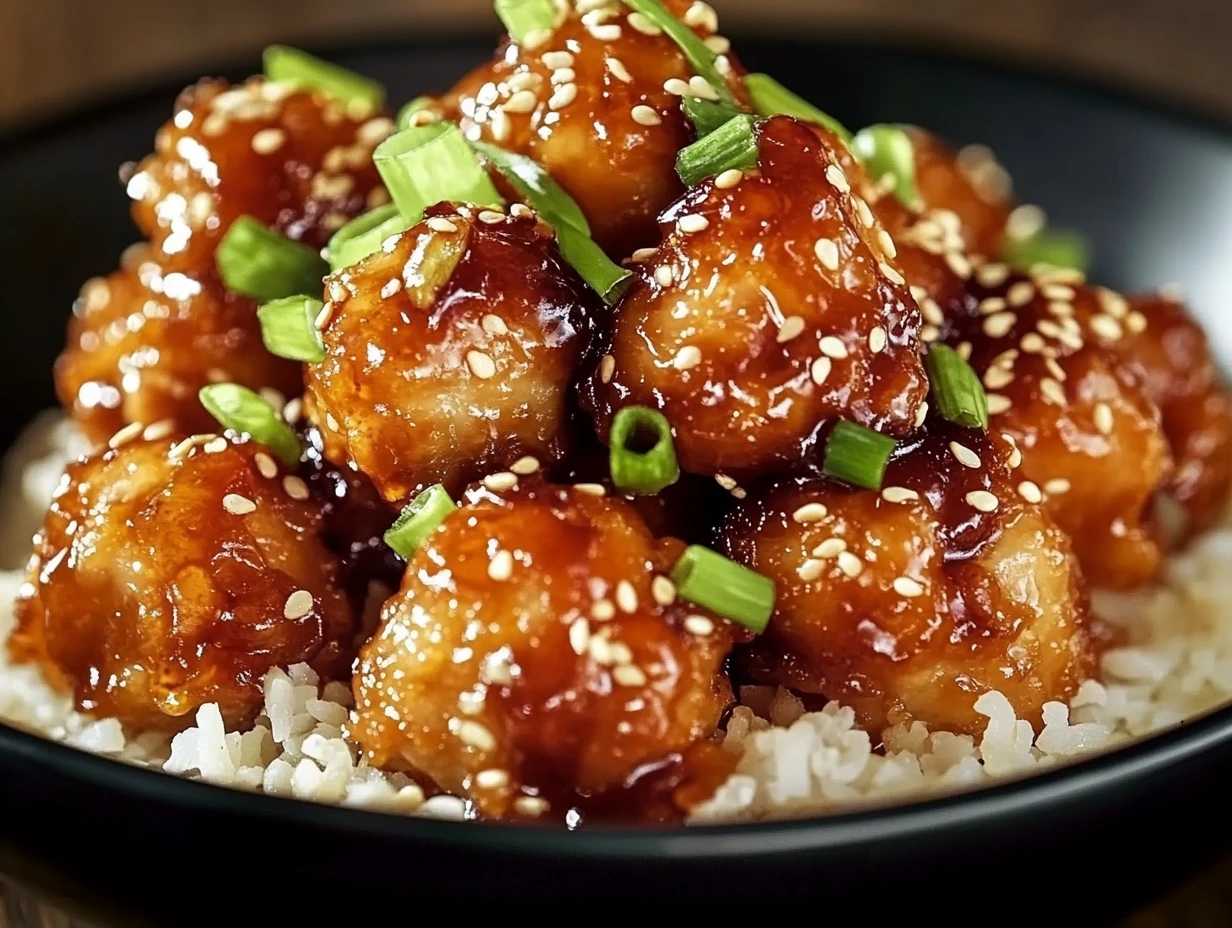
STEP 6: GARNISH & SERVE
Now for the finishing touches! A little garnish adds texture and brightness, making the dish look (and taste!) even better.
1️⃣ Sprinkle the chicken with sesame seeds for a light crunch.
2️⃣ Add chopped green onions for a fresh, slightly spicy pop of flavor.
3️⃣ Serve warm over steamed rice or noodles.
✅ Serving Suggestions:
- Classic: Serve over a bowl of fluffy white rice to soak up all that delicious sauce.
- Low-carb: Enjoy with cauliflower rice or stir-fried vegetables.
- Noodles: Toss with lo mein or ramen noodles for an easy, Asian-inspired meal.
EXTRA TIPS & VARIATIONS
Want to make this dish even better? Here are some fun ways to switch things up:
✅ Make it Extra Crispy: Instead of pan-frying, coat the chicken in cornstarch and panko breadcrumbs, then bake at 400°F for 20 minutes or air-fry at 375°F for 12-15 minutes.
✅ Add Veggies: Toss in bell peppers, broccoli, or snap peas while cooking the sauce for a veggie-packed meal.
✅ Spice it Up: Want more heat? Add a teaspoon of sriracha or red pepper flakes.
✅ Make it a Meal Prep Dish: This reheats beautifully, making it perfect for meal prepping lunches or dinners.
FAQS, STORAGE TIPS & FINAL THOUGHTS
We’re almost done! By now, you’ve got a plate of crispy, sticky, sweet, and garlicky chicken that’s practically begging to be devoured. But before you dig in, let’s go over some frequently asked questions and tips for storing leftovers, so you can enjoy this dish anytime!
FREQUENTLY ASKED QUESTIONS (FAQS)
1. Can I use chicken breasts instead of thighs?
Absolutely! While chicken thighs tend to be juicier and more flavorful, chicken breasts work just as well. Just be sure not to overcook them, as they can dry out faster. If you want to keep them extra tender, try cutting the chicken into uniform pieces so they cook evenly.
2. How do I make this dish gluten-free?
Super easy! Just swap the soy sauce for gluten-free tamari or coconut aminos. The rest of the ingredients are naturally gluten-free, so you can enjoy this dish without worry!
3. Can I make this ahead of time?
Yes! This dish stores and reheats really well, making it a perfect meal prep option. Keep it in an airtight container in the fridge for up to 4 days.
4. What’s the best way to reheat Honey Garlic Chicken?
- Stovetop: Warm it in a pan over medium heat, adding a splash of water to loosen the sauce.
- Microwave: Heat in 30-second intervals, stirring between each round until warm.
- Air Fryer: If you want the chicken to stay crispy, pop it in the air fryer at 375°F for 4-5 minutes.
5. Can I make this dish spicy?
For sure! If you love a little heat, try:
- Adding more chili flakes (or swap them for sriracha).
- Stirring in a teaspoon of gochujang (Korean chili paste) for a deep, rich spice.
- Drizzling with hot honey for a spicy-sweet kick!
6. Can I freeze Honey Garlic Chicken?
Yes! To freeze, let the chicken cool completely, then store it in an airtight container for up to 3 months. When ready to eat, thaw overnight in the fridge and reheat on the stovetop.
STORING & REHEATING LEFTOVERS
If you’re lucky enough to have leftovers (which is rare in my house!), here’s how to keep them fresh:
Fridge Storage:
- Store in an airtight container for up to 4 days.
Freezer Storage:
- Let the chicken cool completely before freezing.
- Store in an airtight freezer-safe container or Ziploc bag for up to 3 months.
- Pro Tip: Freeze individual portions so you can grab just what you need!
Best Ways to Reheat:
- Microwave: Heat in 30-second bursts, stirring in between.
- Stovetop: Warm over medium heat with a splash of water.
- Air Fryer: For crispy leftovers, air-fry at 375°F for 4-5 minutes.
FINAL THOUGHTS: WHY YOU NEED THIS RECIPE IN YOUR LIFE
If you’re looking for a quick, easy, and flavor-packed dinner, this Honey Garlic Chicken is your new best friend. It’s got the perfect balance of sweet, savory, and garlicky goodness, plus it’s super versatile! Serve it over rice, noodles, or even in lettuce wraps for a lighter twist.
Why You’ll Love It:
✅ Quick & Easy: Ready in under 30 minutes—perfect for busy nights.
✅ Budget-Friendly: Uses simple ingredients you probably already have.
✅ Kid-Friendly: Even picky eaters LOVE this dish.
✅ Perfect for Meal Prep: Stays delicious for days!

Honey Garlic Chicken
- Author: Sophia
- Total Time: 25 minutes
Description
This Honey Garlic Chicken is a quick and flavorful dish featuring crispy, golden chicken coated in a sweet, savory, and garlicky sauce. Perfect for serving over rice or noodles, this dish is an easy weeknight favorite!
Ingredients
For the Chicken:
- 1 ½ pounds boneless, skinless chicken thighs or breasts, cut into bite-sized pieces
- 2 tablespoons cornstarch
- 2 tablespoons vegetable oil
For the Sauce:
- 4 garlic cloves, minced
- ⅓ cup honey
- ¼ cup soy sauce (low sodium recommended)
- 2 tablespoons rice vinegar or apple cider vinegar
- 1 teaspoon sesame oil
- ½ teaspoon chili flakes (optional, for heat)
For Garnish:
- Sesame seeds
- Chopped green onions
Instructions
1️⃣ Coat the Chicken:
In a bowl, toss the chicken pieces with cornstarch until evenly coated.
2️⃣ Cook the Chicken:
Heat vegetable oil in a large skillet over medium heat.
Add the coated chicken and cook until golden brown and fully cooked, about 5-6 minutes.
Remove from the skillet and set aside.
3️⃣ Sauté the Garlic:
In the same skillet, add minced garlic and sauté until fragrant, about 1 minute.
4️⃣ Make the Sauce:
In a small bowl, whisk together honey, soy sauce, vinegar, sesame oil, and chili flakes.
Pour the mixture into the skillet and bring to a gentle simmer.
5️⃣ Combine Everything:
Return the cooked chicken to the skillet and toss to coat in the sauce.
Let it cook for 2-3 minutes, until the sauce thickens slightly.
6️⃣ Garnish & Serve:
Sprinkle with sesame seeds and chopped green onions.
Serve warm over steamed rice or noodles.
Notes
✅ Crispier Chicken? Cook the chicken in batches to avoid overcrowding the pan.
✅ Sweeter or Spicier? Adjust honey and chili flakes to taste.
✅ Thicker Sauce? Mix 1 teaspoon cornstarch with 1 tablespoon water and stir into the sauce.
✅ Meal Prep Friendly: Store in an airtight container in the fridge for up to 3 days.
- Prep Time: 10 minutes
- Cook Time: 15 minutes
Nutrition
- Serving Size: 4