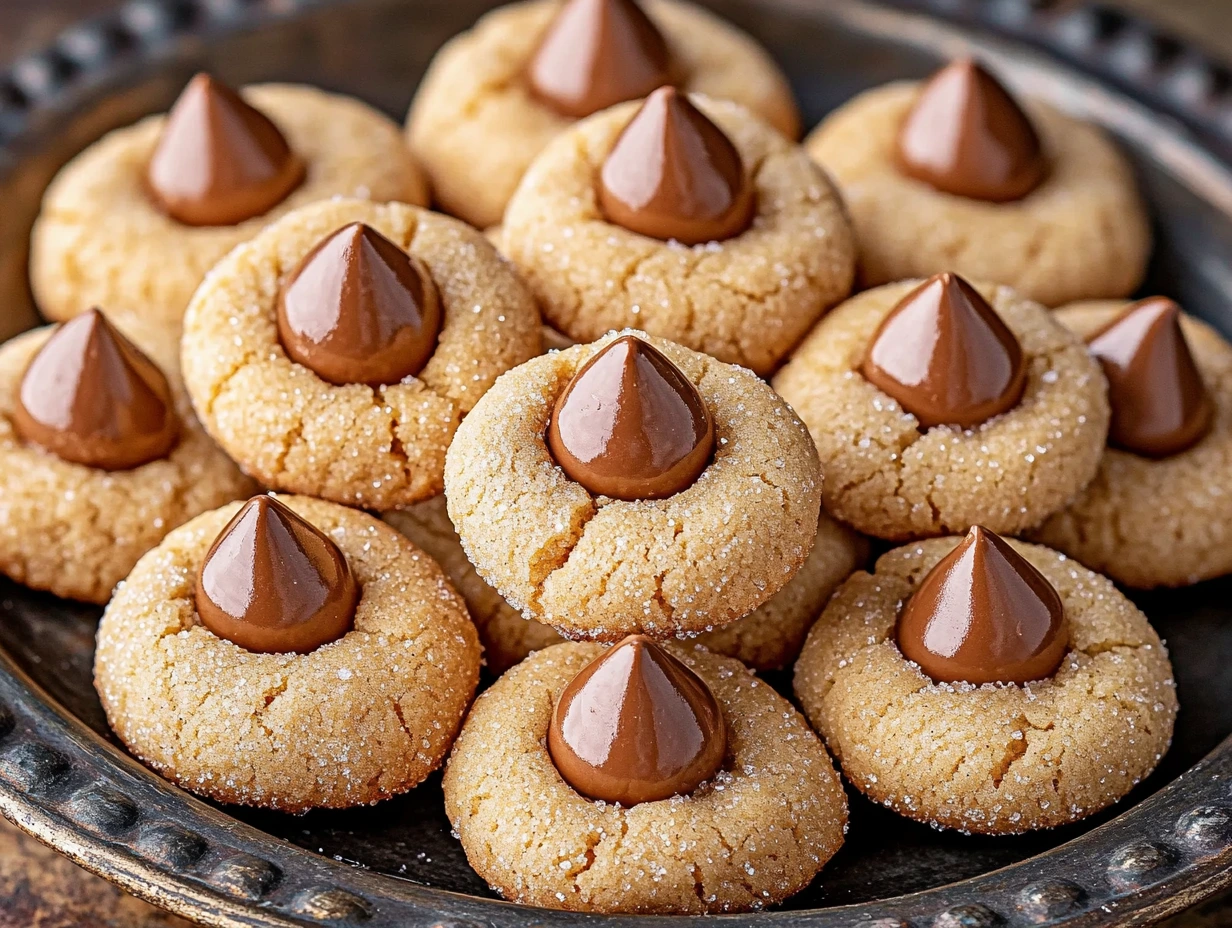
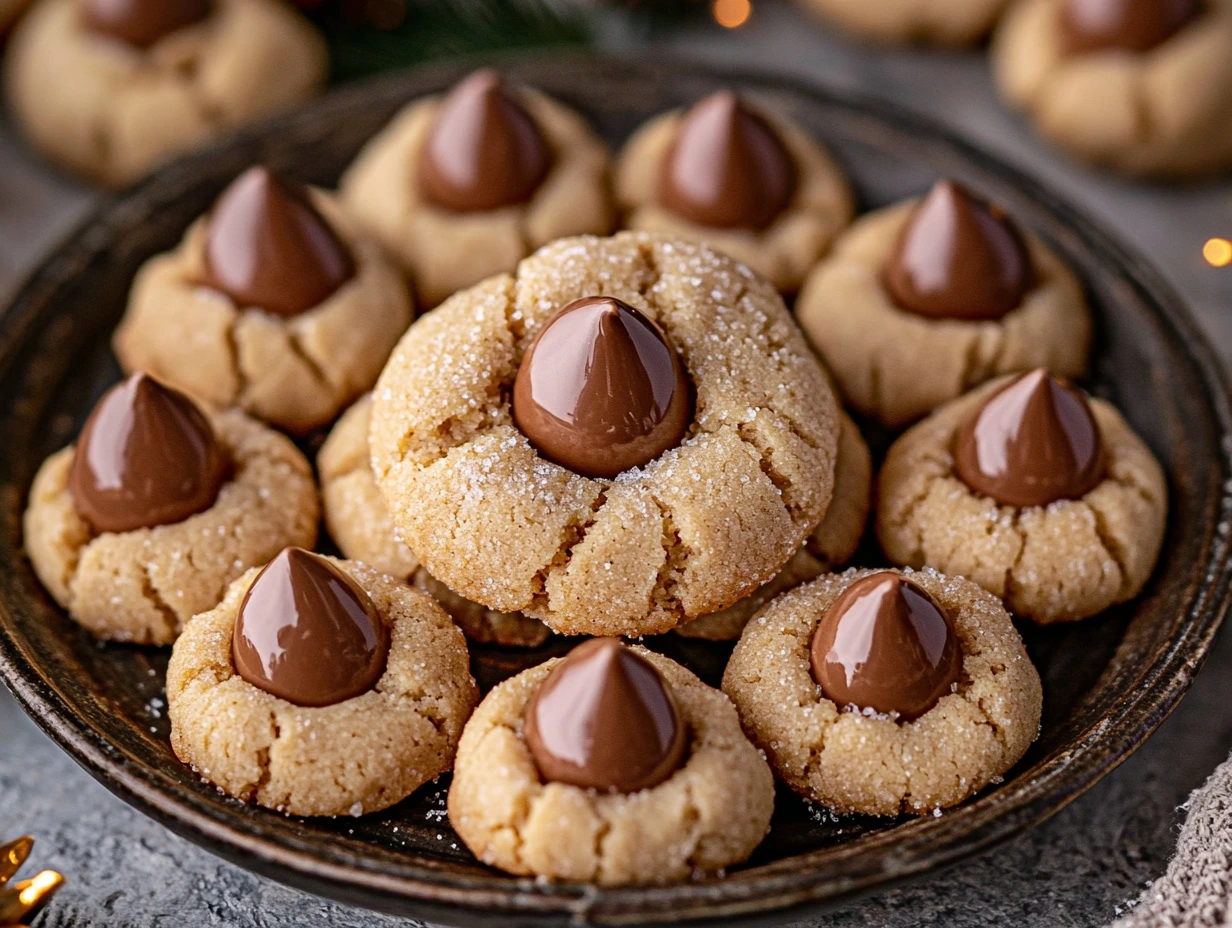
There’s something so nostalgic and heartwarming about Peanut Butter Blossoms. They’re the kind of cookie that shows up on festive platters, cookie swaps, and late-night snack plates alike. Soft, chewy peanut butter cookies topped with a melt-in-your-mouth Hershey Kiss—what’s not to love? Whether you’re baking these for a holiday party or just craving a sweet treat, this recipe is foolproof and oh-so-delicious.
Let’s dive into how you can whip up these delightful cookies right in your kitchen!
Why Peanut Butter Blossoms Are the Ultimate Cookie Classic
If you’ve never tried a Peanut Butter Blossom before, let me paint you a picture. Imagine a soft, slightly crumbly peanut butter cookie rolled in sugar for a touch of sparkle. Then, as soon as it’s out of the oven, you press a Hershey Kiss into the center. The warmth of the cookie makes the chocolate slightly melty, creating a perfect bite every time. It’s an iconic combination of flavors and textures, making it a favorite for decades.
For me, Peanut Butter Blossoms are more than just cookies—they’re a tradition. I remember making these with my mom during the holidays, sneaking Hershey Kisses when I thought she wasn’t looking (spoiler: she always knew). There’s joy in every step, from unwrapping chocolates to rolling dough into sugar-coated balls. It’s a simple recipe, but it delivers big on flavor and charm.
Let’s Get Baking: Starting with the Wet Ingredients
To make the magic happen, we’ll start with the wet ingredients. Here’s what you’ll need:
- 1 cup salted butter (at room temperature): This gives your cookies a rich, buttery base.
- 1 cup creamy peanut butter: For that classic peanut butter flavor. Use a smooth, no-stir variety for the best results.
- 1 cup granulated sugar and 1 cup packed light brown sugar: These work together to create the perfect sweetness and chewy texture.
- 1 teaspoon vanilla extract: A splash of vanilla rounds out the flavor beautifully.
- 3 large eggs: These help bind the dough and add richness.
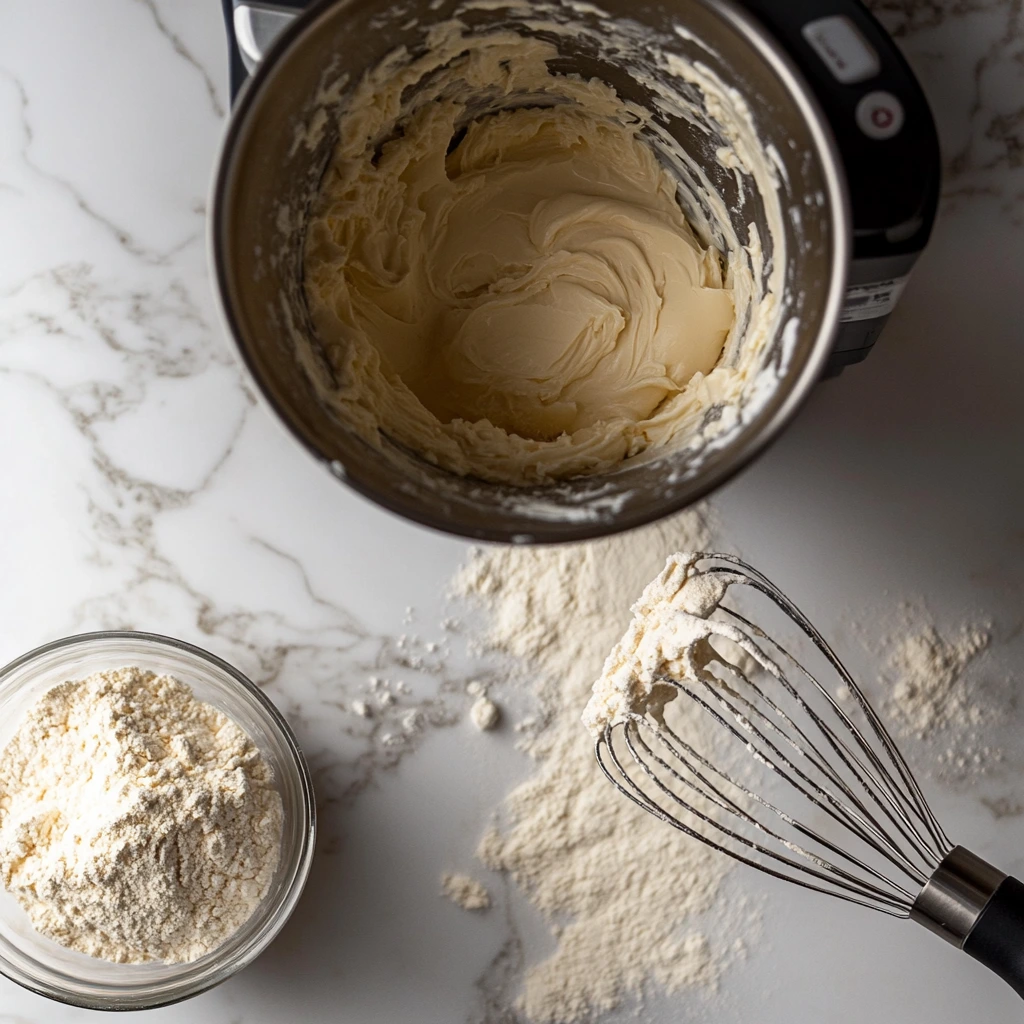
Start by creaming the butter, peanut butter, and both sugars together. You’ll want to use a stand mixer fitted with a paddle attachment or an electric hand mixer for this step. Mix on medium speed for about 2–3 minutes until the mixture is light and fluffy. This aeration is key to achieving that soft cookie texture.
Next, add the vanilla extract and eggs. Be sure to add the eggs one at a time, mixing well after each addition. Don’t forget to scrape down the sides of the bowl to ensure everything is evenly combined. This step might feel tedious, but trust me, it’s worth it for that perfectly uniform dough.

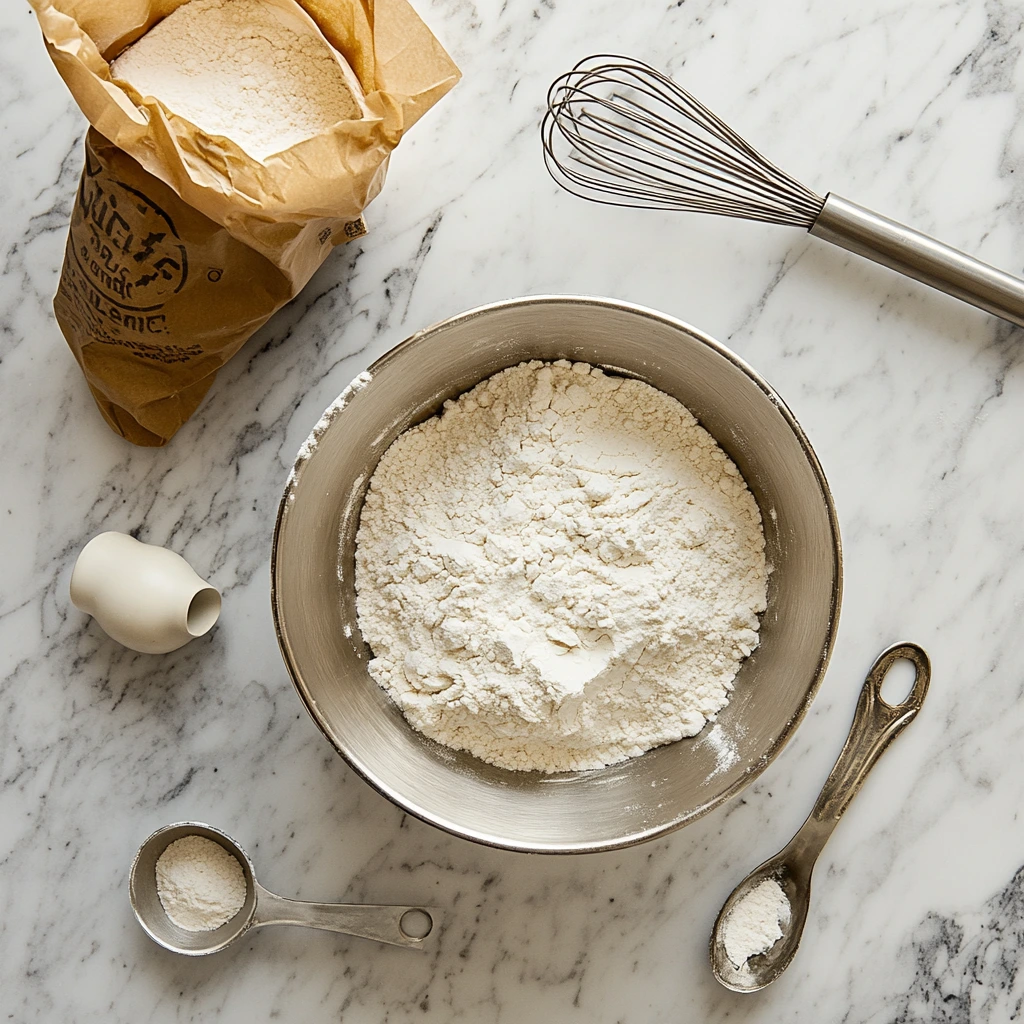
Dry Ingredients: Building the Structure
In a separate bowl, whisk together the dry ingredients:
- 4 cups all-purpose flour: This forms the bulk of your dough.
- 2 teaspoons baking soda: Helps the cookies rise and puff up slightly in the oven.
- ¼ teaspoon salt: Just a pinch enhances the flavors.
Once mixed, gradually add the dry ingredients to the wet mixture. This is where the dough starts to come together. Mix on low speed to avoid a flour cloud, and stop as soon as everything is well incorporated. Overmixing can lead to tough cookies, and nobody wants that!
Rolling and Chilling: The Key to Perfect Blossoms
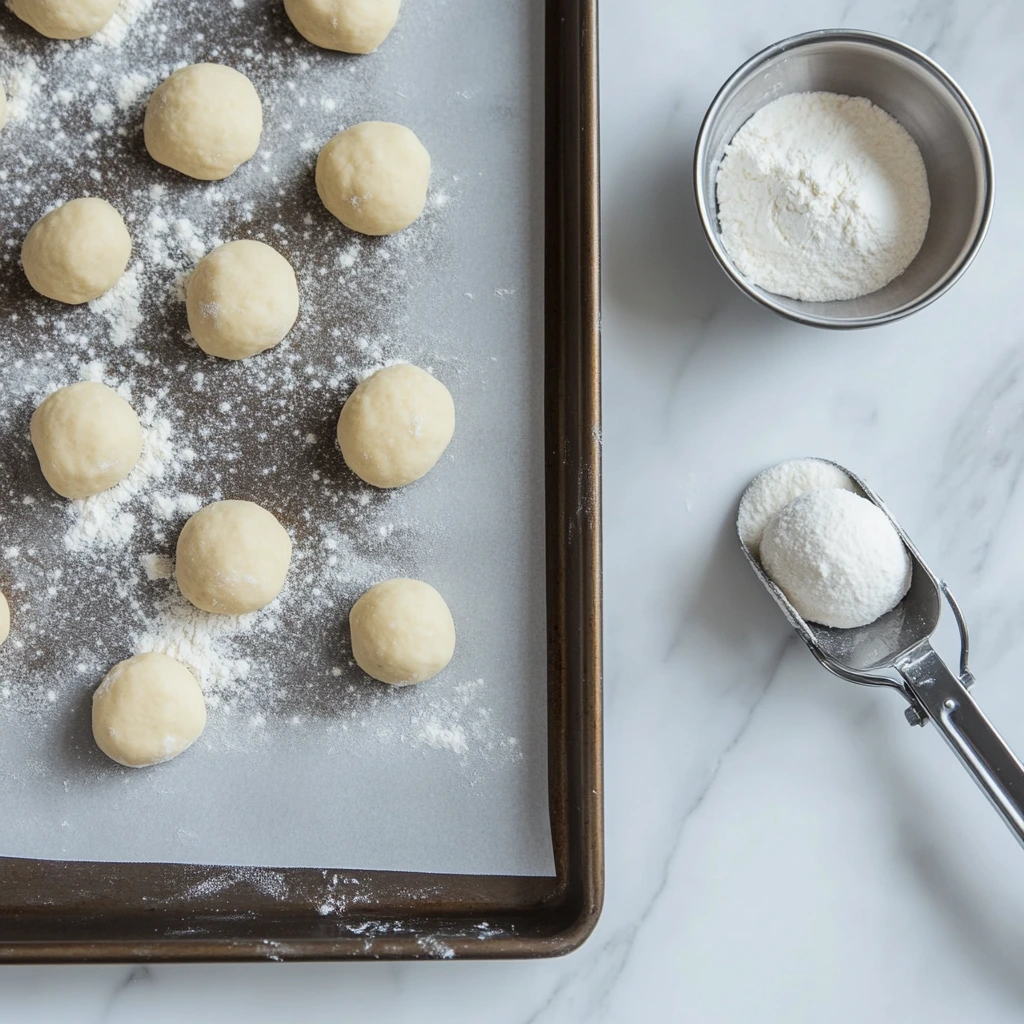
Now comes the fun part—shaping the cookies. Roll the dough into 1-inch balls, then roll each ball in granulated sugar for a sparkly finish. This step not only makes the cookies prettier but also adds a satisfying crunch to the exterior.
Place the sugar-coated dough balls on a baking sheet lined with parchment paper, leaving about 2 inches between each. At this point, it’s essential to chill the dough for 15 minutes. Chilling prevents the cookies from spreading too much during baking, ensuring they stay thick and chewy.
While your dough is chilling, preheat your oven to 375°F (190°C). The wait will be worth it, I promise!
The Baking Magic: Turning Dough into Perfect Peanut Butter Blossoms
Now that your dough has chilled and the oven is preheated, it’s time to transform those sugar-coated dough balls into soft, golden cookies. The next few steps are where the real magic happens, so let’s dive right in.
Baking Your Blossoms to Perfection
Take your chilled dough balls and arrange them on your prepared baking sheet. Remember to leave about 2 inches of space between each ball to give them room to spread slightly as they bake. Place the sheet in the oven and bake for exactly 8 minutes.
Here’s a crucial tip: The cookies might not look completely done when you take them out, but that’s what you want! They should puff up slightly and appear soft in the center. Resist the urge to overbake—they’ll firm up as they cool, leaving you with a wonderfully chewy texture.
The Hershey Kiss Moment
Now comes the part that makes Peanut Butter Blossoms so iconic: adding the Hershey Kisses. As soon as you remove the cookies from the oven, gently press a Kiss into the center of each cookie. The warmth of the cookie will slightly melt the base of the Kiss, anchoring it perfectly. Don’t wait too long—this step works best while the cookies are still warm and pliable.
Here’s a little pro tip: Keep your Hershey Kisses unwrapped and ready to go before the cookies come out of the oven. That way, you can work quickly and efficiently. Plus, unwrapping them in advance saves you from sticky fingers during the process!
Once the Kisses are in place, let the cookies cool on the baking sheet for about 3 minutes. This allows the chocolate to set slightly while the cookies hold their shape.
Cooling and Storing Your Masterpieces
After a few minutes of cooling on the baking sheet, transfer the cookies to a wire rack to cool completely. This step is essential because it helps the bottoms of the cookies stay firm and prevents any sogginess. Plus, a wire rack allows air to circulate around the cookies, ensuring they cool evenly.
Once your Peanut Butter Blossoms are completely cooled, you can store them in an airtight container at room temperature for up to a week. That is, if they last that long—these cookies tend to disappear fast!
Tips and Tricks for Cookie Success
Even with a simple recipe like this one, there are a few tricks that can elevate your cookies to bakery-level perfection. Here are my favorite tips:
- Chill for the Perfect Texture: If you’re short on time, you might be tempted to skip chilling the dough. Don’t! Chilling helps prevent the cookies from spreading too much and ensures they stay thick and chewy.
- Experiment with Chocolates: While Hershey Kisses are classic, you can mix things up by using other chocolates, like mini peanut butter cups or caramel-filled Kisses.
- Size Matters: For consistently sized cookies, use a small cookie scoop to portion out your dough. This not only looks professional but also ensures even baking.
- Freeze for Later: You can freeze the rolled dough balls (without the sugar coating) for up to 3 months. When you’re ready to bake, let them thaw slightly, roll them in sugar, and bake as directed.
Variations to Try
If you love the classic Peanut Butter Blossom but want to get a little creative, here are some fun variations to try:
- Double Chocolate: Add ¼ cup of cocoa powder to the dry ingredients for a chocolatey twist.
- Almond Joy Blossoms: Swap out the peanut butter for almond butter and use dark chocolate Kisses.
- Holiday Blossoms: Use colored sugar for rolling to match the season—red and green for Christmas, pastel colors for Easter, or orange for Halloween.
FAQ About Peanut Butter Blossoms
Peanut Butter Blossoms might seem straightforward, but as with any recipe, questions often pop up during the process. Here’s a handy FAQ section to address common concerns and help you achieve perfect cookies every time.
Can I Use Natural Peanut Butter?
Yes, but with caution. Natural peanut butter, which separates in the jar, can affect the texture of the cookies. If you choose to use it, make sure it’s well-stirred and expect a slightly denser, crumblier cookie.
Do I Have to Chill the Dough?
Chilling the dough isn’t mandatory, but it’s highly recommended. It helps the cookies maintain their shape and prevents excessive spreading during baking. If you’re short on time, even a quick 10-minute chill can make a difference.
What’s the Best Way to Store Peanut Butter Blossoms?
Once completely cooled, store your cookies in an airtight container at room temperature. To keep the chocolate from smudging, layer parchment paper between the cookies. They’ll stay fresh for up to a week. For longer storage, freeze them in a sealed container for up to 3 months.
Can I Make These Cookies Gluten-Free?
Absolutely! Swap the all-purpose flour with a 1:1 gluten-free baking flour blend. Ensure that your baking soda and any other ingredients are certified gluten-free as well.
Why Are My Cookies Cracking?
A few cracks on the surface are normal and even desirable—they give the cookies their signature look. However, excessive cracking could mean your oven temperature is too high or your dough wasn’t properly mixed. Double-check your steps and tools for best results.
Can I Use Mini Hershey Kisses?
Yes! Mini Hershey Kisses work well and create a slightly different look. They’re great for smaller cookie variations or for making bite-sized blossoms.
How Do I Know When the Cookies Are Done?
The cookies are ready to come out of the oven when they’re puffed and just starting to turn golden on the edges. Remember, they’ll continue to cook slightly as they cool on the baking sheet.
Wrapping It Up: The Sweet Joy of Peanut Butter Blossoms
Peanut Butter Blossoms are more than just cookies—they’re a timeless treat that brings joy to any occasion. Whether you’re baking them for the holidays, a party, or simply to satisfy a sweet craving, they’re sure to be a hit with family and friends.
Print
Peanut Butter Blossoms
- Author: Sophia
- Total Time: 40 minutes
Description
Peanut Butter Blossoms are a delightful classic cookie featuring soft, chewy peanut butter bases topped with a rich Hershey Kiss. Perfect for holidays, cookie swaps, or as an everyday treat, these cookies are as fun to make as they are to eat!
Ingredients
- Wet Ingredients:
- 1 cup salted butter, room temperature (8 ounces)
- 1 cup creamy peanut butter (250 grams)
- 1 cup granulated sugar (200 grams)
- 1 cup light brown sugar, packed (210 grams)
- 1 teaspoon vanilla extract (5 grams)
- 3 large eggs
- Dry Ingredients:
- 4 cups all-purpose flour (520 grams)
- 2 teaspoons baking soda (12 grams)
- ¼ teaspoon salt
- For Rolling:
- ½ cup granulated sugar
- Topping:
- 60 Hershey Kiss candies, unwrapped
Instructions
1️⃣ Mix wet ingredients:
In the bowl of a stand mixer fitted with the paddle attachment (or using an electric hand mixer), cream together the butter, peanut butter, and both sugars on medium speed for 2–3 minutes until light and fluffy. Add the vanilla extract and mix to combine.
2️⃣ Add eggs:
Add the eggs one at a time, mixing well after each addition. Scrape down the sides of the bowl as needed.
3️⃣ Prepare dry ingredients:
In a separate medium bowl, whisk together the flour, baking soda, and salt.
4️⃣ Combine wet and dry ingredients:
Gradually add the dry ingredients to the wet mixture in the stand mixer. Mix until a soft dough forms and all ingredients are well combined.
5️⃣ Shape and roll:
Roll the dough into 1-inch balls, then roll each ball in the additional granulated sugar. Arrange the dough balls on a parchment paper-lined baking sheet, leaving about 2 inches between each ball.
6️⃣ Chill dough:
Refrigerate the cookie dough balls for 15 minutes. While the dough is chilling, preheat your oven to 375°F (190°C).
7️⃣ Bake:
Bake the cookies for 8 minutes. The cookies should puff up slightly but remain soft. Do not overbake if you prefer a chewy texture.
8️⃣ Add Hershey Kisses:
Immediately after removing the cookies from the oven, press a Hershey Kiss into the center of each cookie. The warmth of the cookie will slightly melt the base of the candy, securing it in place.
9️⃣ Cool:
Allow the cookies to cool on the baking sheet for 3 minutes, then transfer them to a wire rack to cool completely.
Notes
- Chilling the dough helps maintain the shape and texture of the cookies during baking.
- Store cookies in an airtight container at room temperature for up to 5 days.
- These cookies freeze well for up to 3 months; simply thaw at room temperature before serving
- Prep Time: 25 minutes
- Cook Time: 8 minutes per batch
Nutrition
- Serving Size: About 60 cookies