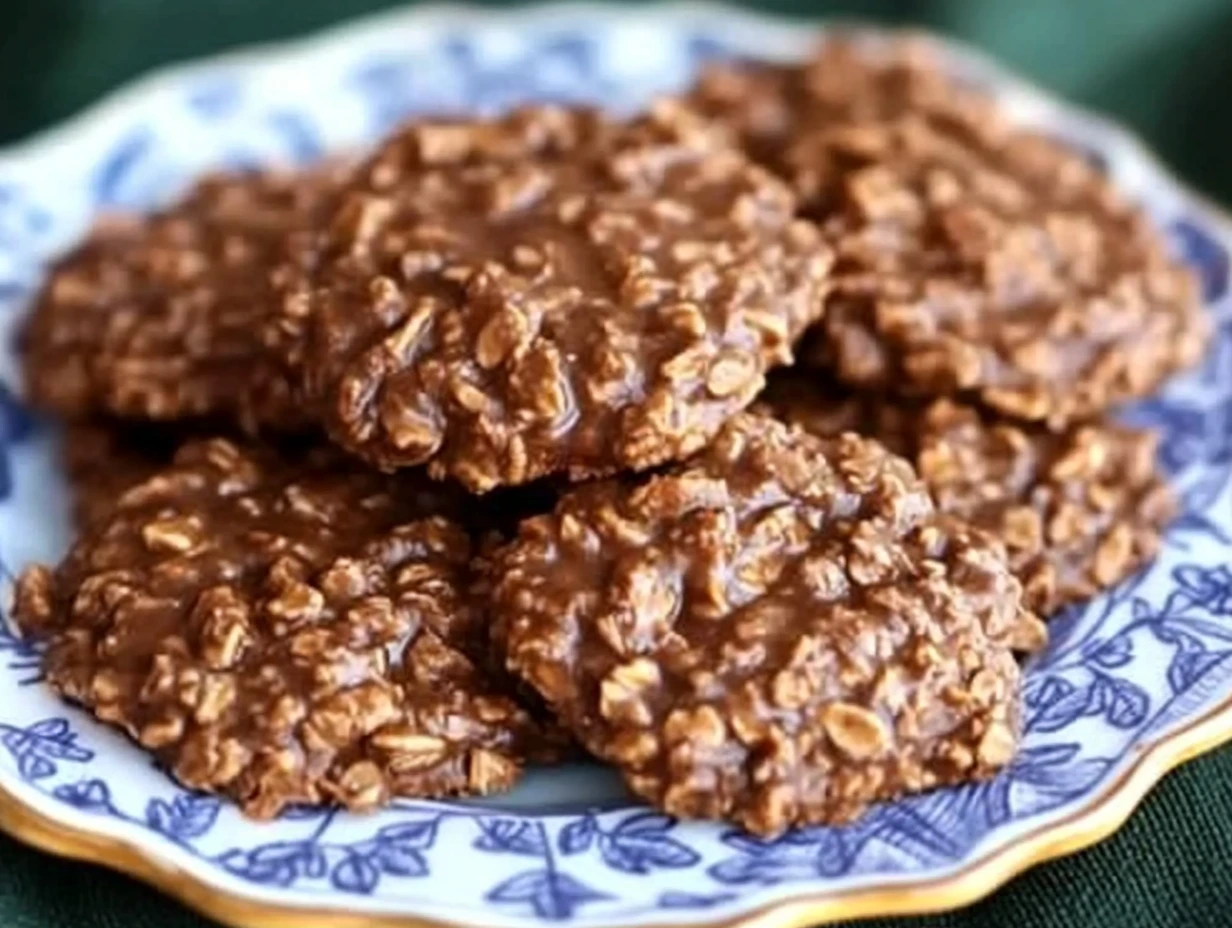
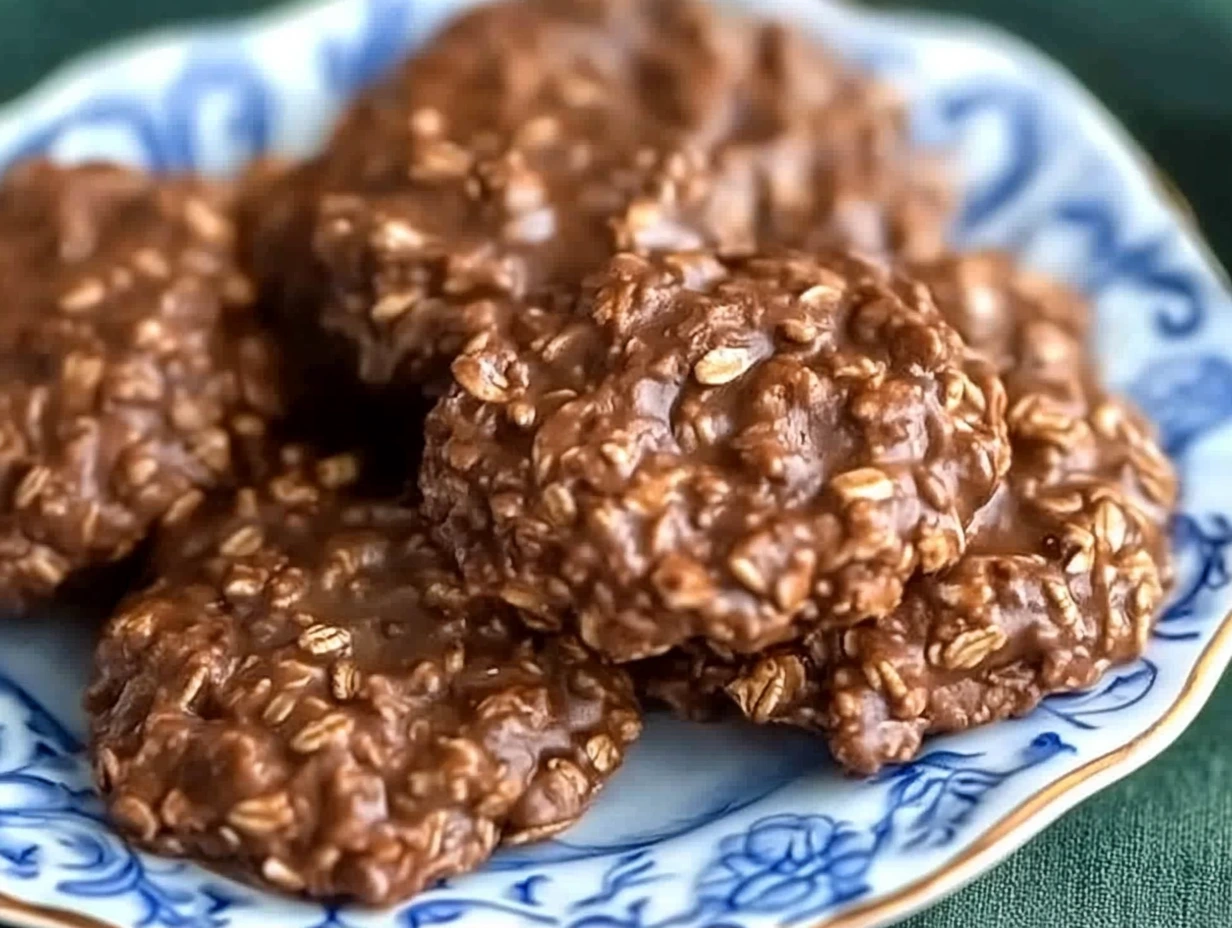
If you’re like me, you know that some days call for a sweet treat that’s quick, easy, and doesn’t require turning on the oven. That’s where these Peanut Butter No-Bake Cookies come to the rescue! They’re the perfect balance of chewy, creamy, and just the right amount of sweet. Plus, they’re made with pantry staples, so there’s a good chance you already have everything you need to make them right now.
Let’s dive into why this recipe has been a game-changer in my kitchen and how you can make these delightful cookies step by step!
Why You’ll Love These Cookies
I first discovered this recipe on one of those busy evenings when I wanted dessert but didn’t want the hassle of baking. The combination of rich peanut butter and hearty oats, wrapped in a velvety, sweet base, felt like magic. Not to mention, there’s something so nostalgic about the taste—it reminds me of childhood treats but with a grown-up twist.
The best part? You don’t need to wait for these cookies to bake—they set up beautifully at room temperature, making them a fuss-free indulgence.
Getting Started: Preparing Your Workspace
Before you even think about the ingredients, take a moment to prep your space. Trust me, this small step makes the whole process so much smoother. Line a baking sheet with parchment or wax paper and set it aside. This will be your canvas for shaping the cookies, and the paper makes cleanup a breeze.
Step 1: Melting the Butter
Start by melting ½ cup of unsalted butter in a medium saucepan over medium heat. Butter is the foundation of this recipe, creating that rich, smooth base that ties all the flavors together. Keep an eye on it, stirring occasionally to prevent it from browning.
Step 2: Creating the Syrup Base
Once the butter has melted, it’s time to add the sugar and milk. Pour in 2 cups of granulated sugar and ½ cup of milk, stirring until the sugar is completely dissolved. Then, crank up the heat and bring the mixture to a rolling boil. Here’s a pro tip: let it boil for exactly one minute. This timing is crucial to ensure the syrup thickens properly without becoming grainy. Too little time and the cookies might not set; too much, and they’ll turn out dry.
Step 3: Adding the Flavor
Now for the fun part—taking the saucepan off the heat and mixing in the stars of the show: 1 teaspoon of vanilla extract and ¾ cup of creamy peanut butter. Stir until the peanut butter is fully melted and the mixture is smooth and luscious. The aroma at this point? Absolutely irresistible.

Step 4: Bringing in the Oats
Gradually stir in 3 cups of quick oats. Make sure to mix well so every oat gets coated in the peanut butter mixture. The texture will start to thicken as you stir, making it perfect for shaping the cookies.

Shaping the Cookies
Using a spoon or cookie scoop, drop spoonfuls of the mixture onto your prepared baking sheet. You can shape them into neat mounds if you like, but I personally love the rustic look of naturally formed cookies—it adds a bit of homemade charm.
Perfecting Your Peanut Butter No-Bake Cookies
Now that your cookies are shaped and resting on the baking sheet, it’s time to ensure they turn out absolutely perfect. This part of the process is where you can tweak and personalize the recipe to make it truly yours. Let’s finish up the recipe and explore some expert tips and creative variations.
Step 5: Setting the Cookies
Once all your cookies are shaped and looking delightful, allow them to cool at room temperature for about 30 minutes. This step is essential for the cookies to firm up and achieve that perfect chewy texture. Resist the urge to pop them into the fridge—the cookies set better and retain their softness when cooled slowly at room temp.
If you’re in a bit of a hurry, you can speed up the process slightly by placing the baking sheet in a cooler part of your kitchen or under a fan. Just remember, patience is key to achieving that dreamy texture!
Step 6: Time to Indulge!
When the cookies have cooled and set, it’s time to enjoy your hard work. Serve them up on a plate, grab a glass of milk (or your favorite coffee or tea), and savor the sweet and nutty goodness. These cookies are a hit for dessert, afternoon snacks, or even a cheeky breakfast treat. Who says you can’t have cookies in the morning, right?

Storing Your Peanut Butter No-Bake Cookies
To keep your cookies fresh and delicious, store them in an airtight container at room temperature. They’ll stay perfect for up to a week—but let’s be honest, they rarely last that long! If you’re making them ahead of time or want to save some for later, you can also freeze these cookies. Place them in a single layer in a freezer-safe container or bag, separating layers with parchment paper. When you’re ready to enjoy, just let them thaw at room temperature for about 15–20 minutes.
Tips for Success
Want to make sure your cookies turn out perfect every time? Here are a few simple tips that will make all the difference:
- Don’t Skip the Boiling Time: Boiling the syrup for exactly one minute is critical. If undercooked, the cookies may not set properly. If overcooked, they could turn dry and crumbly.
- Use Quick Oats, Not Rolled Oats: Quick oats absorb the mixture better, resulting in the perfect chewy texture. Rolled oats can make the cookies too dry and tough.
- Mix Quickly: Once the peanut butter and oats are added, work quickly to shape the cookies before the mixture cools and becomes difficult to handle.
- Customize the Size: Use a small cookie scoop for bite-sized treats or a larger scoop for a more indulgent cookie. The choice is yours!
Fun Variations to Try
Feeling adventurous? Here are some fun ways to switch up this classic recipe and make it uniquely yours:
- Add Chocolate Chips: Mix in mini chocolate chips right after stirring in the oats for an extra layer of chocolatey goodness.
- Swap the Peanut Butter: Try almond butter or cashew butter for a different nutty flavor. For a nut-free version, use sunflower seed butter.
- Sprinkle with Sea Salt: A pinch of flaky sea salt on top of each cookie enhances the sweetness and adds a sophisticated twist.
- Include Mix-Ins: Stir in shredded coconut, chopped nuts, or even dried fruit for added texture and flavor.
- Drizzle with Chocolate: Melt some dark or white chocolate and drizzle it over the set cookies for a bakery-style finish.
Troubleshooting: Common Issues and Fixes
Even with an easy recipe like this, occasional hiccups can happen. Here’s how to solve them:
- Cookies Too Soft or Sticky: This usually means the syrup wasn’t boiled long enough. Next time, make sure to time the boiling phase accurately.
- Cookies Too Dry: If your cookies are crumbly, it’s likely the syrup boiled too long. Reduce the boiling time by a few seconds.
- Oats Not Fully Coated: Make sure to stir thoroughly when adding the oats so every bite is perfectly mixed.
Your Questions About Peanut Butter No-Bake Cookies Answered
Before we wrap up, let’s address some common questions about these delightful cookies. Whether it’s troubleshooting or personalizing the recipe, we’ve got you covered.
FAQ Section
1. Can I use old-fashioned rolled oats instead of quick oats?
Technically, yes, but it’s not ideal. Rolled oats are larger and take longer to absorb the peanut butter mixture, which can make the cookies drier and harder to shape. Quick oats are the best choice for the perfect chewy texture.
2. How can I make these cookies dairy-free?
It’s easy! Replace the butter with a plant-based alternative and use non-dairy milk like almond, oat, or soy milk. Make sure your peanut butter and any additional mix-ins are also dairy-free.
3. Why didn’t my cookies set properly?
If your cookies are too soft or sticky, it’s likely the syrup wasn’t boiled long enough. Be sure to boil the sugar and milk mixture for exactly one minute. Use a timer to stay on track.
4. Can I make these cookies gluten-free?
Yes, just ensure your oats are certified gluten-free. Many brands offer quick oats that are processed in gluten-free facilities, so check the packaging for confirmation.
5. Can I freeze these cookies?
Absolutely! Once the cookies are set, store them in a single layer in a freezer-safe container or bag. They can be frozen for up to 3 months. Thaw them at room temperature when you’re ready to enjoy.
6. Can I add cocoa powder for a chocolatey twist?
Yes! Add 2-3 tablespoons of unsweetened cocoa powder to the sugar and milk mixture during the syrup-making step. This will give your cookies a rich, chocolatey flavor.
7. How do I prevent the cookies from sticking to the parchment paper?
Make sure to use good-quality parchment or wax paper. If you’re still having issues, lightly grease the paper with a neutral oil before scooping the cookies.
Conclusion: Why You’ll Fall in Love with This Recipe
Peanut Butter No-Bake Cookies are more than just a quick dessert—they’re a comforting, nostalgic treat that fits into any occasion. Whether you’re making them for a bake sale, a family gathering, or just a personal indulgence, these cookies are sure to impress.
What I love most is how forgiving and versatile this recipe is. You don’t need fancy equipment, special skills, or a long list of ingredients—just a little time and a love for peanut butter. And don’t forget, there’s so much room for creativity with fun mix-ins and variations!
So, what are you waiting for? Go grab those pantry staples, whip up a batch, and let the magic happen. Trust me, your family and friends will thank you (and probably beg you for the recipe). Don’t forget to share your experience and any twists you’ve tried—I’d love to hear how these cookies turned out in your kitchen. Happy no-baking!
Print
Peanut Butter No-Bake Cookies
- Total Time: 40 minutes
Description
These peanut butter no-bake cookies are a quick and easy treat with rich, creamy peanut butter and a chewy oatmeal texture. Perfect for satisfying a sweet tooth without turning on the oven!
Ingredients
- ½ cup unsalted butter
- 2 cups granulated sugar
- ½ cup milk
- 1 teaspoon vanilla extract
- ¾ cup creamy peanut butter
- 3 cups quick oats
Instructions
1️⃣ Prepare Your Workspace: Line a baking sheet with parchment paper or wax paper. Set aside.
2️⃣ Melt the Butter: In a medium saucepan, melt the butter over medium heat.
3️⃣ Make the Syrup Base: Add the sugar and milk to the saucepan. Stir until the sugar is dissolved. Increase the heat and bring the mixture to a rolling boil. Let it boil for exactly 1 minute.
4️⃣ Incorporate Peanut Butter and Vanilla: Remove the saucepan from heat. Stir in the vanilla extract and peanut butter until smooth and fully combined.
5️⃣ Add the Oats: Gradually mix in the quick oats, ensuring they’re evenly coated with the peanut butter mixture.
6️⃣ Scoop the Cookies: Using a spoon or cookie scoop, drop spoonfuls of the mixture onto the prepared baking sheet. Shape them into mounds if needed.
7️⃣ Set the Cookies: Let the cookies cool at room temperature for about 30 minutes or until firm.
8️⃣ Serve and Enjoy: Once set, the cookies are ready to enjoy! Store any leftovers in an airtight container at room temperature for up to a week.
Notes
- For a chocolate-peanut butter twist, add 2 tablespoons of unsweetened cocoa powder to the saucepan with the sugar and milk.
- Use old-fashioned rolled oats for a chewier texture, but cook the syrup an extra 30 seconds to ensure proper binding.
- Avoid over-boiling the syrup, as it can lead to crumbly cookies.
- Prep Time: 10 minutes
- Cook Time: 30 minutes
Nutrition
- Serving Size: 24 cookies


