There are few desserts that bring the kind of reaction a Red Velvet Poke Cake does when it hits the table. The bold, beautiful red hue, the soft and tender cake, and that rich, creamy filling all combine to make something truly special. I’ve made this cake more times than I can count—holidays, birthdays, potlucks, and even just quiet weekends when we’re craving something sweet but simple. And let me tell you, it never lasts long in the fridge.
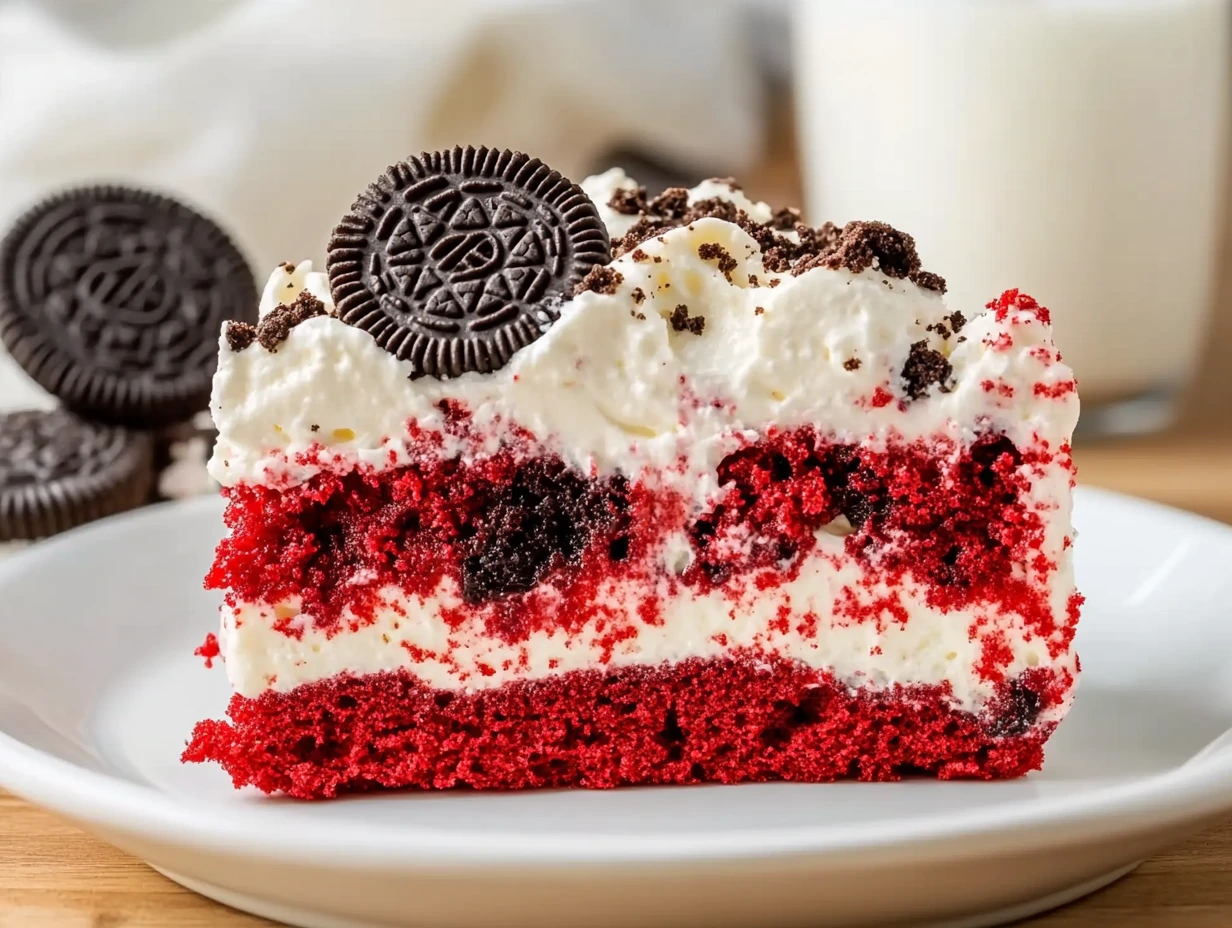
This recipe takes the classic charm of red velvet and kicks it up with a cool, creamy cheesecake pudding filling. It’s then topped with a generous layer of whipped topping and a sprinkle of crushed Oreos (because honestly, who can say no to Oreos?). It’s one of those no-fuss recipes that looks like you spent hours on it but actually comes together with minimal effort. That’s a win in my book.
So if you’re looking for a show-stopping dessert that’s easy enough for a weeknight but elegant enough for a special occasion, this Red Velvet Poke Cake is going to be your new go-to.
Let’s dive in and start baking!
Ingredients You’ll Need:
-
1 box red velvet cake mix
-
Eggs, oil, and water (as listed on the cake mix box)
-
2 (3.4 ounce) boxes instant cheesecake pudding mix (or vanilla pudding)
-
4 cups milk
-
1 (8-ounce) tub whipped topping (like Cool Whip), thawed
-
10 Oreo cookies, crushed (optional)
STEPS: Baking the Cake and Prepping the Pudding
Alright, let’s kick things off with the base of our dreamy dessert: the red velvet cake. You’re going to love how quick and easy this part is.

Step 1: Bake the Cake
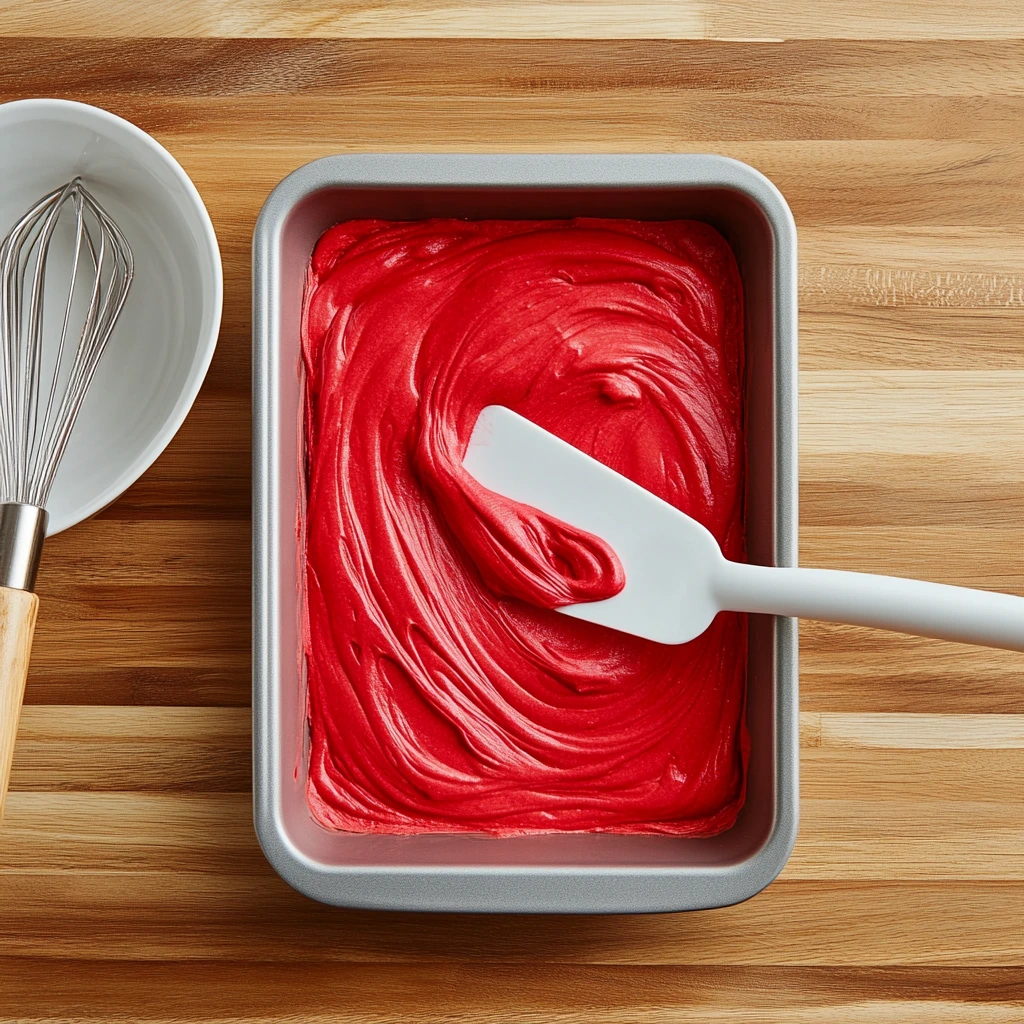
Start by preheating your oven and preparing the red velvet cake mix according to the package directions. Most mixes will call for a few eggs, some oil, and water. Mix everything up until smooth, then pour it into a 9×13-inch baking dish.
Bake according to the box instructions (usually around 30–35 minutes), and once the cake is out of the oven, let it sit for just a couple of minutes. You want it to be warm—not hot—when you start the next step.
Step 2: Poke the Cake
Here’s where the “poke” part of the poke cake comes into play. Using the handle of a wooden spoon (or anything with a similar round shape), poke holes all over the surface of the cake. Space them out evenly and make sure you go deep enough to hit the bottom. These holes are going to be little tunnels for the pudding to seep into, which is what makes this cake so moist and flavorful.
Step 3: Make the Pudding Mixture
In a medium mixing bowl, whisk together the two boxes of instant cheesecake pudding mix and 4 cups of cold milk. Keep whisking until the pudding is smooth and just starting to thicken—this usually takes about 1–2 minutes.
The cheesecake flavor pairs perfectly with the rich red velvet base, but if you can’t find cheesecake pudding, vanilla works just as well!
Step 4: Pour and Spread the Pudding
Next, slowly pour the pudding mixture over the entire cake, making sure to aim for those holes you created earlier. Don’t worry if it looks like a lot—the cake will absorb most of it as it sets. Use the back of a spoon or a spatula to gently press the pudding into the holes to help it settle in.
Now, the hard part: waiting. Cover the cake and refrigerate it for at least 2 hours, or until it’s fully chilled and the pudding is set. Trust me, this step is worth the wait.
Red Velvet Poke Cake: Creamy Layers and Topping Tips to Make It Perfect
Welcome back! If you’ve already baked your red velvet cake, filled it with luscious cheesecake pudding, and let it chill in the fridge—you’re already halfway to dessert heaven. Now we get to do the fun part: topping and serving. This is where all that rich creaminess meets light, fluffy sweetness and a bit of crunch. It’s seriously the best part.
This is one of those desserts that looks as good as it tastes, and the topping takes it over the top. Whether you’re bringing it to a holiday gathering or just making it to treat yourself after a long week, this step adds that final wow-factor. Plus, it’s so easy, and I’ve got a few little tricks up my sleeve to make it even better.
Let’s get that chilled cake out of the fridge and finish it up!

STEPS: Finishing the Cake and Adding the Toppings
Step 5: Add the Whipped Topping
Once your cake is nice and chilled, it’s time to add the whipped topping. Grab your tub of Cool Whip (make sure it’s fully thawed if it’s been in the freezer), and spread it evenly over the entire top of the cake.
Use a spatula to make swoops and swirls—it doesn’t have to be perfect. In fact, I think it looks even more tempting when the topping is a little rustic and homemade-looking.
If you want to go above and beyond, you can use freshly whipped cream instead of Cool Whip. Just make sure it’s stabilized with a little powdered sugar so it holds up in the fridge.
Step 6: Sprinkle with Crushed Oreos
This step is technically optional, but let’s be honest—it really shouldn’t be. Crushed Oreo cookies add that extra bit of texture and flavor that takes this cake to the next level. You’ll get that velvety softness from the cake and pudding, and then a little crunch and chocolatey bite from the cookies. It’s the perfect balance.
I usually just place 10 Oreos in a zip-top bag and give them a few good smacks with a rolling pin until they’re crushed into small pieces. Then just sprinkle them generously over the whipped topping.
Want to dress it up a bit more? Try drizzling some melted white chocolate or semi-sweet chocolate across the top after adding the Oreos. It adds a little flair and extra decadence without much effort.
Tips for the Best Red Velvet Poke Cake Ever
Over the years, I’ve picked up a few helpful tricks that take this cake from great to unforgettable. Here’s what I’ve learned:
-
Let the pudding settle before topping: Make sure the pudding layer is fully set before adding the whipped topping. If it’s still a bit runny, it can mix with the topping and make the texture less defined.
-
Don’t skip the chilling: I know it’s tempting to dig in early, but that chill time in the fridge really allows the flavors to soak and blend together. Trust me—it’s worth the wait.
-
Make it a day ahead: This cake actually tastes even better the next day. The pudding continues to soak into the cake overnight, making every bite melt-in-your-mouth soft and flavorful.
-
Switch up the topping: No Oreos? No problem. Try mini chocolate chips, shaved chocolate, or even a sprinkle of toasted coconut. You can get creative based on what you have on hand.
-
Use full-fat pudding and milk: For the richest texture and taste, stick with whole milk and avoid sugar-free or low-fat pudding mixes. The creaminess makes a difference.
Red Velvet Poke Cake: FAQ and Final Thoughts for a Crowd-Pleasing Treat
We’ve baked the cake, filled it with that rich, creamy pudding, topped it with fluffy whipped goodness, and added a little crunch with crushed Oreos. If you’ve followed along this far, you’re already well on your way to serving one of the easiest and most indulgent desserts around.
But before we wrap things up, I want to go over a few frequently asked questions. Whether it’s your first time making a poke cake or you’ve baked a dozen, these quick answers should help you avoid common hiccups and feel more confident in the kitchen.
FAQ: Your Red Velvet Poke Cake Questions Answered
1. Can I use homemade red velvet cake instead of a boxed mix?
Absolutely! If you have a go-to red velvet recipe, feel free to use it. Just be sure it fits a standard 9×13-inch pan and that it has enough structure to hold the pudding without falling apart.
2. What if I can’t find cheesecake pudding mix?
No worries—vanilla instant pudding works great as a substitute. It still gives that creamy contrast to the red velvet cake, and the flavor combo is still amazing.
3. How far in advance can I make this cake?
You can make it up to 24 hours in advance. In fact, I often prefer to make it the night before so the pudding has plenty of time to soak into the cake. Just keep it covered in the fridge until you’re ready to serve.
4. Do I have to use Cool Whip, or can I use real whipped cream?
You can definitely use homemade whipped cream if you prefer. Just make sure it’s stabilized (add a bit of powdered sugar or gelatin) so it doesn’t weep or deflate after sitting in the fridge.
5. How long will leftovers last?
Leftovers can be stored in the refrigerator for up to 3 days. Make sure the cake is tightly covered so it doesn’t absorb fridge smells or dry out.
6. Can I freeze Red Velvet Poke Cake?
Technically yes, but the texture may change slightly. If you want to freeze it, do so before adding the whipped topping. Thaw overnight in the fridge and add the topping fresh before serving.
7. Can I make this gluten-free or dairy-free?
With some adjustments, yes. Use a gluten-free red velvet cake mix and check your pudding mix to ensure it’s gluten-free. For dairy-free, swap in plant-based milk (like almond or oat) and use dairy-free whipped topping. Just note that instant pudding may not set the same with non-dairy milk, so results can vary.
Final Thoughts: Why You’ll Love This Red Velvet Poke Cake Again and Again
What I love most about this Red Velvet Poke Cake is how effortless it is to throw together, but how impressive it looks when served. It’s one of those desserts that makes people think you went the extra mile, even if it only took a handful of ingredients and a few simple steps.
The contrast between the velvety cake, the smooth pudding, and the light topping is pure perfection. And those little touches—like the crushed Oreos or a drizzle of chocolate—add just enough flair without making the process complicated.
Whether you’re prepping for a holiday, surprising someone on their birthday, or just want to make something indulgent on a regular weekend, this cake delivers. And it’s the kind of recipe that’s easy to personalize, so feel free to make it your own.
Print
Red Velvet Poke Cake
- Author: Sophia
Description
This Red Velvet Poke Cake is a luscious, crowd-pleasing dessert that’s as simple as it is stunning. A moist red velvet base is infused with creamy cheesecake pudding, then topped with fluffy whipped topping and a sprinkle of crushed Oreos for a bit of crunch. It’s the perfect make-ahead treat for holidays, birthdays, or anytime you want an easy but indulgent dessert.
Ingredients
1 box red velvet cake mix
Ingredients needed to prepare the cake (as listed on the box): eggs, oil, and water
2 (3.4 ounce) boxes instant cheesecake pudding (or vanilla pudding)
4 cups milk
8 ounce tub whipped topping (Cool Whip), thawed
10 Oreo cookies, crushed (optional)
Instructions
Prepare the red velvet cake mix according to the package directions for a 9×13-inch cake using the required eggs, oil, and water. Bake as directed. When the cake comes out of the oven, let it cool for a couple of minutes.
Using the handle of a wooden spoon or a similar round object, poke holes all over the warm cake. Make sure the holes go all the way down to the bottom so the pudding can soak in.
In a medium mixing bowl, whisk together the instant cheesecake pudding mix and milk until smooth and free of lumps.
Pour the pudding mixture evenly over the cake, focusing on filling the holes as much as possible. Use the back of a spoon to gently press the pudding down into the holes.
Refrigerate the cake for about 2 hours or until it is fully set and chilled.
Once the cake is cool, spread the thawed whipped topping evenly over the pudding layer.
Sprinkle crushed Oreo cookies on top of the whipped topping for an extra layer of flavor and texture.
Notes
This cake is best served chilled and can be made a day in advance. For extra flair, drizzle melted chocolate or white chocolate over the top before serving. Store any leftovers in the refrigerator for up to 3 days.