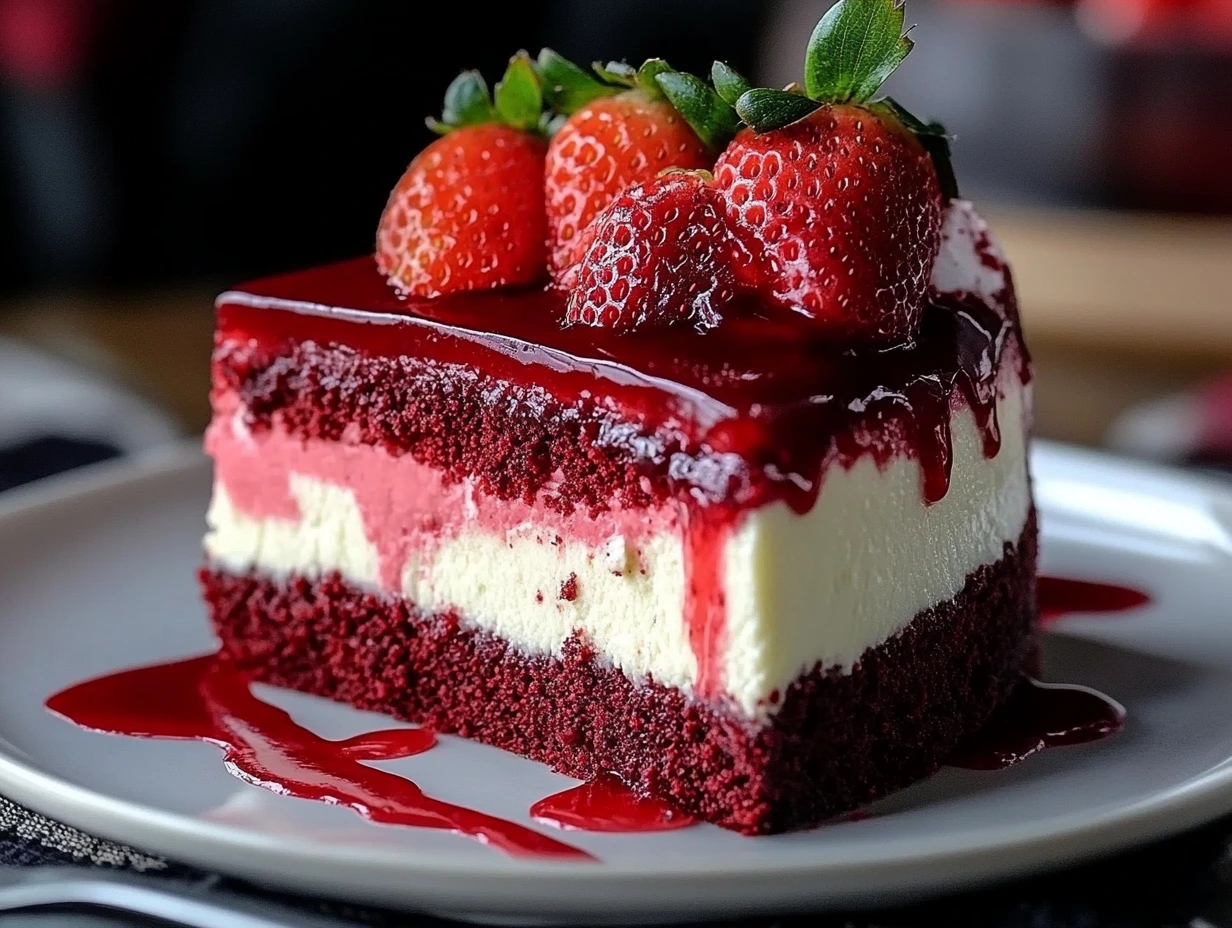
If you’re anything like me, you’ve probably dreamt of the perfect dessert—something that’s not just indulgent but also has that “wow” factor to steal the spotlight on any dessert table. Enter this Red Velvet Strawberry Cheesecake, a dessert so divine it feels like a celebration in every bite. This recipe isn’t just about satisfying your sweet tooth; it’s a love story between the classic richness of red velvet cake and the creamy, fruity decadence of strawberry cheesecake.
I first made this gem for a family dinner, and let me tell you, it had everyone asking for seconds (and maybe even thirds). It’s not just a dessert; it’s an experience. Whether you’re preparing for a festive holiday, a romantic dinner, or just need a pick-me-up indulgence, this recipe has your back.
Now, let’s roll up our sleeves and dive into this delicious journey.
Setting the Stage: Preparing Your Cake Base
The secret to this dessert starts with its foundation—a soft, moist red velvet cake that makes your taste buds dance. To get started, here’s what you’ll need for the cake base:
Ingredients for Red Velvet Cake Base:
- 1 ½ cups all-purpose flour
- 1 cup granulated sugar
- 1 tsp baking powder
- 1 tsp baking soda
- ½ tsp salt
- 1 tbsp cocoa powder
- 1 cup vegetable oil
- 1 cup buttermilk (room temperature)
- 2 large eggs (room temperature)
- 2 tbsp red food coloring
- 1 tsp vanilla extract
- 1 tsp white vinegar
Steps to Make the Red Velvet Cake Base:
- Preheat the Oven:
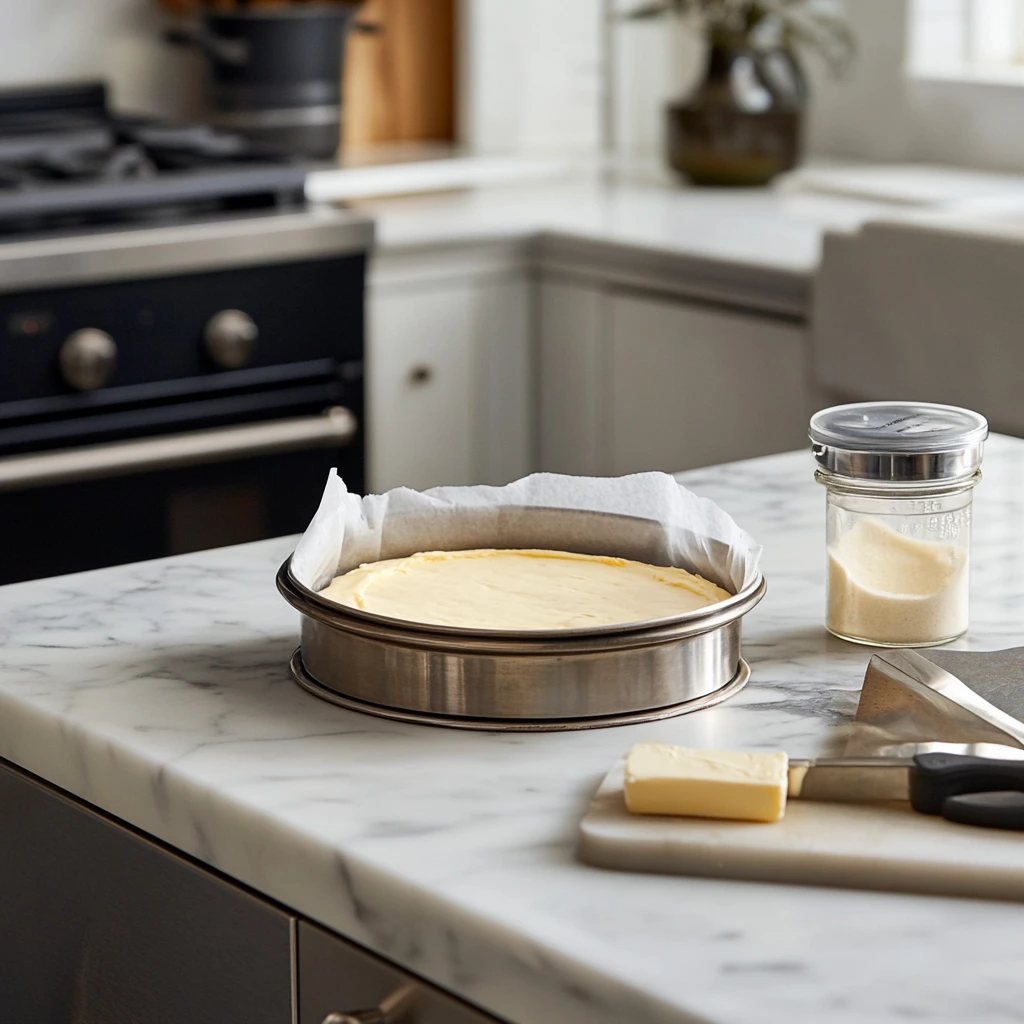
First things first—preheat your oven to 350°F (175°C). Grease and line a 9-inch springform pan with parchment paper. Trust me, this step makes cleanup a breeze and ensures your cake comes out perfectly. - Combine Dry Ingredients:
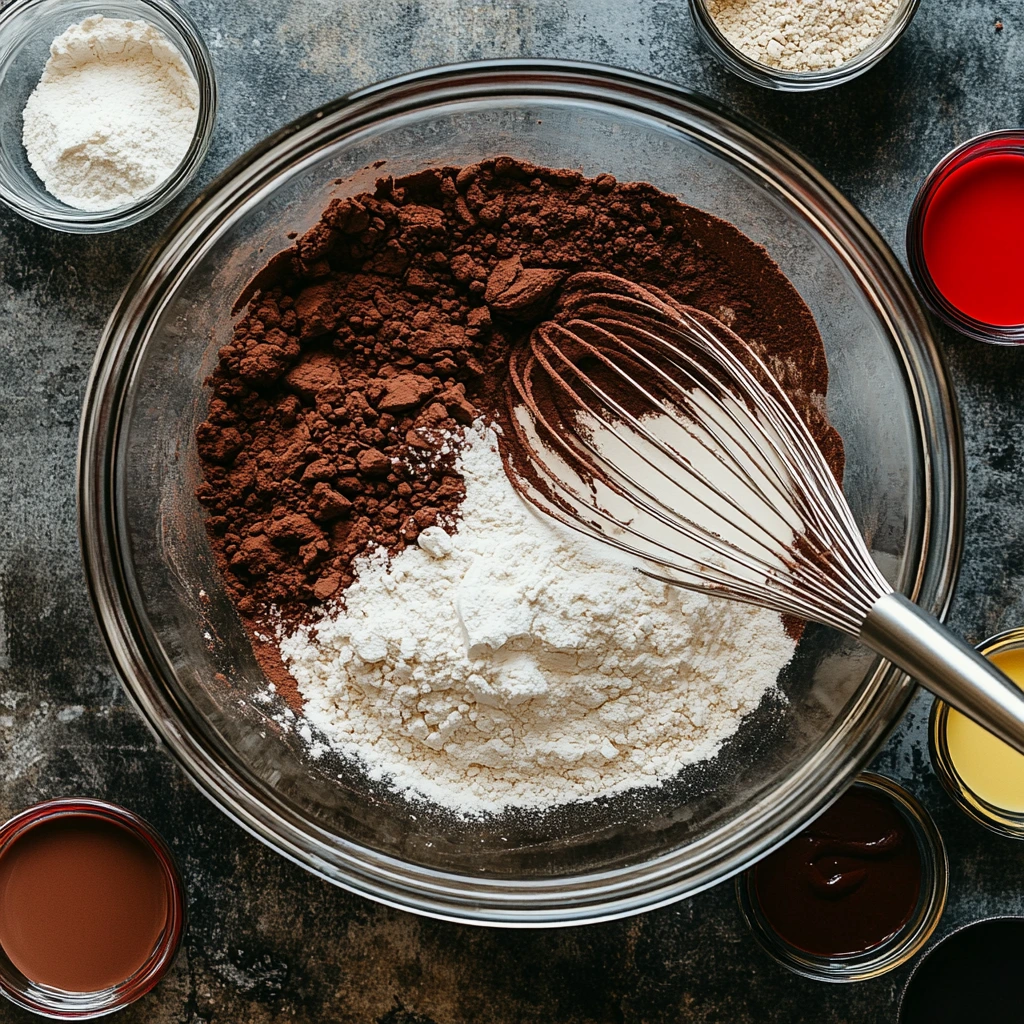
In a large bowl, sift together the flour, sugar, baking powder, baking soda, salt, and cocoa powder. Sifting is crucial for that ultra-smooth cake texture we all adore. - Mix Wet Ingredients:
In another bowl, whisk together the vegetable oil, buttermilk, eggs, red food coloring, vanilla extract, and white vinegar. Make sure everything is well combined; you’re aiming for a silky, vibrant red batter that screams “velvet.” - Blend Together:
Gradually fold the dry ingredients into the wet mixture. Be gentle here—overmixing can toughen the cake, and we want it tender and moist. - Bake:
Pour the batter into your prepared springform pan, smoothing the top with a spatula. Bake for 25–30 minutes, or until a toothpick inserted in the center comes out clean. Once done, let the cake cool completely in the pan. This waiting time is perfect for whipping up the luscious cheesecake filling.
Creamy Dreamy Strawberry Cheesecake Filling
While the cake base cools, it’s time to shift gears to the star of the show—the strawberry cheesecake filling. This layer is where the magic happens, combining the tangy smoothness of cream cheese with the fruity freshness of strawberries.
Ingredients for the Cheesecake Filling:
- 16 oz cream cheese (softened)
- 1 cup powdered sugar
- 1 tsp vanilla extract
- 1 cup fresh strawberries (pureed, about 8–10 strawberries)
- 1 cup heavy whipping cream
Steps to Make the Cheesecake Filling:
- Whip the Cream Cheese:
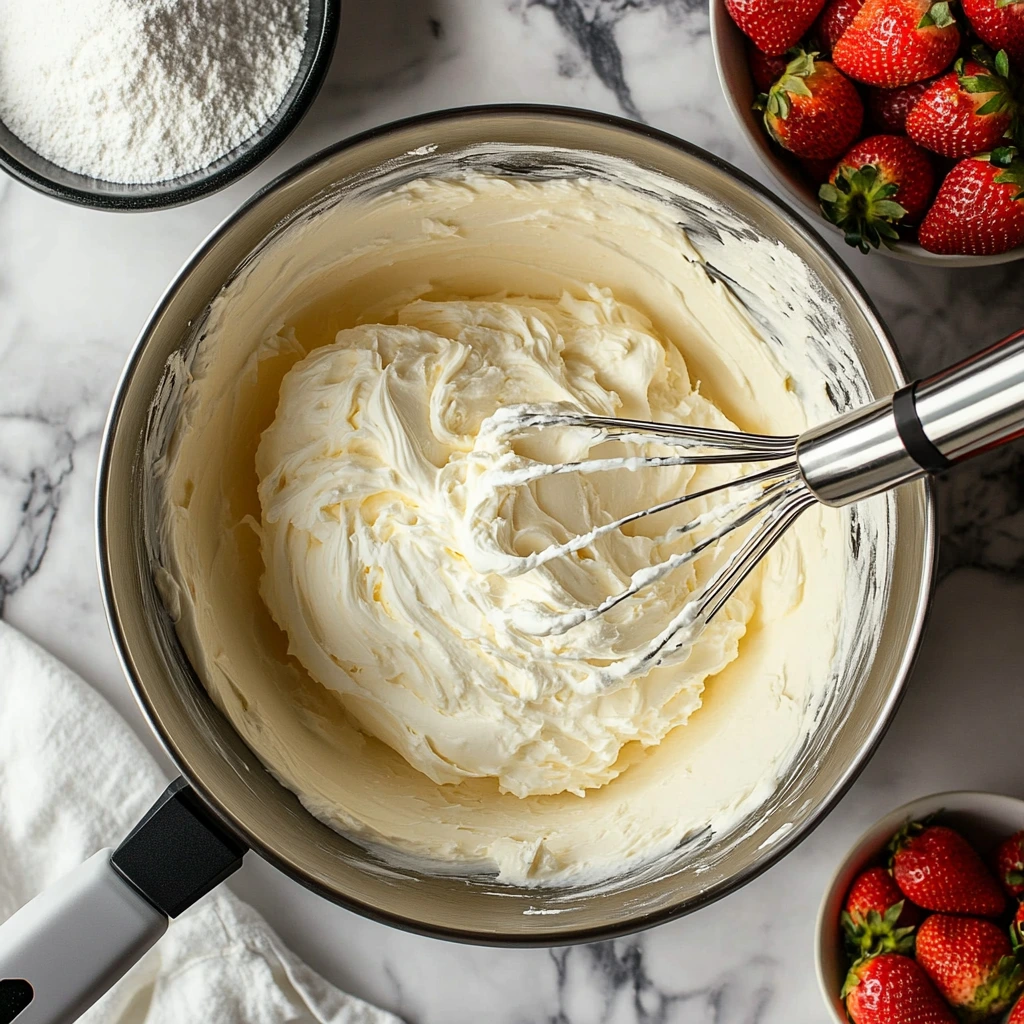
Using a hand or stand mixer, beat the softened cream cheese in a large mixing bowl until it’s smooth and creamy. This step sets the stage for a velvety texture. - Add Sweetness and Flavor:
Gradually mix in the powdered sugar and vanilla extract, ensuring they’re evenly combined. - Incorporate Strawberry Puree:
Puree fresh strawberries in a blender or food processor until smooth. Stir the strawberry puree into the cream cheese mixture, blending until it’s perfectly pink and flavorful. - Whip the Cream:
In a separate bowl, whip the heavy cream until stiff peaks form. Gently fold this whipped cream into the strawberry mixture. This step lightens the filling, giving it that airy, melt-in-your-mouth quality.
Stay tuned for Part 2, where we’ll assemble this masterpiece, add the perfect garnishes, and share tips to make it your own! Whether you’re a cheesecake newbie or a seasoned pro, this dessert will quickly become your favorite.
Assembling Your Red Velvet Strawberry Cheesecake
By now, your kitchen probably smells like a slice of heaven—thanks to that red velvet cake base. The next steps are where the magic happens: layering the luscious strawberry cheesecake filling onto that perfectly baked cake. This part is as satisfying as it is simple, and when it’s all done, you’ll have a dessert that looks like it came straight out of a bakery window.
Let’s get started with turning our components into a showstopping cheesecake!
Putting It All Together
Once your red velvet cake has cooled completely (patience is key here), it’s time to assemble your masterpiece.
Step 1: Prepare the Cake Base for Layering
Carefully remove the cooled red velvet cake from the springform pan. If the edges are sticking, run a knife gently around the sides to release it. Transfer the cake to a serving platter or cake stand—it’s always easier to assemble desserts where they’ll eventually be displayed.
Pro Tip: If the top of your cake is slightly domed, level it with a serrated knife to ensure the cheesecake filling sits evenly. This step is optional but makes for a polished final look.
Step 2: Layer the Strawberry Cheesecake Filling
Spoon the strawberry cheesecake mixture onto the red velvet cake base. Use an offset spatula or the back of a spoon to spread the filling evenly over the cake. Take your time here—the smoothness of the layer adds to the visual appeal of the dessert.
Step 3: Chill to Perfection
Place the assembled cheesecake in the refrigerator for at least 4 hours, though overnight is even better. This chilling time allows the cheesecake layer to firm up, making it easier to slice and serve. Plus, the flavors meld beautifully as they rest, creating a harmonious balance of red velvet and strawberry goodness.

The Final Flourish: Topping and Garnishing
Once your cheesecake has chilled and set, it’s time to dress it up! A stunning garnish elevates your dessert from delicious to downright irresistible.
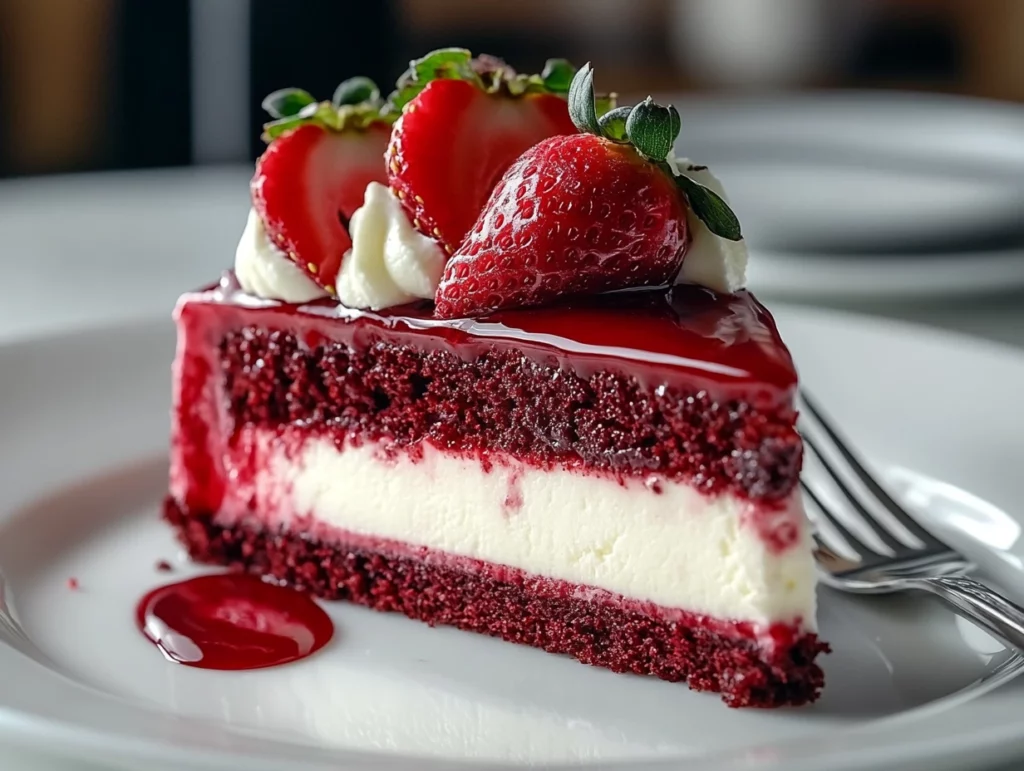
For the Topping:
- Fresh strawberries (halved)
- Whipped cream (optional, but highly recommended!)
- Add Fresh Strawberries:
Arrange halved strawberries over the cheesecake layer. You can get creative with the design—spiral them from the center outward, create a border around the edge, or pile them casually in the middle for a more rustic look. - Optional Whipped Cream Flair:
Pipe or dollop whipped cream around the edges of the cheesecake for an elegant touch. This not only looks beautiful but also adds an extra layer of indulgence with every bite.
Tips and Tricks for Cheesecake Success
Even though this recipe is straightforward, a few insider tips can ensure it comes out perfectly every time:
- Room Temperature Ingredients:
Always use room-temperature eggs, cream cheese, and buttermilk. Cold ingredients don’t blend as smoothly, which can affect the texture of both the cake and cheesecake filling. - Don’t Overmix:
When folding the dry ingredients into the wet for the cake batter or whipping cream into the cheesecake filling, mix just until combined. Overmixing can make the cake dense or the filling lose its light, airy quality. - Chill Long Enough:
Resist the urge to cut into the cheesecake before it’s fully set. The texture improves dramatically with proper chilling, and slicing becomes much easier. - Creative Variations:
Want to make this recipe your own? Try adding a thin layer of strawberry jam between the cake and cheesecake layers for extra fruitiness. Or drizzle melted chocolate over the top for a dramatic finish.
Serving Suggestions
This Red Velvet Strawberry Cheesecake is perfect for all kinds of occasions:
- Special Celebrations: Birthdays, anniversaries, and Valentine’s Day dinners become even more memorable with this dessert as the centerpiece.
- Casual Gatherings: Bring it to a potluck or family dinner, and prepare for it to be the first dish that disappears.
- Personal Indulgence: Who says you need an occasion? Treat yourself to a slice (or two) just because you can.
Stay tuned for Part 3, where I’ll answer some frequently asked questions about this recipe and share final thoughts to help you ace this dessert every single time.
Frequently Asked Questions and Sweet Conclusion
Now that your Red Velvet Strawberry Cheesecake is chilled, garnished, and ready to shine, let’s address a few common questions you might have before diving in. These tips and tricks will ensure your dessert experience is as smooth as your cheesecake filling.
FAQ Section
1. Can I make this cheesecake ahead of time?
Absolutely! This dessert is perfect for preparing in advance. The flavors only improve with time, so you can make it the day before serving. Just store it in the refrigerator in an airtight container or cover it tightly with plastic wrap.
2. How do I ensure my cheesecake layer sets properly?
The key to a firm cheesecake layer is whipping the heavy cream to stiff peaks and folding it gently into the cream cheese mixture. Then, make sure to chill the assembled cheesecake for at least 4 hours (preferably overnight) to allow it to fully set.
3. Can I use frozen strawberries for the cheesecake filling?
Yes, you can! Thaw the strawberries completely and drain any excess liquid before pureeing them. This prevents the filling from becoming too watery.
4. My red velvet cake turned out dense. What went wrong?
Dense cake often happens when the batter is overmixed or if your ingredients weren’t at room temperature. Be gentle when combining the wet and dry ingredients, and always let your eggs and buttermilk come to room temperature before starting.
5. Can I freeze this cheesecake?
Yes! After assembling and setting the cheesecake, you can freeze it for up to 1 month. Wrap it tightly in plastic wrap, then in foil, to prevent freezer burn. Thaw it in the refrigerator overnight before serving.
6. What can I use instead of red food coloring?
If you prefer not to use artificial food coloring, you can try a natural alternative like beet powder or a few drops of pomegranate juice. Keep in mind that these may slightly alter the flavor and color.
7. How should I slice the cheesecake cleanly?
To get neat slices, use a sharp knife dipped in hot water. Wipe the knife clean between each cut for picture-perfect slices.
Conclusion
Congratulations! You’ve just created a dessert masterpiece that’s as stunning to look at as it is delicious to eat. This Red Velvet Strawberry Cheesecake isn’t just a recipe; it’s a labor of love that brings together the best of two iconic treats.
The moist, rich red velvet cake pairs beautifully with the airy, fruity strawberry cheesecake layer, making it the ultimate dessert for any occasion. Whether you’re celebrating a special event, impressing dinner guests, or simply treating yourself, this recipe is sure to earn rave reviews.
If you’ve followed along and whipped up this beauty, I’d love to hear how it turned out! Share your experience in the comments below—did you add your own twist? Was it a hit with your family and friends? Let’s celebrate your baking success together.
So grab a fork, take a slice, and savor the magic of Red Velvet Strawberry Cheesecake. It’s not just dessert—it’s happiness on a plate!
Print
Red Velvet Strawberry Cheesecake
- Total Time: 5 hours
Description
This stunning dessert combines the rich, velvety flavor of classic red velvet cake with a luscious, strawberry-infused cheesecake filling. Perfect for celebrations or any occasion that calls for a showstopper dessert!
Ingredients
For the Red Velvet Cake Base:
- 1 ½ cups all-purpose flour
- 1 cup granulated sugar
- 1 tsp baking powder
- 1 tsp baking soda
- ½ tsp salt
- 1 tbsp cocoa powder
- 1 cup vegetable oil
- 1 cup buttermilk (room temperature)
- 2 large eggs (room temperature)
- 2 tbsp red food coloring
- 1 tsp vanilla extract
- 1 tsp white vinegar
For the Strawberry Cheesecake Filling:
- 16 oz cream cheese (softened)
- 1 cup powdered sugar
- 1 tsp vanilla extract
- 1 cup fresh strawberries (pureed, about 8–10 strawberries)
- 1 cup heavy whipping cream
For Topping:
- Fresh strawberries (halved)
- Whipped cream (optional)
Instructions
1️⃣ Preheat the oven
Preheat your oven to 350°F (175°C). Grease and line a 9-inch springform pan with parchment paper.
2️⃣ Make the Red Velvet Cake Base
In a large bowl, sift together the flour, sugar, baking powder, baking soda, salt, and cocoa powder.
In another bowl, whisk the vegetable oil, buttermilk, eggs, red food coloring, vanilla extract, and white vinegar until smooth.
Gradually fold the dry ingredients into the wet mixture until just combined. Avoid overmixing to keep the batter light.
Pour the batter into the prepared springform pan and smooth the top.
Bake for 25–30 minutes, or until a toothpick inserted in the center comes out clean. Let the cake cool completely in the pan.
3️⃣ Prepare the Strawberry Cheesecake Filling
Beat the softened cream cheese in a large mixing bowl until smooth and creamy. Gradually add powdered sugar and vanilla extract, mixing well.
Stir in the pureed strawberries until evenly combined.
In a separate bowl, whip the heavy cream until stiff peaks form. Gently fold the whipped cream into the strawberry mixture until the filling is light and airy.
4️⃣ Assemble the Cheesecake
Once the red velvet cake is fully cooled, carefully remove it from the springform pan and transfer it to a serving platter.
Spread the strawberry cheesecake filling evenly over the top of the cake, smoothing it with a spatula.
5️⃣ Chill to Set
Place the assembled cheesecake in the refrigerator for at least 4 hours or until the cheesecake layer is firm and set.
6️⃣ Garnish and Serve
Before serving, top the cheesecake with fresh strawberry halves. For an extra flourish, pipe or dollop whipped cream around the edges. Slice and enjoy this decadent dessert!
Notes
- Make Ahead: This cheesecake is perfect to prepare the day before, allowing the flavors to meld and the cheesecake layer to set completely.
- Substitutions: Frozen strawberries can be used for the puree; just thaw and drain excess liquid before pureeing.
- Storage: Store leftovers in an airtight container in the refrigerator for up to 3 days.
- Prep Time: 25 minutes
- Cook Time: 30 minutes
Nutrition
- Serving Size: 10 slices

