If you’re anything like me, you love a good dessert that tastes like you’ve been in the kitchen for hours—without actually spending hours there. That’s exactly what this Strawberry Cheesecake Dump Cake delivers. It’s one of those recipes that’s almost too easy to be this delicious. Think sweet strawberry pie filling, swirls of creamy cheesecake, and a buttery, golden cake topping—all layered up in one dish with minimal effort. It’s cozy, creamy, fruity, and rich… pretty much everything you want in a dessert.
This dump cake is a go-to in my kitchen when I need something crowd-pleasing without a big mess or a ton of cleanup. Whether you’re whipping it up for a last-minute gathering, a family movie night, or just to satisfy a sugar craving, it’s a guaranteed hit. And bonus: it makes your house smell like a dream while it’s baking.
Now, let me walk you through how ridiculously easy it is to make this little gem.
Why You’ll Love This Recipe
There’s something almost magical about a dump cake. You don’t have to mix batter or make a crust from scratch. You literally “dump” your ingredients into a baking dish and let the oven do the rest. But don’t let the simplicity fool you—this Strawberry Cheesecake Dump Cake comes out tasting like you put in a whole lot more effort.
-
It’s beginner-friendly. No fancy baking skills required!
-
Only 7 ingredients. Most of them you might already have on hand.
-
Customizable. You can swap out the fruit filling depending on the season or your mood.
-
Feeds a crowd. Great for potlucks, BBQs, or holidays.
-
Make-ahead friendly. It stores well and tastes just as good the next day.
So let’s get into the first part of this dreamy dessert.
Ingredients You’ll Need
(Serves 8-10)
-
1 can (21 oz) strawberry pie filling
-
1 box (15.25 oz) yellow cake mix
-
1 package (8 oz) cream cheese, softened
-
½ cup sugar
-
½ teaspoon vanilla extract
-
½ cup unsalted butter, melted
-
Fresh strawberries, for garnish (optional)
STEP 1: Preheat and Prep Your Dish
Start by preheating your oven to 350°F (175°C). This step gives your oven enough time to get nice and hot so the cake bakes evenly. Next, grab a 9×13-inch baking dish and give it a light greasing or a quick spray with nonstick cooking spray. This helps make cleanup easier and keeps the bottom layer from sticking.
STEP 2: Add the Strawberry Filling
Open your can of strawberry pie filling and spread it evenly across the bottom of the baking dish. This sweet, jammy base is going to bubble up as it bakes and mingle with the cheesecake layer for a gooey, fruity bite in every spoonful. You don’t need to add anything to it—just dump and spread.

STEP 3: Make the Cheesecake Swirl
In a medium bowl, beat together the softened cream cheese, sugar, and vanilla extract until it’s smooth and creamy. Don’t rush this part—make sure the cream cheese is fully softened or you’ll end up with lumps. Once it’s blended, drop spoonfuls of the cheesecake mixture over the strawberry layer in the dish.
Now, take a butter knife or spatula and gently swirl the cream cheese into the strawberries. No need for perfection here—the rustic swirls actually give the finished cake that homey, charming look. And trust me, the creamy tang of cheesecake paired with sweet strawberry is chef’s kiss.

STEP 4: Sprinkle on the Cake Mix
Time for the magic layer that turns golden and crispy in the oven! Take your dry yellow cake mix (don’t add eggs or oil—just the dry mix straight from the box) and sprinkle it evenly over the top of the cream cheese and strawberries. Try to cover the entire surface so you get an even topping once it’s baked.
How to Finish Your Strawberry Cheesecake Dump Cake (It’s So Easy!)
By now, you’ve got your strawberry and cheesecake layers in place, and you’re just one step away from that golden, buttery topping we’ve all been dreaming about. Trust me, the hardest part is over! All that’s left is to drizzle, bake, and enjoy.
STEP 5: Drizzle the Butter
Now, for the part that makes this dump cake so irresistible: the buttery topping. Melt your unsalted butter in the microwave or on the stovetop and then drizzle it evenly over the dry cake mix. You’ll want to cover as much of the surface as you can. The butter helps the cake mix become a golden, crumbly topping that contrasts beautifully with the creamy strawberry filling. Don’t worry if there are a few dry spots—those areas will still bake up nicely.
STEP 6: Bake It to Perfection
Pop the dish into the preheated oven and bake for 45-50 minutes. The cake is done when the top is golden brown and the filling underneath is bubbly. Keep an eye on it, especially in the last few minutes. Depending on your oven, it may take a little longer, but don’t let it overbake. You want that perfect crisp on top while still having a gooey, creamy center. It’s pure dessert magic!

STEP 7: Let It Cool and Garnish
Once the cake is done baking, let it cool for about 10-15 minutes before serving. It’s tempting, I know, but the cake will set a little as it cools, making it easier to slice and serve. Garnish with fresh strawberries if you want to add a pop of color and extra sweetness. The fresh fruit is a nice touch that balances out the richness of the dessert. You could even add a scoop of vanilla ice cream or a dollop of whipped cream to take it to the next level.
Some Tips for a Perfect Strawberry Cheesecake Dump Cake
I love how versatile and easy this recipe is, but here are a few tips to make sure you’re getting the best results every time:
-
Don’t skip softening the cream cheese. If it’s too cold, you’ll end up with lumps in your cheesecake layer. Softening it to room temperature is key to achieving that smooth, creamy texture.
-
Add a little tang. If you love a tangier cheesecake flavor, try mixing in a tablespoon or two of sour cream with the cream cheese. It gives the dessert a bit of extra richness and complexity.
-
Try other fruit fillings. While strawberry is the classic choice here, feel free to get creative! Blueberry, peach, or even cherry pie filling would work wonderfully. The base recipe stays the same, but the flavor changes depending on what fruit you choose.
-
Make it ahead. This dump cake actually keeps well for a day or two, making it a great make-ahead option for parties or potlucks. Just store it in the fridge and reheat before serving if you like it warm.
How to Store Leftovers
If you have any leftovers (which, let’s be honest, is rare), you can store them in the refrigerator for up to three days. But the truth is, this dessert is best enjoyed within the first 24 hours for the freshest taste. The longer it sits, the softer the cake topping gets, so I suggest you dig in as soon as possible!

Frequently Asked Questions About Strawberry Cheesecake Dump Cake
As you get ready to make this Strawberry Cheesecake Dump Cake, you might have a few questions on your mind. Don’t worry, I’ve got you covered with answers to the most common inquiries. Whether you’re wondering about ingredient swaps, storage, or how to make the perfect topping, keep reading for all the tips and tricks you’ll need.
Can I use a different fruit filling besides strawberry?
Absolutely! This dump cake is super versatile, and you can swap the strawberry pie filling for any other fruit filling you like. Some popular alternatives are blueberry, peach, or cherry. You could even mix and match, like using a combination of strawberry and raspberry. The beauty of this dessert is that it works with almost any fruit, so feel free to get creative with your flavor choices!
Can I make this recipe ahead of time?
Yes! One of the best things about this recipe is how make-ahead friendly it is. You can prepare the dump cake in advance, cover it tightly, and store it in the refrigerator for up to a day before baking. When you’re ready to serve, simply pop it in the oven and bake it as directed. You can also bake it ahead of time and store it in the fridge, then reheat it in the oven or microwave when it’s time to serve.
Can I use a different cake mix flavor?
Definitely! While a yellow cake mix is the go-to for this recipe, you could use other cake mix flavors for a fun twist. A butter cake mix, white cake mix, or even a cinnamon cake mix could all pair nicely with the strawberry and cheesecake layers. The texture will still be great, and it’ll change up the flavor just enough to give you a new dessert experience.
What if I don’t have cream cheese?
If you’re in a pinch and don’t have cream cheese on hand, you can try substituting with an equal amount of mascarpone cheese, sour cream, or even Greek yogurt. Each of these substitutes will give you a creamy texture, although they won’t provide quite the same flavor as cream cheese. The result will still be delicious, just with a slightly different taste.
Can I freeze the dump cake?
Yes, you can freeze this dump cake, though it’s best to do so before baking. Assemble the cake, cover it tightly with plastic wrap or foil, and freeze for up to three months. When you’re ready to bake it, just let it thaw in the fridge overnight and then bake as usual. If you’ve already baked the cake and have leftovers, you can freeze individual servings for later—just make sure to wrap them up tightly before freezing.
How do I make the topping more crispy?
If you love a super crispy, crunchy topping, there are a couple of things you can do. First, make sure to drizzle the melted butter evenly over the entire cake mix. The more butter you add, the crunchier the topping will be. Second, during the last 5 minutes of baking, you can increase the oven temperature to 375°F (190°C) to get that extra golden brown, crispy texture. Just keep a close eye on it to avoid burning.
Can I use fresh strawberries instead of pie filling?
While the canned strawberry pie filling adds both sweetness and moisture, you can certainly use fresh strawberries if you prefer. Just keep in mind that fresh berries won’t give you the same thick, jammy consistency. If you go this route, I recommend mixing the fresh strawberries with a bit of sugar and cornstarch to create a syrupy filling that mimics the texture of pie filling. You’ll still get the delicious fruity base, but with a fresher twist.
Conclusion: Ready to Try This Easy Dessert?
Now that you’ve got the full breakdown on how to make this super simple, incredibly delicious Strawberry Cheesecake Dump Cake, it’s time to get baking! Whether you’re making it for a gathering or simply craving something sweet, this dessert is sure to impress. It’s a fun, no-fuss recipe that brings together the best of cheesecake and cake in the easiest way possible. And the best part? It’s practically foolproof!
I’d love to hear how it turns out for you, so be sure to drop a comment below if you try it. Have fun experimenting with different fruit fillings or toppings. And if you’ve got any tweaks you think are amazing, share them with us! Happy baking!
Print
Strawberry Cheesecake Dump Cake
- Author: Sophia
Description
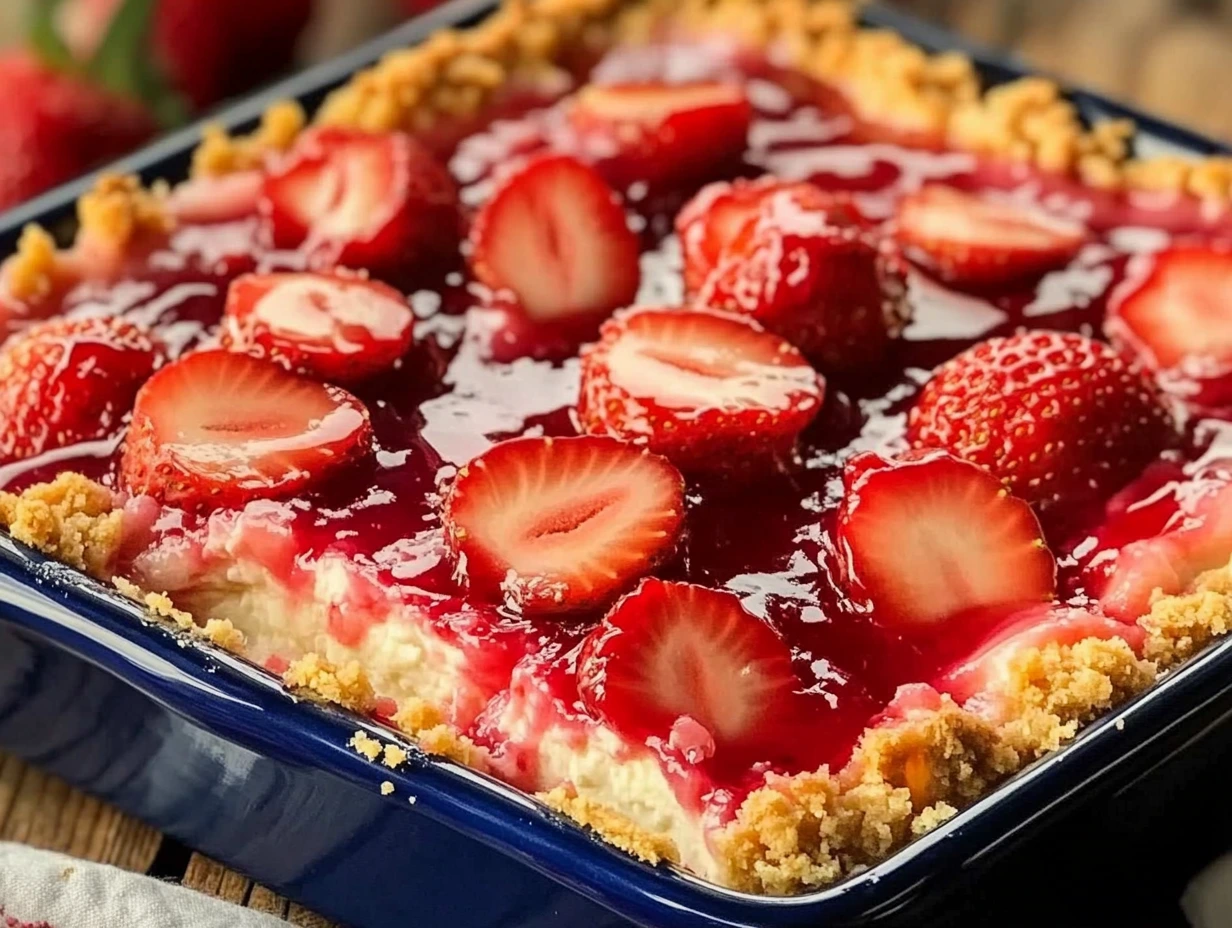
This Strawberry Cheesecake Dump Cake is the epitome of an easy, decadent dessert that everyone will love. With layers of creamy cheesecake, sweet strawberry filling, and a buttery, golden cake topping, this dump cake delivers the irresistible flavors of a cheesecake and a fruit crumble all in one. Best of all, it comes together in just a few simple steps, making it the perfect treat for a busy day or a last-minute gathering.
Ingredients
- 1 can (21 oz) strawberry pie filling
- 1 box (15.25 oz) yellow cake mix
- 1 package (8 oz) cream cheese, softened
- ½ cup sugar
- ½ teaspoon vanilla extract
- ½ cup unsalted butter, melted
- Fresh strawberries, for garnish (optional)
Instructions
1️⃣ Preheat your oven to 350°F (175°C). Grease a 9×13-inch baking dish or spray it with nonstick cooking spray to prevent sticking.
2️⃣ Spread the strawberry pie filling evenly across the bottom of the prepared baking dish, creating a layer that will soak into the cake as it bakes.
3️⃣ In a separate bowl, beat the softened cream cheese, sugar, and vanilla extract together until smooth and creamy. Spoon the mixture in dollops over the strawberry filling, then gently spread it out to create swirls. Don’t worry if it’s not perfect—imperfections just add to the charm!
4️⃣ Sprinkle the dry yellow cake mix evenly over the cheesecake and strawberry layers. This creates the crumbly, golden topping as it bakes.
5️⃣ Drizzle the melted butter evenly over the cake mix. Try to cover as much of the surface as possible to ensure a crispy, buttery topping.
6️⃣ Bake for 45-50 minutes, or until the top is golden brown and the filling is bubbly. Keep an eye on it towards the end to avoid over-baking.
7️⃣ Let the dump cake cool slightly before serving. Garnish with fresh strawberries if desired. This cake is perfect on its own or paired with a scoop of vanilla ice cream for extra indulgence.
Notes
-
For an extra creamy touch, you can fold a little sour cream into the cream cheese mixture for more tanginess.
-
Feel free to substitute the strawberry pie filling with other fruit fillings, like blueberry or peach, to create different flavor variations.
-
Leftovers can be stored in the refrigerator for up to 3 days, but it’s best enjoyed within the first 24 hours for maximum freshness.