There’s just something magical about quiche. It’s versatile, satisfying, and the perfect combination of savory goodness in every bite. Today, we’re diving into a recipe that’s not just easy to make but also a guaranteed crowd-pleaser: Turkey Bacon and Cheese Quiche! Whether you’re planning a weekend brunch, a quick dinner, or even a weekday breakfast you can reheat, this quiche has you covered.
So grab your apron, preheat your oven, and let’s get baking!
Why Turkey Bacon and Cheese Quiche is a Winner
If you’re like me, mornings can sometimes feel a bit chaotic. That’s why recipes like this quiche are lifesavers. It’s simple, delicious, and reheats beautifully, making it perfect for busy mornings or lazy weekends. The combination of turkey bacon, three kinds of cheese, and a silky egg mixture gives this dish an indulgent yet wholesome vibe. Plus, it’s an excellent way to use up ingredients you probably already have in your fridge!
And the best part? You don’t need to be a pro chef to nail this recipe. It’s all about layering, mixing, and letting the oven do its magic. Let me walk you through the first few steps to get started.
Step 1: Preheat Your Oven and Prep the Pie Crust
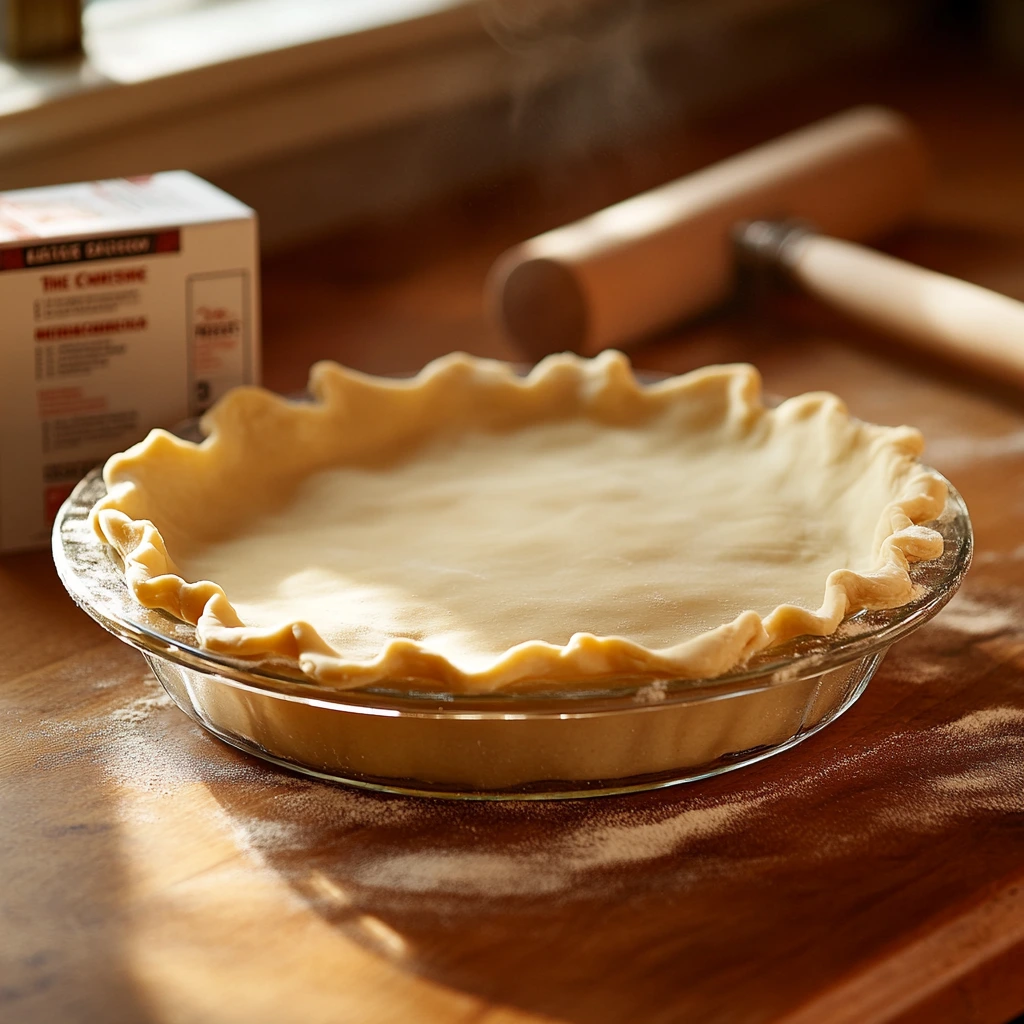
Before we dive into the filling, we need to get our base ready. Start by preheating your oven to 350°F (175°C). Take a store-bought pie crust (because, let’s be honest, convenience is key!) and place it gently into a shallow 9-inch glass pie plate. I like to fold and crimp the edges for a decorative touch—it’s a small detail that makes the final dish look extra special.
If you’re feeling ambitious, you can absolutely use homemade pie crust. Just make sure it’s rolled out evenly to avoid any overly thick or thin spots.
Step 2: Layer the Turkey Bacon and Cheese
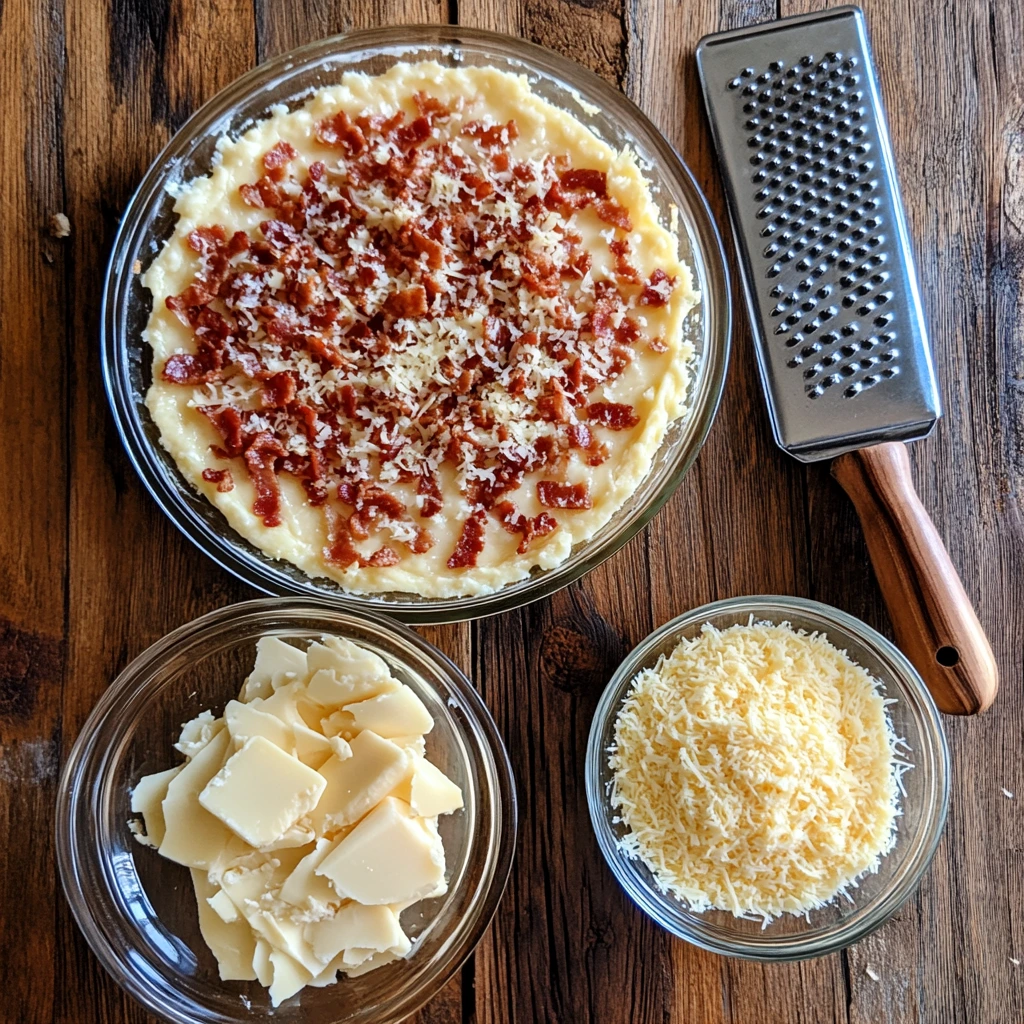
Here’s where the magic begins. Cook your turkey bacon until it’s nice and crispy—this ensures you get that smoky, salty flavor in every bite. Once cooled, crumble the bacon evenly across the bottom of the pie crust. Think of it as the savory foundation for all the goodness that’s about to follow.
Next, it’s cheese time! Layer shredded cheddar, mozzarella, and grated Parmesan cheese over the bacon. This trio creates a melty, gooey, and slightly nutty flavor profile that’ll have you swooning at first bite.
Step 3: Whip Up the Egg Mixture
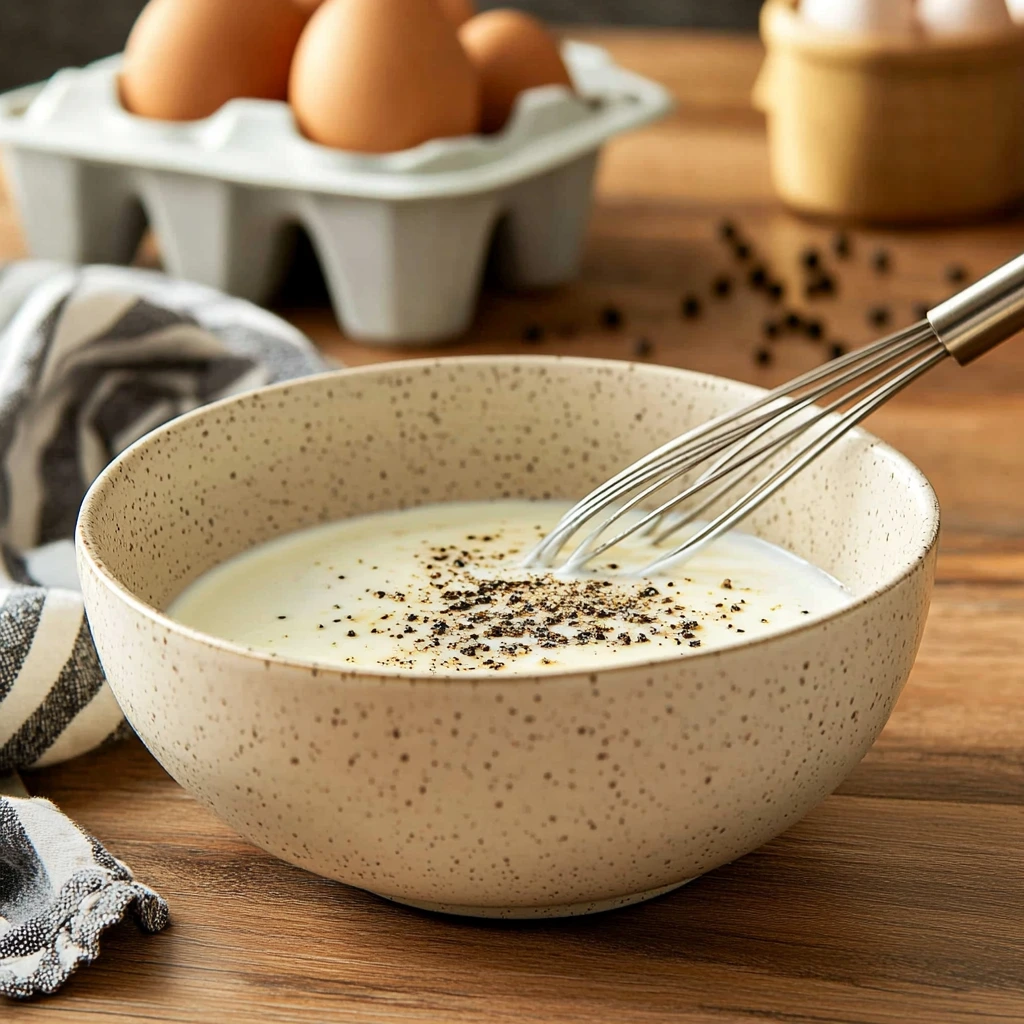
In a medium bowl, whisk together 1 cup of milk, 4 slightly beaten large eggs, and a pinch of salt and black pepper. This simple mixture is the creamy, custardy glue that holds everything together. Pro tip: Make sure to whisk thoroughly so the eggs and milk combine evenly—this step ensures your quiche has a smooth, uniform texture when baked.
Once your egg mixture is ready, you’re almost there! In the next section, we’ll cover how to assemble, bake, and finish this beautiful dish.
Assembling and Baking Your Turkey Bacon and Cheese Quiche
Now that we’ve prepped the crust, layered the delicious fillings, and whisked up a velvety egg mixture, it’s time to bring it all together. This is where your kitchen starts to smell amazing, and the anticipation builds as the quiche bakes to golden perfection.
Let’s dive into the final steps to make this masterpiece come to life!
Step 4: Pour and Assemble
Take your egg mixture and carefully pour it over the turkey bacon and cheese layers in the pie crust. Pour slowly to ensure the mixture spreads evenly and fills all the nooks and crannies between the bacon and cheese. Don’t worry if some of the cheese peeks through—it’ll add a beautiful golden crust on top once baked.
A little tip: If you notice any air bubbles forming, gently tap the pie plate on your countertop to help them escape. This ensures a smooth, custardy texture throughout your quiche.

Step 5: Baking to Perfection
Place the pie plate in your preheated oven, right in the center for even cooking. Set your timer for 45-50 minutes, but keep an eye on it during the last 10 minutes. You’ll know it’s done when the edges are set, the top is lightly golden, and a knife inserted into the center comes out clean.
Pro tip: If the crust edges start to brown too quickly, cover them with strips of foil or a pie crust shield. This will keep them from over-baking while the filling finishes cooking.
Step 6: Let it Rest
Once your quiche is out of the oven, the hard part begins—waiting! Let the quiche rest for about 5-10 minutes before slicing into it. This allows the filling to fully set, making it easier to cut clean, beautiful slices. Trust me, it’s worth the short wait.

Tips and Variations to Customize Your Quiche
One of the best things about this quiche recipe is how versatile it is. Here are some fun ideas to make it your own:
- Switch Up the Cheese: Love a sharper flavor? Try swapping cheddar for Gruyère or adding a sprinkle of feta for a tangy kick.
- Add Veggies: Toss in some sautéed spinach, mushrooms, or bell peppers for extra nutrients and color.
- Go Meat-Free: Want a vegetarian option? Leave out the turkey bacon and pack in more veggies or use plant-based bacon alternatives.
- Herb It Up: Fresh herbs like parsley, chives, or thyme can add a burst of flavor. Sprinkle them on top before serving for a pop of freshness.
Serving Suggestions
This quiche is a star on its own, but it pairs beautifully with simple sides for a complete meal. Here are a few ideas:
- Brunch Spread: Serve with a side of fresh fruit, a mixed greens salad, and a slice of crusty bread.
- Weeknight Dinner: Pair with roasted veggies or a warm bowl of tomato soup for a comforting, balanced meal.
- On-the-Go Breakfast: Slice into wedges, store in the fridge, and grab a piece on busy mornings—it reheats like a dream.
As your quiche cools and the aromas fill your kitchen, get ready for the best part: slicing into it and savoring that first bite. But before we wrap things up, let’s address some common questions you might have about making and serving this quiche!
Frequently Asked Questions About Turkey Bacon and Cheese Quiche
Before we wrap things up, let’s address some common questions you might have about this delicious quiche. Whether you’re a first-time quiche maker or a seasoned pro, these tips and tricks will help ensure your dish turns out perfectly every time!
1. Can I make this quiche ahead of time?
Absolutely! This quiche is a fantastic make-ahead dish. Bake it as instructed, let it cool completely, and store it in the refrigerator for up to 3 days. When you’re ready to enjoy, simply reheat individual slices in the microwave or warm the whole quiche in a 325°F (165°C) oven for about 15-20 minutes.
2. Can I freeze quiche?
Yes! Quiche freezes beautifully. After baking, allow it to cool completely, then wrap it tightly in plastic wrap and foil. Store in the freezer for up to 2 months. To reheat, thaw overnight in the refrigerator and warm in the oven at 325°F (165°C) until heated through.
3. How can I make this quiche crustless?
If you’re looking for a lighter or gluten-free option, you can skip the crust entirely. Simply grease the pie plate well with butter or cooking spray, then follow the recipe as usual. You’ll still get a delicious, custardy quiche that’s a bit lower in carbs.
4. Can I use regular bacon instead of turkey bacon?
Of course! If you prefer the classic taste of regular bacon, go for it. Just cook and crumble it as you would the turkey bacon, and proceed with the recipe. The flavor will be slightly richer and smokier.
5. What other types of milk can I use?
While whole milk provides the best creamy texture, you can use alternatives like almond milk, oat milk, or even half-and-half for a richer custard. Just ensure whatever you use is unsweetened and unflavored.
6. How can I tell if my quiche is done?
A perfectly baked quiche should have a lightly golden top and a center that’s just set. If you’re unsure, insert a knife or toothpick into the center—it should come out clean. Avoid overbaking, as it can make the quiche dry.
7. What’s the best way to serve leftover quiche?
Leftover quiche can be enjoyed warm or cold. Pair it with a side salad for a quick lunch, or enjoy it as-is for a satisfying snack. For a warm serving, a quick zap in the microwave will do the trick!
Conclusion: Your New Go-To Recipe
There you have it—Turkey Bacon and Cheese Quiche, a dish that’s as versatile as it is delicious. Whether you’re serving it for brunch, dinner, or prepping meals for the week, this quiche is sure to impress. Its creamy texture, smoky turkey bacon, and trio of cheeses create a flavor-packed experience in every bite.
Now it’s your turn to try this recipe! Snap a photo, share your quiche creation, and let us know how it turned out. Did you add a personal twist or try a fun variation? We’d love to hear about it in the comments. And don’t forget to bookmark this page—it’s a recipe you’ll want to make again and again.
Print
Turkey Bacon and Cheese Quiche
- Author: Sophia
- Total Time: 55-60 minutes
Description
A hearty and delicious quiche featuring smoky turkey bacon and a blend of three cheeses in a flaky crust. This versatile dish is perfect for breakfast, brunch, or dinner.
Ingredients
- 1 pie crust, softened as directed on the box
- 1 cup milk
- 4 large eggs, slightly beaten
- 1/4 teaspoon salt
- 1/4 teaspoon black pepper
- 8 slices turkey bacon, cooked and crumbled
- 1/2 cup cheddar cheese, shredded
- 1/2 cup mozzarella cheese, shredded
- 1/3 cup Parmesan cheese, grated
Instructions
1️⃣ Preheat the oven: Preheat your oven to 350°F (175°C). Place the pie crust in a shallow 9-inch glass pie plate. Fold the edges of the crust and crimp for a decorative border.
2️⃣ Layer the filling: Spread the crumbled turkey bacon evenly over the bottom of the pie crust. Sprinkle the cheddar, mozzarella, and Parmesan cheeses on top of the bacon.
3️⃣ Prepare the egg mixture: In a medium bowl, whisk together the milk, slightly beaten eggs, salt, and black pepper. Mix until well combined.
4️⃣ Assemble the quiche: Pour the egg mixture over the bacon and cheese layers in the pie crust. Make sure the filling is evenly distributed.
5️⃣ Bake: Place the pie plate in the preheated oven and bake for 45-50 minutes. The quiche is done when a knife inserted into the center comes out clean and the top is lightly golden.
6️⃣ Cool and serve: Let the quiche rest for 5-10 minutes to set before slicing. Serve warm and enjoy!
Notes
- For extra flavor, add chopped green onions or spinach to the filling.
- To make this quiche gluten-free, use a gluten-free pie crust.
- Leftovers can be refrigerated for up to 3 days and reheated in the oven or microwave.
- Prep Time: 10 minutes
- Cook Time: 45-50 minutes
Nutrition
- Serving Size: 6


