
If you’re anything like me, there’s a special place in your heart for anything cheesy, creamy, and just the right amount of spicy. That’s exactly what you get with this Ultimate Buffalo Chicken Mac and Cheese. It’s rich, bold, and delivers that perfect kick of buffalo flavor—without overpowering the creamy cheese sauce we all crave when it’s time for comfort food.
This is the kind of dish that turns heads at potlucks, disappears at game day gatherings, and gets requested again and again at home. Because really, how can you go wrong with pasta, cheese, and buffalo chicken all in one bite?
I remember the first time I made this—on a chilly Sunday evening with leftover rotisserie chicken in the fridge and a craving for something indulgent. What came out of the oven was nothing short of magic: creamy mac and cheese meets spicy buffalo chicken, with a golden, bubbly top that’s begging to be scooped into. My family devoured it and asked for seconds (and maybe thirds). From that day, it became a go-to for any occasion where comfort food is the vibe.
Let’s dive into how to make this crave-worthy mac and cheese. I promise, it’s easier than you think, and you don’t need to be a kitchen pro to nail it.
Ingredients You’ll Need
Here’s what you’ll want to have on hand before we get started:
-
2 cups elbow macaroni
-
2 tablespoons butter
-
2 tablespoons all-purpose flour
-
2 cups whole milk
-
1 cup heavy cream
-
2 cups shredded sharp cheddar cheese
-
1 cup shredded mozzarella cheese
-
½ teaspoon garlic powder
-
Salt and black pepper to taste
-
2 cups cooked and shredded chicken (rotisserie is great!)
-
½ cup buffalo wing sauce
-
¼ cup crumbled blue cheese (optional, but delicious)
-
Chopped green onions for garnish (also optional, but adds a nice pop of color)
STEP 1: Boil the Pasta
You’ll start by cooking your elbow macaroni in salted, boiling water until just al dente. You don’t want it too soft since it’ll finish cooking a bit when it’s mixed with the sauce or broiled at the end.
Once cooked, drain the pasta and set it aside. It’s okay if it cools slightly—we’re about to bring the heat with that cheese sauce.

STEP 2: Make the Cheese Sauce
In a large saucepan, melt the butter over medium heat. Once it’s fully melted, whisk in the flour. Cook this for about 1 minute, whisking constantly. This is your roux—the base of your creamy cheese sauce. Don’t skip this step; it’s what helps thicken the sauce without lumps.
Slowly pour in the milk and cream, whisking as you go to keep it smooth. Bring this to a gentle simmer and let it cook for 3 to 5 minutes, just until it thickens slightly.
Now comes the best part: the cheese. Stir in your shredded cheddar, mozzarella, garlic powder, salt, and pepper. Keep stirring until the cheese is melted and the sauce is silky smooth. At this point, you might be tempted to grab a spoon and eat it as is—and honestly, I wouldn’t blame you.

STEP 3: Mix in the Buffalo Chicken
While your cheese sauce is coming together, grab a mixing bowl and toss your shredded chicken with the buffalo wing sauce. Make sure the chicken is evenly coated—this is where all that spicy, tangy flavor comes from.
Once your cheese sauce is ready, add in the cooked pasta and the buffalo chicken. Gently stir everything together until the macaroni is fully coated and that chicken is tucked into every cheesy corner.
What Makes This Mac and Cheese So “Ultimate”?
Honestly? It’s all about balance. The heat from the buffalo sauce is bold, but it doesn’t overpower the creamy, cheesy base. And the mix of cheddar and mozzarella gives it that classic flavor with the perfect gooey texture.
Want to take it even further? You can top it off with crumbled blue cheese and broil it for a couple of minutes until the top is golden and bubbly. It adds a restaurant-style touch that’s seriously worth the extra two minutes.

Ultimate Buffalo Chicken Mac and Cheese: Baked, Bubbly, and Unforgettable
So now that you’ve got your buffalo chicken, pasta, and creamy cheese sauce all married together in one delicious pot, it’s time to take this mac and cheese to the next level—literally. The stovetop version is already irresistible, but when you add a crispy, golden top with a little broil action? Game changer. This step turns an already comforting meal into something restaurant-worthy.
Whether you’re feeding a hungry family on a busy weeknight or showing off at a potluck, this next part is what makes people come back for seconds (and then ask for the recipe). Let’s finish it strong!
STEP 4: Bake (Or Broil) to Finish
Now, you don’t have to bake this dish—but if you ask me, that little bit of time in the oven makes all the difference.
After mixing the mac, cheese sauce, and buffalo chicken together, transfer everything to a lightly greased baking dish. Use a spatula to smooth out the top.
If you like blue cheese (and I know it can be a love-it-or-leave-it ingredient), sprinkle the crumbled blue cheese over the top. It melts just enough to add that signature buffalo-wing flavor without overwhelming the dish.
Pop the dish under the broiler for 2–3 minutes. Watch it closely here—every oven is a little different, and the goal is a bubbly, golden top, not burnt edges. You’ll know it’s ready when the cheese is melty, the top is just starting to brown, and the edges are begging to be scooped.
If you’re not a fan of blue cheese, you can skip it or just sprinkle on a little extra mozzarella or even some parmesan for that golden finish.

Optional Garnishes That Make It Pop
Once it’s out of the oven and looking all golden and gooey, take a second to add a little something fresh on top. A sprinkle of chopped green onions adds color and a subtle sharpness that cuts through the richness in the best way. If you have celery leaves, they’re also a fun (and thematic) garnish that hints at buffalo wings.
Want to spice it up even more? A drizzle of extra buffalo sauce over the top never hurts. Or for those who like to live on the wild side, a dash or two of your favorite hot sauce will definitely bring the heat.
Tips for Success: Get the Most Out of Your Mac
Over the years, I’ve picked up a few go-to tips that really help this dish shine:
-
Use freshly shredded cheese. Pre-shredded cheese is convenient, but it often has anti-caking agents that keep it from melting as smoothly. Freshly grated cheese melts creamier and gives you that luscious texture you want in a mac and cheese.
-
Don’t overcook the pasta. Remember, it’ll continue to cook slightly in the sauce or under the broiler. Going a little under on the boil time keeps it from getting mushy later.
-
Balance the heat. If you’re cooking for a mixed crowd (kids or spice-sensitive folks), start with less buffalo sauce and let individuals add more to their own servings. You can always go spicier, but it’s harder to dial it back.
-
Make it ahead. This dish reheats well, which makes it great for meal prep or prepping ahead of a party. Just add a splash of milk before reheating to loosen the sauce back up.
-
Add a crunchy topping. Want even more texture? Mix ½ cup of panko breadcrumbs with a tablespoon of melted butter and sprinkle it over the top before broiling. It gives you a beautiful crispy topping that plays so well with the creamy pasta underneath.
Variations to Try
This recipe is incredibly versatile, so don’t be afraid to make it your own. Here are a few easy ways to mix it up:
-
Buffalo Cauliflower Mac and Cheese: Swap out the chicken for roasted buffalo cauliflower for a vegetarian version with all the flavor and none of the meat.
-
Ranch Twist: Add a tablespoon of ranch seasoning to the cheese sauce for a flavor combo that plays perfectly with the buffalo spice.
-
Loaded Style: Stir in some cooked bacon bits and top with diced tomatoes or jalapeños for a “loaded” mac and cheese vibe.
-
Mac and Cheese Cups: Scoop the mixture into a muffin tin, top with cheese or breadcrumbs, and bake until set. Great for parties or game day snacks!
Serving Suggestions
This dish is a star all on its own, but if you want to round out the meal, it pairs really well with:
-
A crisp green salad (something with a tangy vinaigrette to cut the richness)
-
Steamed or roasted veggies like broccoli or green beans
-
Garlic bread (because carbs on carbs is sometimes the right move)
-
A cold drink to balance the heat—iced tea, lemonade, or your favorite beer if you’re keeping it casual
Ultimate Buffalo Chicken Mac and Cheese: Your Questions Answered
By now, your kitchen probably smells like pure cheesy, spicy heaven—and if you’ve made it this far, you’re just about ready to dig in. But before we wrap things up, let’s cover a few common questions that tend to come up with this recipe.
Whether you’re wondering about substitutions, reheating tips, or how to store leftovers, I’ve got you covered. These FAQs are here to make sure your Buffalo Chicken Mac and Cheese turns out perfect every single time.

Frequently Asked Questions
1. Can I use a different type of pasta?
Absolutely! While elbow macaroni is the classic choice, you can swap in other short pasta shapes like rotini, shells, or cavatappi. Just aim for something with ridges or curves that can hold onto that creamy sauce.
2. What kind of chicken works best for this recipe?
Rotisserie chicken is a great time-saver and adds a ton of flavor, but any cooked and shredded chicken will do—grilled, baked, or even leftover roasted chicken. Just be sure it’s not overly seasoned so it doesn’t compete with the buffalo sauce.
3. Can I make this dish ahead of time?
Yes! This mac and cheese holds up really well if you prep it in advance. You can assemble everything (including the cheese sauce and buffalo chicken), transfer it to your baking dish, cover, and refrigerate. When you’re ready to eat, just reheat it in the oven at 350°F for 20–25 minutes, covered with foil. Add a splash of milk before reheating to keep it creamy.
4. Is it too spicy for kids or sensitive eaters?
Buffalo sauce definitely has a kick, but you can tone it down by using less sauce or mixing it with a little melted butter or ranch dressing before tossing it with the chicken. Start with a quarter cup and adjust to taste.
5. What’s the best way to reheat leftovers?
The microwave works just fine for small portions—just add a splash of milk and heat in 30-second intervals, stirring in between. For larger portions, reheat in the oven at 325°F, covered with foil, until warmed through. Again, a little milk helps keep the sauce smooth and creamy.
6. Can I freeze Buffalo Chicken Mac and Cheese?
You can! Let it cool completely, then transfer to a freezer-safe container. It will keep for up to 2 months. Thaw overnight in the fridge before reheating. The texture might change slightly (as creamy sauces sometimes do when frozen), but it’s still super tasty.
7. Can I make this without blue cheese?
Totally. Blue cheese is one of those ingredients people either love or don’t care for, and this dish works just as well without it. You can leave it out entirely or swap it for extra mozzarella, cheddar, or even a sprinkle of parmesan on top before broiling.
Final Thoughts: Comfort Food at Its Boldest
There’s something really special about recipes like this. It’s not just mac and cheese, and it’s not just buffalo chicken—it’s the best of both worlds in one dish that’s cozy, bold, and seriously satisfying.
I love that this recipe is flexible enough for a casual weeknight dinner, but impressive enough to serve to guests or bring to a potluck. It’s one of those meals that hits all the right notes: creamy, spicy, cheesy, and hearty.
If you try this Ultimate Buffalo Chicken Mac and Cheese, I’d love to hear what you think! Leave a comment, share how you served it, or let me know if you made any fun tweaks. Did you go full heat with extra hot sauce? Skip the blue cheese? Add bacon? There are so many ways to make it your own, and I can’t wait to hear what you do with it.
Print
Ultimate Buffalo Chicken Mac and Cheese
- Author: Sophia
Description
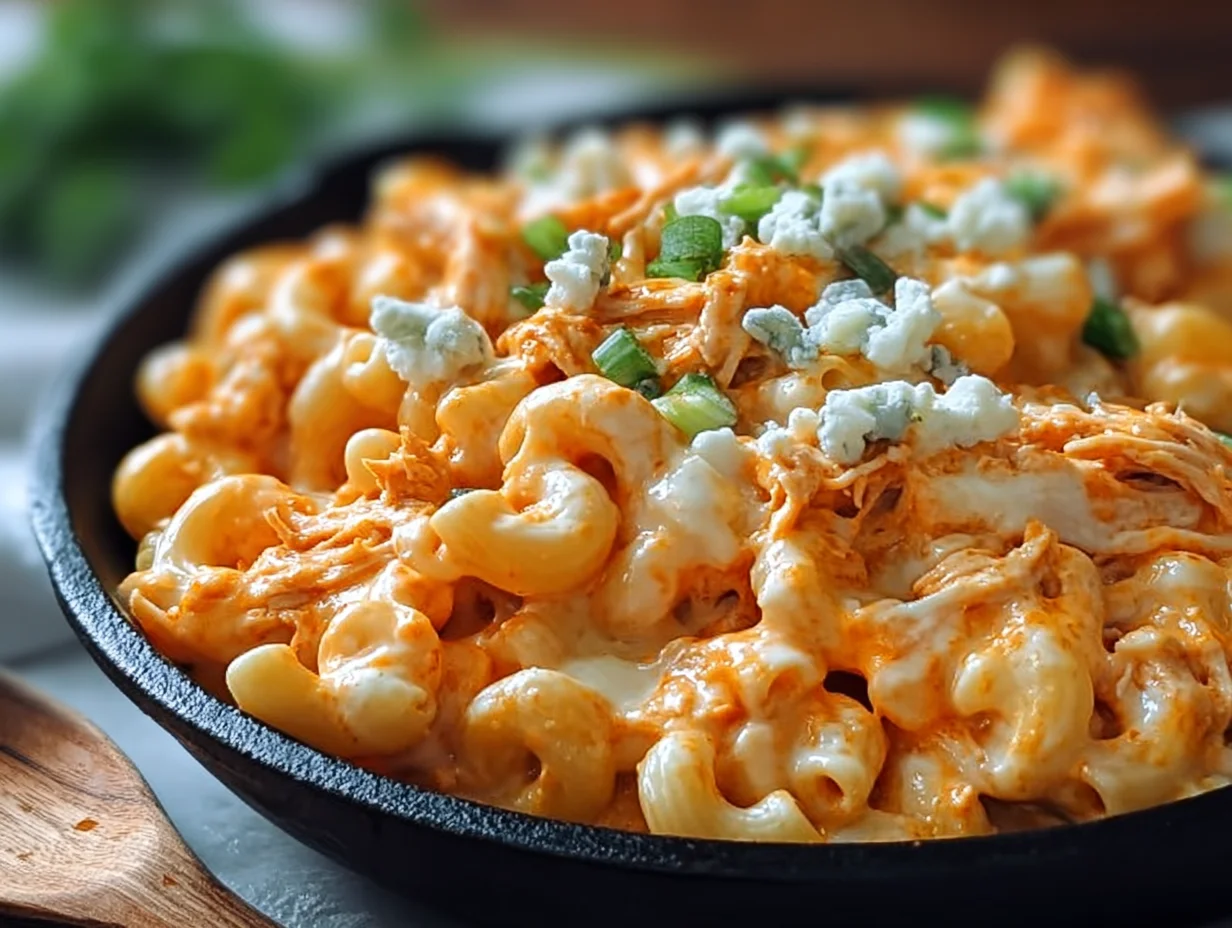
This Ultimate Buffalo Chicken Mac and Cheese takes comfort food to the next level. Creamy, cheesy pasta meets spicy buffalo chicken for a bold, crowd-pleasing dish that’s perfect for game day, potlucks, or a cozy night in. The heat from the buffalo sauce is balanced by the richness of the cheese sauce, and every bite delivers a punch of flavor with tender chunks of chicken and perfectly cooked macaroni.
Ingredients
2 cups elbow macaroni
2 tablespoons butter
2 tablespoons all-purpose flour
2 cups whole milk
1 cup heavy cream
2 cups shredded sharp cheddar cheese
1 cup shredded mozzarella cheese
½ teaspoon garlic powder
Salt and black pepper to taste
2 cups cooked and shredded chicken
½ cup buffalo wing sauce
¼ cup crumbled blue cheese (optional)
Chopped green onions for garnish (optional)
Instructions
Cook the elbow macaroni in salted boiling water according to package instructions until al dente. Drain and set aside. In a large saucepan, melt the butter over medium heat. Whisk in the flour and cook for about 1 minute to form a roux. Gradually whisk in the milk and cream until smooth. Bring to a gentle simmer and cook for 3 to 5 minutes until slightly thickened.
Stir in the cheddar, mozzarella, garlic powder, salt, and black pepper. Continue stirring until the cheese is fully melted and the sauce is smooth. In a separate bowl, toss the cooked chicken with the buffalo sauce. Add the cooked pasta and buffalo chicken to the cheese sauce and mix until everything is evenly coated.
Transfer the mac and cheese to a baking dish if desired and top with crumbled blue cheese. Broil for 2 to 3 minutes until bubbly and golden on top. Garnish with chopped green onions before serving.
Notes
For extra heat, add a few dashes of hot sauce to the cheese sauce. Rotisserie chicken works well for this recipe and saves time. If blue cheese isn’t your thing, leave it out or replace it with more mozzarella. This dish can be made ahead and reheated, though you may want to add a splash of milk when warming it to keep it creamy.


