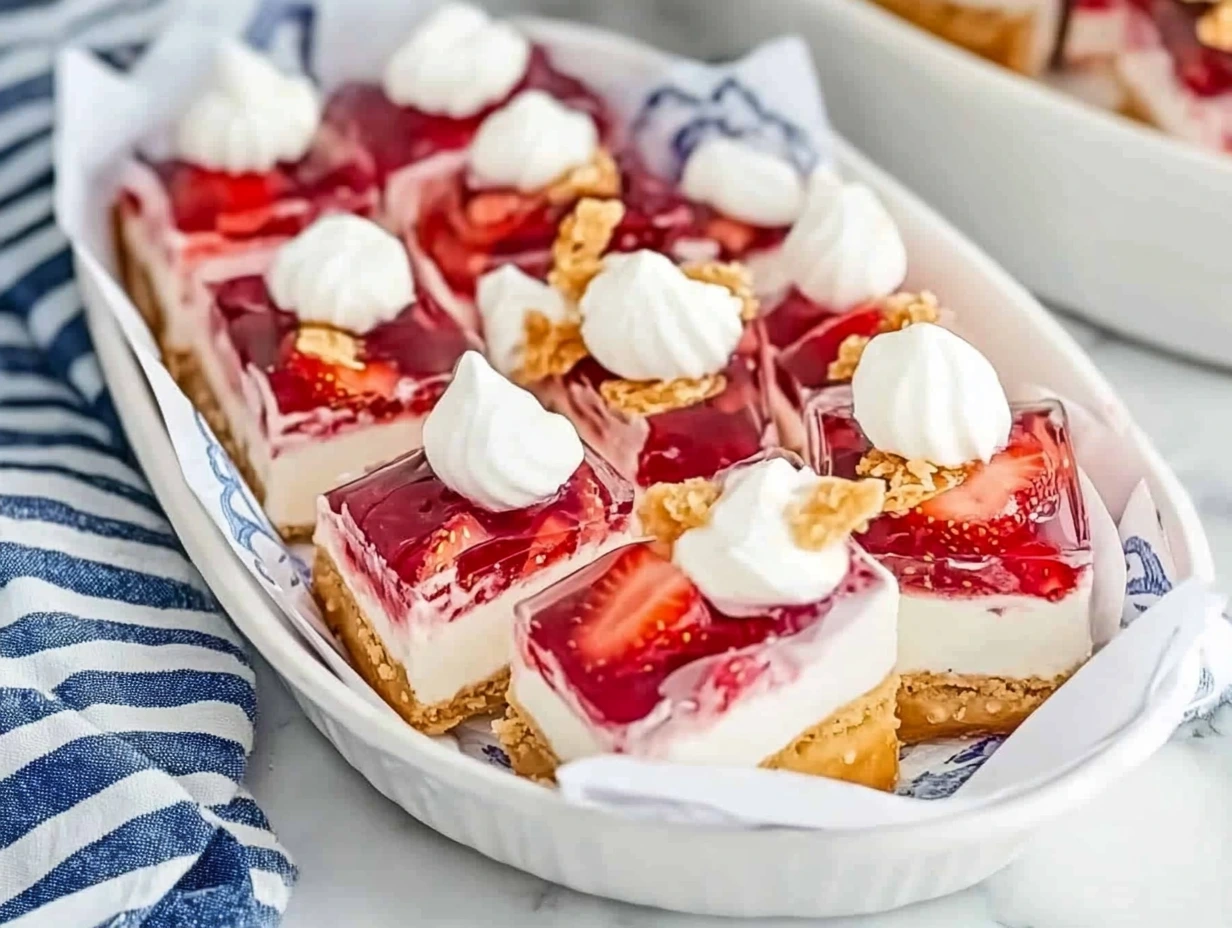
There’s something undeniably nostalgic about a dessert that balances sweet, salty, and fruity all in one bite. Walking Strawberry Pretzel Salad is that show-stopping dish that always gets the oohs and aahs at summer barbecues, potlucks, and picnic tables. I first stumbled across this vibrant dessert at my cousin’s Fourth of July block party years ago—and let me tell you, as soon as I tasted that pretzel-crumb crust and silky cream layer, I was hooked. Since then, I’ve made it for every gathering I can think of, tweaking it here and there, but never straying too far from the classic formula that works so well.
Why You’ll Love This Dessert
-
Make-Ahead Magic: Prep the crust and filling the night before, then top with the strawberry layer just before guests arrive.
-
Textural Contrast: Crunchy pretzels meet creamy cheesecake-style filling and juicy, wobbly strawberry gelatin.
-
Visual Appeal: Those ruby-red slices suspended in glossy pink Jell-O practically beg to be snapped for Instagram.
-
Crowd Pleaser: With layers of flavor and familiar ingredients, even picky eaters can’t resist a second helping.
Whether you’re chasing the last of summer’s strawberries or looking for a fun spin on the classic Jell-O salad, this recipe is your new go-to. Plus, it’s so simple that if you’re entertaining at the last minute, you can have it in the fridge chilling in under 20 minutes—waiting for the 3–4 hours it needs to set.

Step 1: Build the Perfect Pretzel Crust
-
Preheat & Prep: Set your oven to 350°F (175°C). Line a 9×13-inch baking pan with parchment paper or simply grease it lightly—either way works.
-
Crush the Pretzels: Measure out 3 cups of salted pretzels. For the best texture, I like a mix of fine crumbs and little chunks—run about two-thirds through your food processor and pulse the rest by hand in a zip-top bag.
-
Mix & Press: In a medium bowl, stir together the crushed pretzels, ½ cup granulated sugar, and ½ cup (1 stick) melted unsalted butter. You want every bit of those salty crumbs coated so the crust holds together. Press the mixture firmly and evenly into the bottom of your pan—use the bottom of a measuring cup or glass to really compact it.
-
Bake & Cool: Slide it into the oven for 10 minutes. This quick bake helps the crust set so it won’t turn to mush under the creamy layer. Once it’s lightly golden at the edges, pull it out and let it cool completely at room temperature (about 15–20 minutes).
Pro Tip: If you’re short on time, you can chill the crust in the freezer for 10 minutes instead of waiting for it to cool on the counter—just don’t skip the chilling step or your layers will blend together instead of staying neat.
![]()
Step 2: Whip Up the Cream Cheese Layer
-
Soften & Beat: In a large mixing bowl, beat one 8-ounce block of softened cream cheese until it’s silky smooth with no lumps. I find that letting it sit out for about 30 minutes does the trick, but you can zap it in the microwave on low power for 10 seconds if you’re in a hurry.
-
Sweeten & Fold: Add 1 cup powdered sugar and half of an 8-ounce container of thawed whipped topping (about 4 ounces). Gently fold until just combined—overmixing can deflate the whipped topping, and we want that airiness intact.
-
Layer it Up: Spread this fluffy, cheesecake-style mixture evenly over your cooled pretzel crust. A small offset spatula or the back of a spoon makes this super easy.
Once your cream cheese layer is smooth and even, pop the pan back in the fridge. We’ll let it firm up while we prepare the strawberry gelatin in Part 2—think of it as a little cool-down break before the fruity finale!
![]()
Step 3: Prepare the Strawberry Gelatin
-
Dissolve the Jell-O:
In a medium heat-proof bowl, pour in your 3-ounce package of strawberry gelatin. Carefully add 1 cup of boiling water, then whisk—vigorously!—until every last granule is completely dissolved. (No one wants gritty Jell-O.) -
Cool & Combine:
Stir in 1 cup of cold water to bring the temperature down. Let the mixture rest for about 5 minutes; you’re aiming for “warm but not hot” so you don’t melt the cream cheese layer when you pour it on. -
Fold in Fresh Fruit:
Gently fold in 2 cups of hulled, sliced strawberries. If your berries are super ripe and juicy, pat them dry first so they don’t water down the jelly. Those fresh berry chunks suspended in glossy Jell-O are what everyone raves about—so don’t skimp here!
Step 4: Layer & Chill
-
Top the Cream Cheese Layer:
Retrieve your pan from the fridge. With a steady hand, slowly pour the cooled gelatin-strawberry mixture over the cream-cheese layer. Try pouring in a thin stream at one corner and let it naturally spread, rather than dumping it all in one spot. -
Even It Out:
Tilt the pan gently or use an offset spatula to nudge any gelatin that hasn’t quite reached the edges. You want a perfectly level top so each square of salad looks like a little gem. -
Chill, Chill, Chill:
Cover the pan with plastic wrap and refrigerate for at least 3–4 hours, preferably longer if you can swing it. Overnight is even better—and totally acceptable when you’re prepping for a big event. The gelatin needs this time to set firmly so your layers stay distinct when you slice.
Step 5: Final Whipped Topping & Serving
-
Add the Finishing Touch:
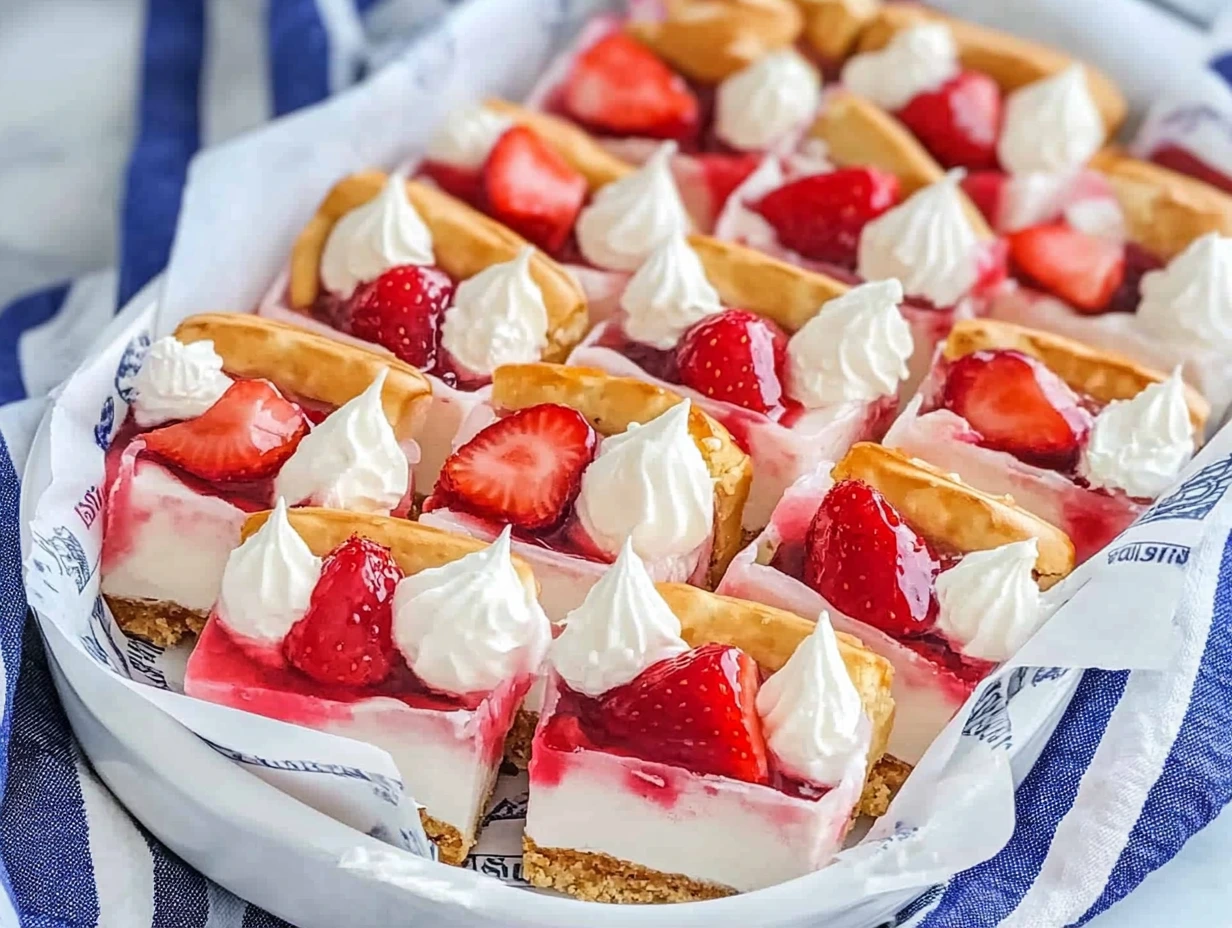
Once the gelatin is fully set, remove the salad from the fridge. Dollop the remaining whipped topping in little mounds across the surface for a fun, rustic look—my go-to—or spread it evenly for a sleek finish. Either way, you’ll end up with creamy clouds of goodness perched on top. -
Slice with Care:
Use a sharp knife dipped in hot water and wiped dry between each cut. This trick gives you clean, photogenic squares without dragging the layers. -
Serve Chilled:
Arrange the squares on a pretty platter or serve them straight from the pan—this dessert invites a casual, communal vibe. Watch people’s faces light up as they dig in!
Pro Tips & Variations
-
Pretzel Texture Hack: Instead of grinding all your pretzels to one consistency, pulse half into fine crumbs and leave the rest coarsely chopped for extra crunch.
-
Flavor Switch-Up: Swap strawberry Jell-O and berries for raspberry, cherry or even peach (with diced peaches) for a different summer sensation.
-
Lower-Sugar Option: Use a sugar-free gelatin and replace the granulated sugar in the crust with a sugar substitute to trim some sweetness.
-
Make-Ahead Mode: Assemble through Step 4 up to 24 hours in advance. Keep it tightly covered and wait to add the whipped topping until just before serving to maintain maximum fluffiness.
-
Storage Notes: Leftovers (if there are any!) keep up to two days in the refrigerator. The crust will soften a bit over time, but it’s still delightfully flavorful.
Frequently Asked Questions
1. Can I use low-fat or reduced-fat ingredients?
Absolutely! You can swap in light cream cheese and a low-fat whipped topping to shave off some calories. Just know that the texture might be a touch less rich and airy—but it still makes a tasty, lighter version of this classic treat.
2. My gelatin layer isn’t setting—what went wrong?
The most common culprit is temperature. Make sure your dissolved Jell-O has cooled for at least 5–7 minutes before pouring over the cream-cheese layer. If it’s too hot, it can melt that layer and dilute the gelling agents. Also, confirm you used a full 3-ounce package of gelatin and followed exactly 1 cup boiling + 1 cup cold water—any change in ratio can affect setting.
3. How early can I assemble this dessert?
You can complete Steps 1–4 up to 24 hours in advance. Keep it tightly covered in the fridge. Wait to add the final whipped-topping layer until just before serving—this preserves the prettiest peaks and prevents any collapse or condensation on top.
4. Can I substitute other fruits or flavors?
Yes! Swap the strawberry gelatin for raspberry, cherry, or peach flavor, then fold in 2 cups of fresh raspberries, cherries (pitted), or diced peaches. Each variation brings its own flair—just make sure the fruit is patted dry so the gel stays firm.
5. Is there a gluten-free option?
To make this gluten-free, simply replace the pretzels with a gluten-free pretzel brand. Many mainstream stores carry gluten-free varieties that crush and bake just like the original. Everything else in the recipe is naturally gluten-free.
6. How do I keep the pretzel crust from getting soggy?
Pressing the crust firmly and baking it through Step 1 is key. The quick bake seals the crumbs so they don’t absorb moisture from the cream-cheese layer. If you’d like an extra barrier, after baking and cooling, you can brush a thin layer of melted white chocolate over the crust—let it harden before adding the cream cheese. This creates a moisture-resistant shield.
Conclusion
There you have it—a dessert that’s equal parts crunchy, creamy, and fruity, perfect for long summer days and big family gatherings. Walking Strawberry Pretzel Salad is as versatile as it is eye-catching: make it your own with different fruit flavors, lighter ingredients, or that white-chocolate crust seal.
I hope you give this layered beauty a whirl. Whether you’re a seasoned baker or a kitchen newbie, these steps are foolproof—plus, it all comes together in under 20 minutes of active prep time. Trust me, seeing your friends’ reactions when they lift that first slice is worth every second!
Print
Walking Strawberry Pretzel Salad
- Author: Sophia
Description
Walking Strawberry Pretzel Salad is a delightful layered dessert featuring a crunchy salty pretzel crust, a creamy sweet cheesecake layer, and a vibrant strawberry gelatin topping studded with fresh fruit. It’s an irresistible balance of textures and flavors—perfect for potlucks, picnics, or any gathering where a make-ahead treat is appreciated.
Ingredients
3 cups crushed salted pretzels
½ cup granulated sugar
½ cup (1 stick) unsalted butter, melted
8 ounces cream cheese, softened
1 cup powdered sugar
8 ounces Cool Whip (or other whipped topping), thawed and divided
1 (3-ounce) package strawberry gelatin
1 cup boiling water
2 cups fresh strawberries, hulled and sliced
1 cup cold water
Instructions
1️⃣ Preheat the oven to 350°F (175°C). In a medium bowl, combine the crushed pretzels, granulated sugar, and melted butter. Press the mixture firmly into the bottom of a 9×13-inch baking pan. Bake for 10 minutes, then remove and let cool completely.
2️⃣ In a clean mixing bowl, beat the softened cream cheese until smooth. Add the powdered sugar and half of the whipped topping (about 4 ounces), folding gently until well combined and fluffy. Spread this cream-cheese layer evenly over the cooled pretzel crust. Return to the refrigerator while you prepare the strawberry layer.
3️⃣ In a separate bowl, dissolve the strawberry gelatin in the boiling water, stirring until completely dissolved. Stir in the cold water and allow the mixture to cool for 5 minutes, then gently fold in the sliced strawberries.
4️⃣ Remove the pan from the fridge and carefully pour the cooled gelatin-strawberry mixture over the cream-cheese layer, spreading it evenly. Return to the refrigerator and chill for at least 3–4 hours, or until the gelatin is fully set.
5️⃣ Once set, dollop the remaining whipped topping in small mounds over the strawberry layer, or spread it evenly for a smoother finish. Slice into squares and serve chilled.
Notes
– For extra crunch, pulse the pretzels more coarsely so you get a mix of fine crumbs and larger pieces in the crust.
– Substitute raspberry or cherry gelatin for a different flavor profile, and swap in the corresponding fresh fruit.
– To make ahead, assemble through step 4 and cover tightly; add the final whipped-topping layer just before serving for best texture.
– Leftover salad (if you have any!) will keep, covered, in the refrigerator for up to two days, though the crust may soften slightly over time.