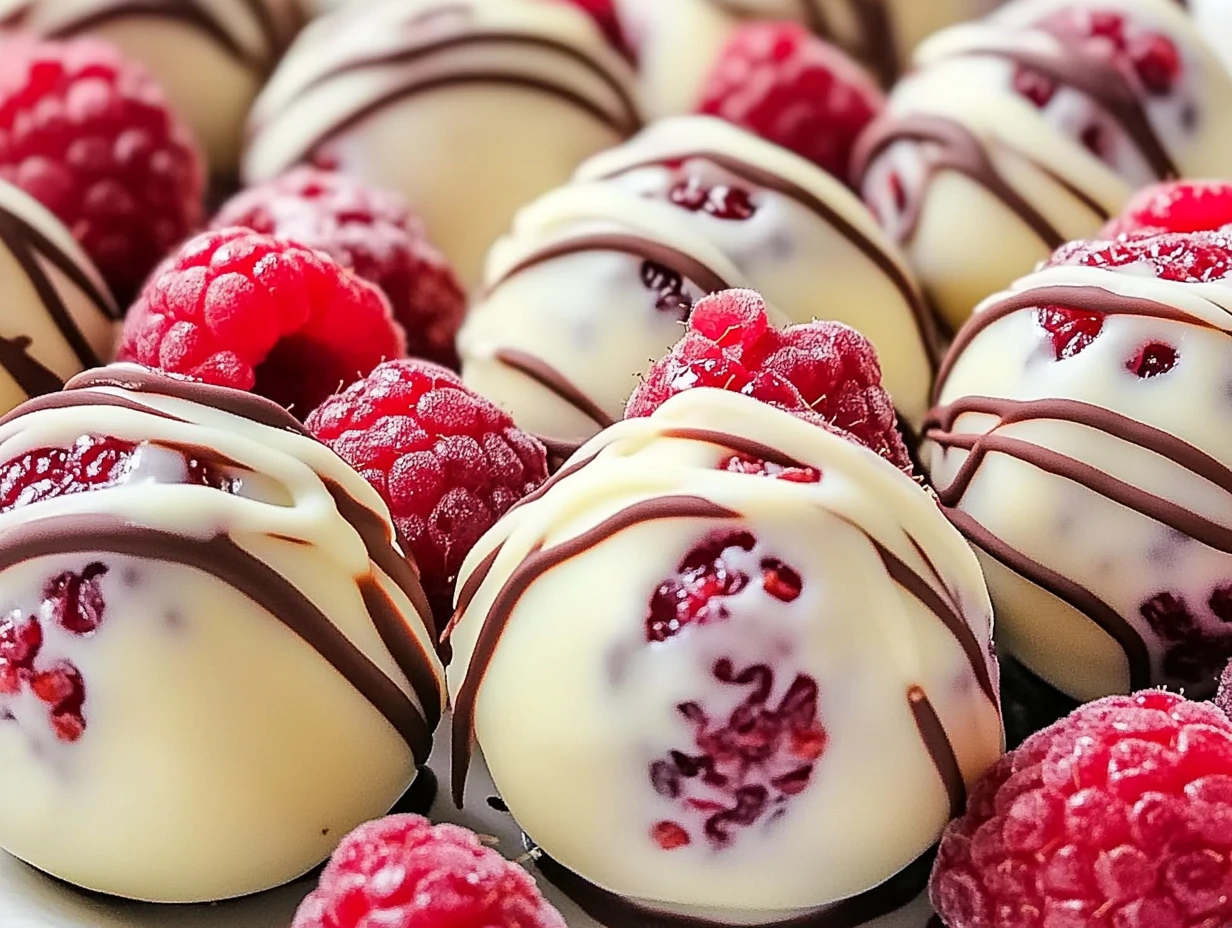
When it comes to no-bake desserts, it’s hard to beat these White Chocolate Raspberry Cheesecake Balls. Imagine biting into a silky, creamy cheesecake center bursting with tangy raspberry flavor, wrapped in a luscious white chocolate shell, and topped with vibrant, fruity sprinkles. Whether you’re prepping for a party, a cozy night in, or just need a sweet fix, this easy dessert recipe is bound to impress.
I’ve always been a fan of cheesecake in any form—bars, slices, mini jars—but these bite-sized cheesecake balls? They’re next-level good. They’re not just a treat; they’re a little piece of joy you can pop into your mouth anytime. Plus, they’re ridiculously easy to make. Even if you’re a kitchen newbie, you’ve got this!
The Perfect No-Bake Dessert Begins
Making these White Chocolate Raspberry Cheesecake Balls is not only straightforward, but it’s also fun, especially when you get creative with the garnishes. Let’s dive into the first few steps to bring these little delights to life.
1️⃣ Whip Up the Cheesecake Filling
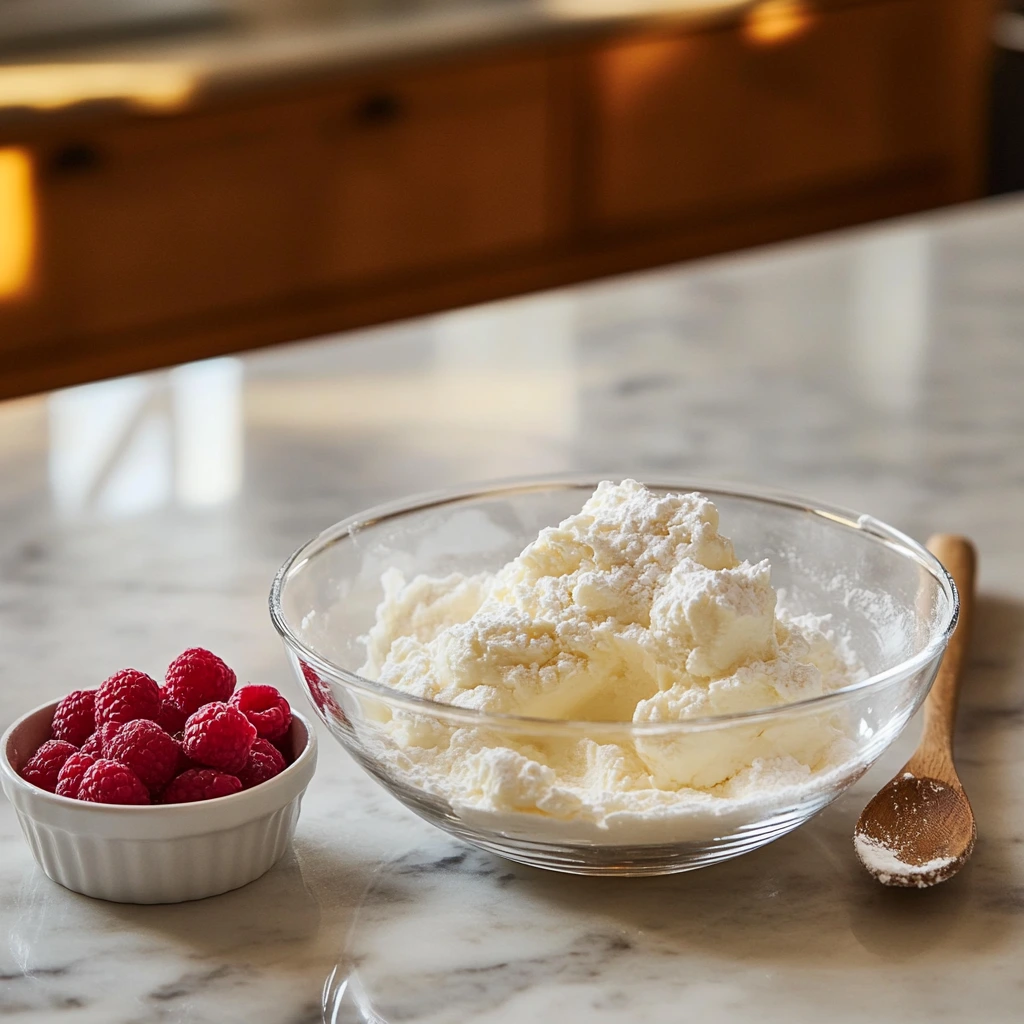
Start by grabbing a mixing bowl and tossing in 8 ounces of softened cream cheese, ¼ cup of powdered sugar, and a splash of vanilla extract (just a teaspoon will do). Beat these ingredients together until the mixture is smooth and creamy. This step is where the magic begins—the base for that dreamy cheesecake center!
Next, it’s time for the star of the show: raspberries. If you have fresh raspberries on hand, mash up ¼ cup to release all that sweet, tangy goodness. Prefer an easier option? Raspberry preserves work beautifully, too. Gently fold the raspberries into the cream cheese mixture. Not only does this step infuse the filling with that signature tart flavor, but it also gives the balls a gorgeous blush-pink hue.
Once everything is well combined, cover the bowl and let the mixture chill in the fridge for about 30 minutes. This step is crucial—it firms up the filling, making it easier to shape later.
2️⃣ Roll Into Perfection
Now that the cheesecake mixture is perfectly chilled, it’s time to shape those little bites of heaven. Using a tablespoon or a small cookie scoop, grab a portion of the mixture and roll it into a ball between your hands. (Tip: Lightly dust your hands with powdered sugar if the mixture gets a bit sticky.) Place each ball on a parchment-lined baking sheet as you go.
Once all the balls are shaped, pop the baking sheet into the freezer for about an hour. This helps them firm up even more, making them easier to coat in chocolate later.
White Chocolate Raspberry Cheesecake Balls: Coating and Decorating Magic
Welcome back to the delightful world of White Chocolate Raspberry Cheesecake Balls! Now that your cheesecake centers are firm and ready, it’s time to move on to the real showstopper—the white chocolate coating and those irresistible garnishes. This is where the magic happens. Let’s keep things simple and fun as we turn these little balls of cheesecake into bite-sized masterpieces.
3️⃣ Melting the White Chocolate Like a Pro
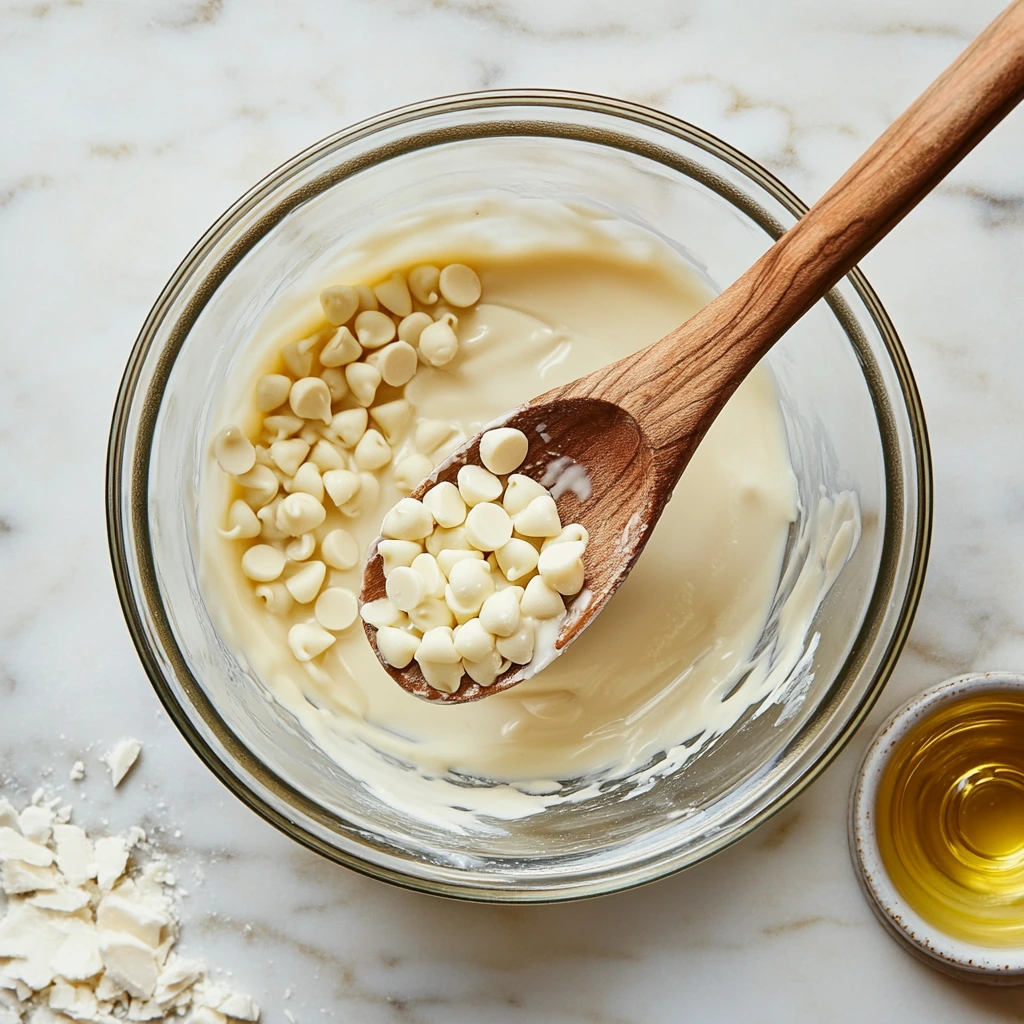
First things first—melting the white chocolate. Grab a microwave-safe bowl and add 1 cup of white chocolate chips or melting wafers. To ensure the smoothest, glossiest coating, stir in 1 tablespoon of coconut oil or shortening. This step is optional, but it makes a big difference in the chocolate’s texture and shine.
Now, melt the chocolate in the microwave in 20-second intervals, stirring well between each burst. (Pro tip: Don’t rush this part! White chocolate is delicate and can scorch easily.) Once it’s fully melted and silky smooth, you’re ready to start dipping.
If you prefer, you can melt the chocolate using the double boiler method on the stovetop. It’s an excellent option if you’re making a larger batch or want extra control over the melting process.
4️⃣ Coating the Cheesecake Balls
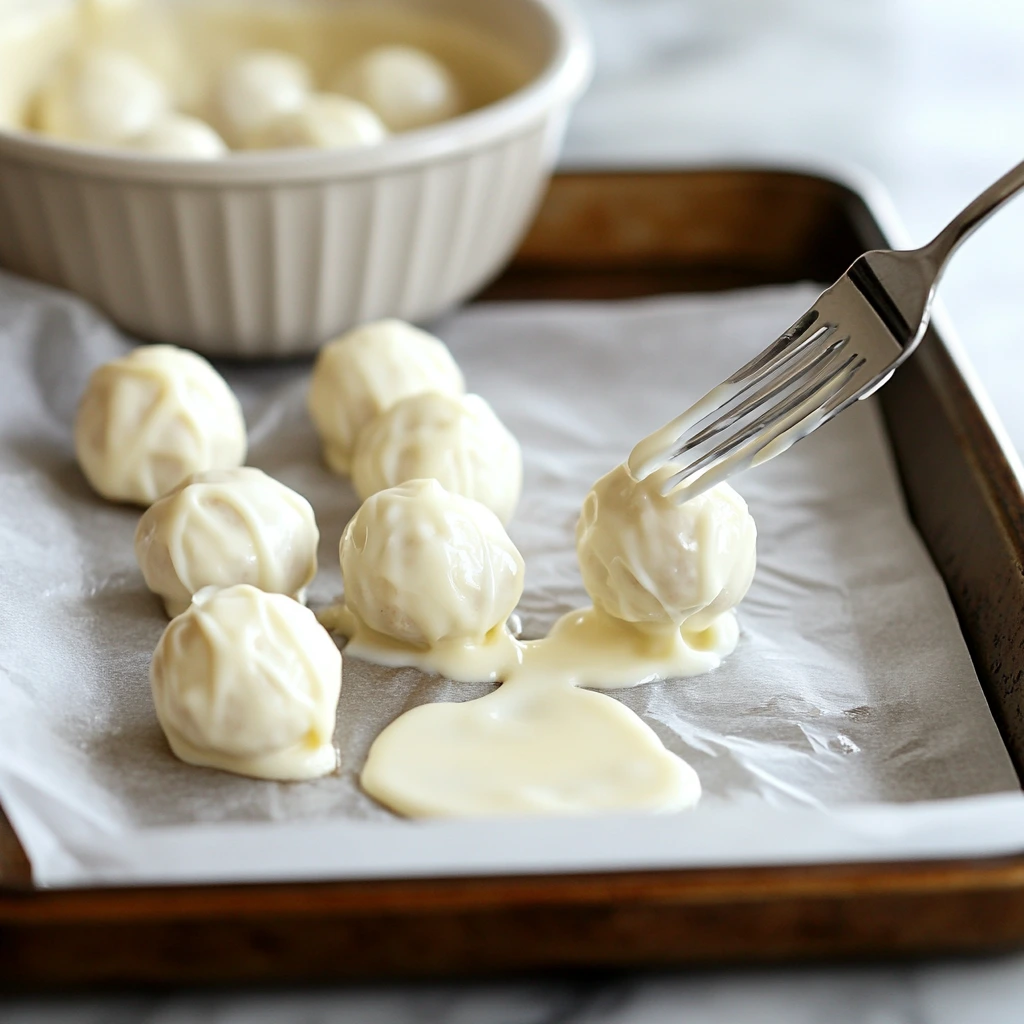
Here’s where things get exciting! Take the frozen cheesecake balls out of the freezer. To coat them, use a fork or a toothpick to dip each ball into the melted white chocolate. Make sure the ball is fully submerged, then gently lift it out and let any excess chocolate drip off.
Carefully place the coated ball back onto the parchment-lined baking sheet. Repeat the process for all the cheesecake balls, working one at a time to ensure the chocolate doesn’t harden before you’re done.
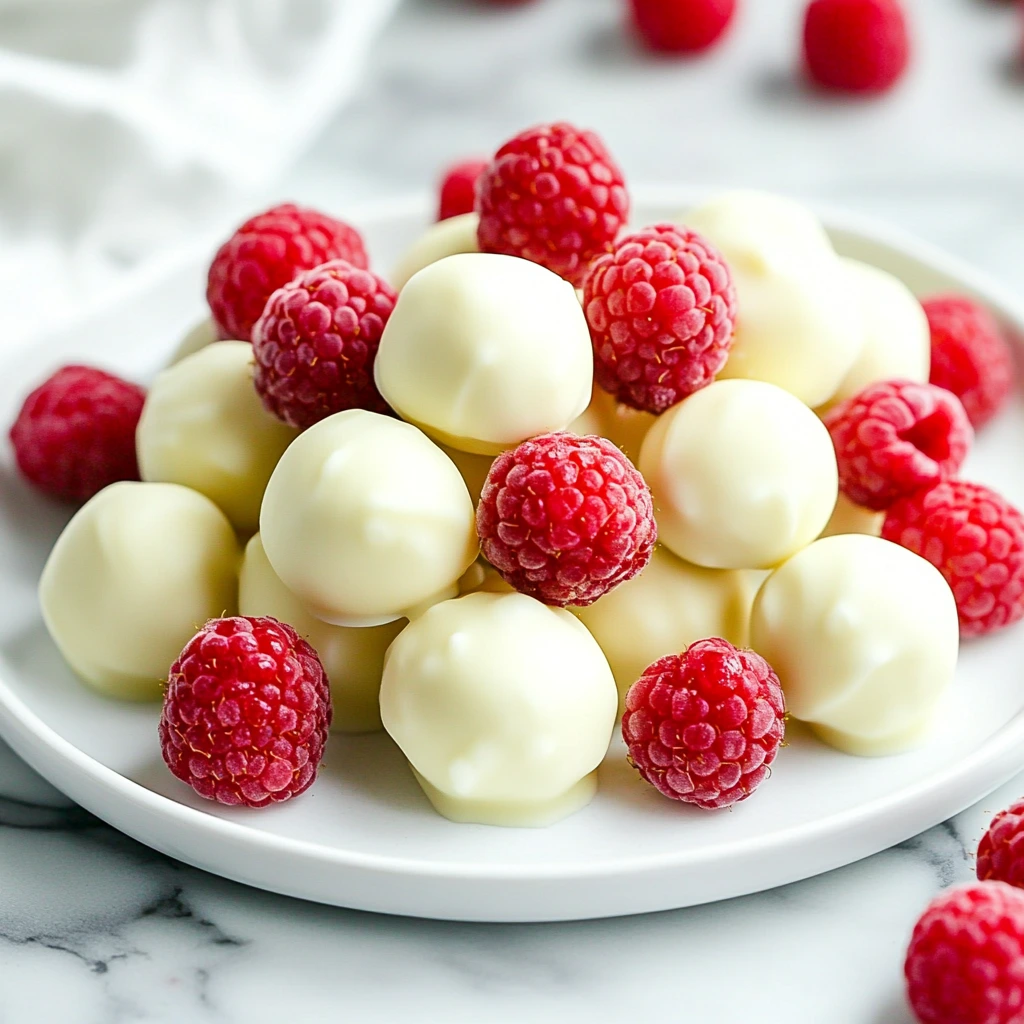
5️⃣ Time to Garnish!
Now comes my favorite part—decorating! While the white chocolate coating is still wet, sprinkle each ball with freeze-dried raspberry powder or crushed freeze-dried raspberries. This step doesn’t just add a vibrant pop of color; it also brings a tangy, fruity contrast that balances the sweetness of the white chocolate.
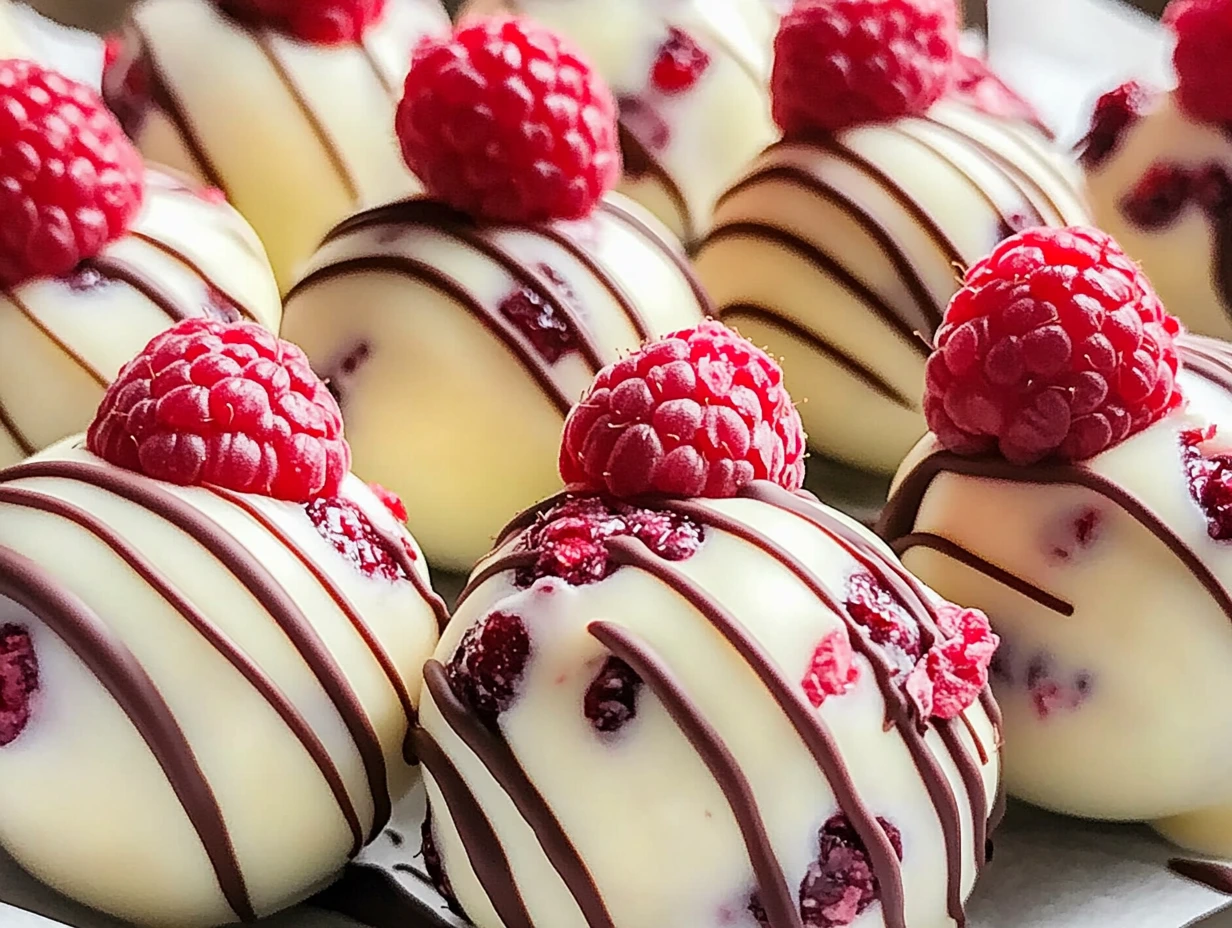
If you’re feeling extra fancy, drizzle a bit of melted white chocolate over the balls for an elegant touch. Simply transfer the melted chocolate to a small piping bag or a zip-top bag with the corner snipped off, then drizzle away. It’s an easy way to give your dessert that professional, bakery-worthy finish.
Other fun garnish ideas include:
- Edible glitter for a dazzling effect.
- Chopped nuts like pistachios or almonds for crunch.
- Shredded coconut for a tropical twist.
6️⃣ Let It Set
Once all the balls are coated and garnished, transfer the baking sheet to the refrigerator. Let them chill for at least 30 minutes to ensure the chocolate sets completely. When you’re done, you’ll have a tray of stunning cheesecake bites that are ready to impress.
Pro Tips and Variations
Before we wrap up this section, here are a few tips to make your cheesecake balls even more amazing:
- Experiment with flavors. Try swapping raspberries for strawberries, blackberries, or even a swirl of Nutella in the filling.
- Make them kid-friendly. Use colorful sprinkles or mini candy pieces as toppings for a fun twist kids will love.
- Plan ahead. These cheesecake balls store beautifully in the fridge for up to 5 days, making them perfect for prepping ahead of time for a party or gathering.
FAQ and Sweet Conclusions
You’ve done it—you’ve created a tray full of luscious White Chocolate Raspberry Cheesecake Balls! By now, your kitchen probably smells like a dream, and you’ve likely sampled one (or three—no judgment). But before we wrap things up, let’s tackle some frequently asked questions to ensure your dessert turns out perfect every time.
FAQs About White Chocolate Raspberry Cheesecake Balls
1. Can I use frozen raspberries instead of fresh ones?
Absolutely! If fresh raspberries aren’t available, frozen ones work just as well. Just thaw them and drain any excess liquid before mashing to avoid making the filling too watery.
2. My chocolate coating cracked when I bit into a ball—how can I prevent this?
Cracking often happens if the cheesecake filling is too cold when dipped in the warm chocolate. Let the frozen balls sit at room temperature for 2-3 minutes before coating to help the temperature even out.
3. Can I use dark or milk chocolate instead of white chocolate?
Of course! While white chocolate pairs beautifully with the tartness of raspberries, dark or milk chocolate would also be delicious. Feel free to experiment and find your favorite combination.
4. How should I store these cheesecake balls?
Store them in an airtight container in the refrigerator for up to 5 days. If you want to keep them longer, they can be frozen for up to a month. Just thaw in the fridge before serving.
5. What’s the best way to serve these?
Serve these chilled for the best texture and flavor. Arrange them on a decorative platter for a party or package them in small boxes for a beautiful homemade gift.
6. Can I make this recipe ahead of time?
Yes! These cheesecake balls are perfect for making in advance. You can prepare and coat them a day or two before your event and store them in the fridge.
7. What can I use as a substitute for coconut oil in the chocolate coating?
If you don’t have coconut oil, you can use shortening or simply skip it. However, adding a bit of fat to the chocolate makes the coating smoother and easier to work with.
A Sweet Conclusion
There’s something undeniably special about these White Chocolate Raspberry Cheesecake Balls. They’re elegant yet approachable, indulgent yet easy to make. Whether you’re serving them at a fancy dinner party, gifting them to loved ones, or just treating yourself (because you deserve it!), they’re bound to be a hit.
What I love most about this recipe is how customizable it is. From the filling to the coating to the garnish, you can tweak every detail to suit your taste or the occasion. Try swapping in a different fruit, experimenting with different types of chocolate, or even adding a splash of liqueur to the filling for an adults-only version. The possibilities are endless.
I hope you enjoy making (and eating!) these cheesecake balls as much as I do. If you try the recipe, I’d love to hear how it turned out! Share your experience, any creative twists you added, or even just a picture of your beautiful creations in the comments below. Happy no-baking! 🎉
Print
White Chocolate Raspberry Cheesecake Balls
- Total Time: 1 hour 50 minutes
Description
These delightful cheesecake balls feature a creamy raspberry-infused filling coated in smooth white chocolate, topped with a hint of tangy raspberry powder or a delicate white chocolate drizzle. They’re perfect for parties, gifts, or an elegant dessert treat!
Ingredients
For the Cheesecake Filling:
- 8 oz cream cheese (softened)
- ¼ cup powdered sugar
- 1 tsp vanilla extract
- ¼ cup fresh raspberries (mashed) or raspberry preserves
For the Coating:
- 1 cup white chocolate chips or melting wafers
- 1 tbsp coconut oil or shortening (optional, for smoother melting)
For Garnish:
- Freeze-dried raspberry powder or crushed freeze-dried raspberries
- White chocolate drizzle (optional)
Instructions
1️⃣ Prepare the Cheesecake Filling
In a medium mixing bowl, beat the softened cream cheese, powdered sugar, and vanilla extract until smooth and creamy.
Gently fold in the mashed raspberries or raspberry preserves until evenly incorporated.
Cover the bowl and chill the mixture in the refrigerator for 30 minutes to firm up.
2️⃣ Shape the Cheesecake Balls
Scoop out about 1 tablespoon of the chilled mixture and roll it into a ball using your hands. Place the balls on a parchment-lined baking sheet.
Once all the balls are shaped, freeze them for 1 hour to harden.
3️⃣ Melt the White Chocolate
In a microwave-safe bowl, melt the white chocolate chips with the coconut oil (if using) in 20-second intervals, stirring in between, until smooth and fully melted.
4️⃣ Coat the Cheesecake Balls
Remove the frozen cheesecake balls from the freezer. Using a fork or toothpick, dip each ball into the melted white chocolate, ensuring it is fully coated.
Allow the excess chocolate to drip off, then place the coated ball back onto the parchment-lined sheet.
5️⃣ Garnish
While the coating is still wet, sprinkle each ball with freeze-dried raspberry powder or crushed freeze-dried raspberries for a vibrant, tangy topping.
Optionally, drizzle additional melted white chocolate over the balls for an elegant finish.
6️⃣ Set and Serve
Refrigerate the coated cheesecake balls for at least 30 minutes to allow the chocolate to set completely.
Serve chilled for the best texture and flavor.
Notes
- Storage: Store in an airtight container in the refrigerator for up to 5 days. These can also be frozen for up to 2 weeks; thaw in the refrigerator before serving.
- Customizations: Use dark or milk chocolate instead of white chocolate for a different flavor profile. Add a touch of lemon zest to the filling for extra brightness.
- Pro Tip: If the melted white chocolate starts to thicken, reheat in short bursts to keep it smooth and easy to work with.
- Prep Time: 20 minutes
- Cook Time: 1 hour 30 minutes
Nutrition
- Serving Size: 15–18 balls

