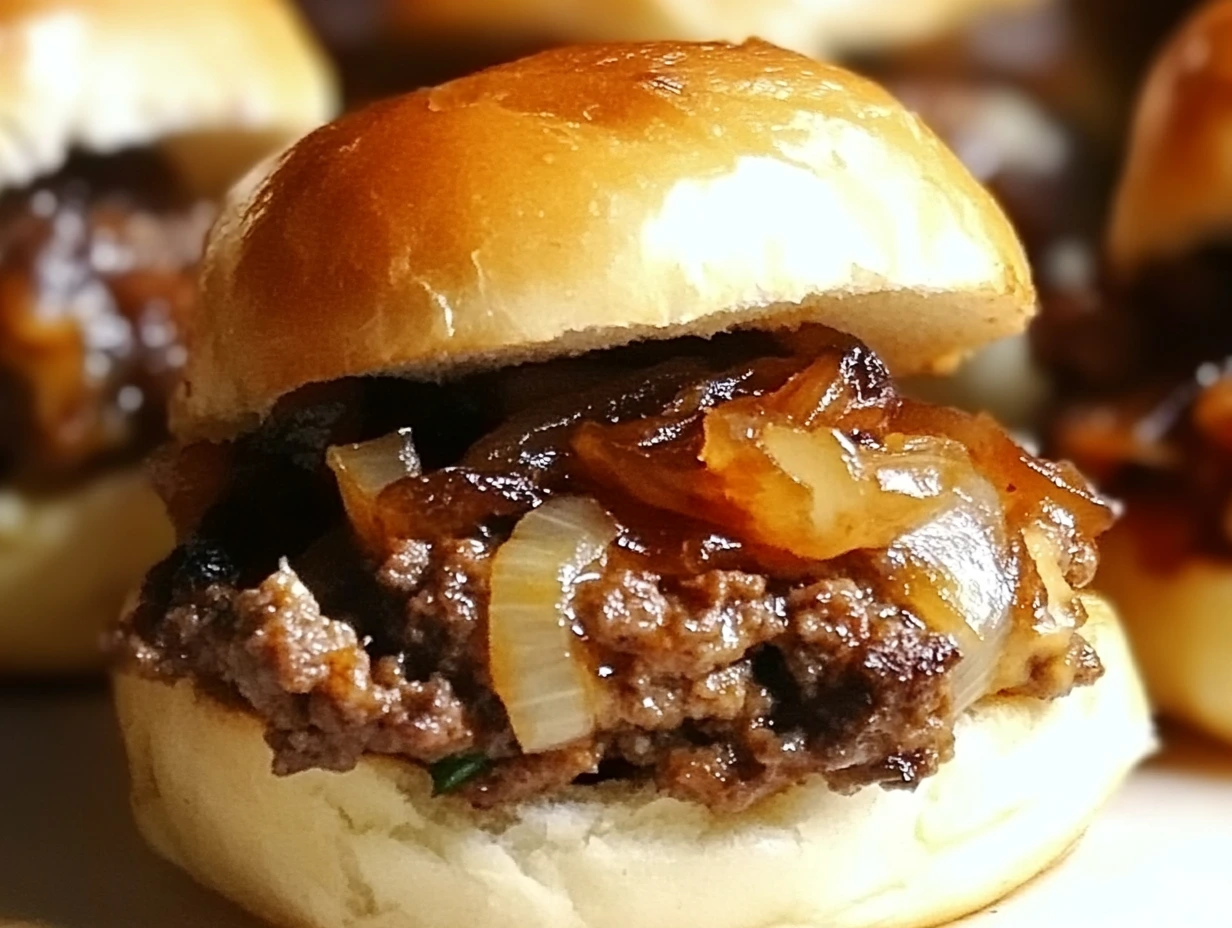
Who else loves a recipe that brings people together while being ridiculously easy to make? If you’re nodding along, then you’re going to adore these White Trash Sliders. They’re not just sliders—they’re little bundles of cheesy, meaty goodness that disappear faster than you can say, “Pass me another one!”
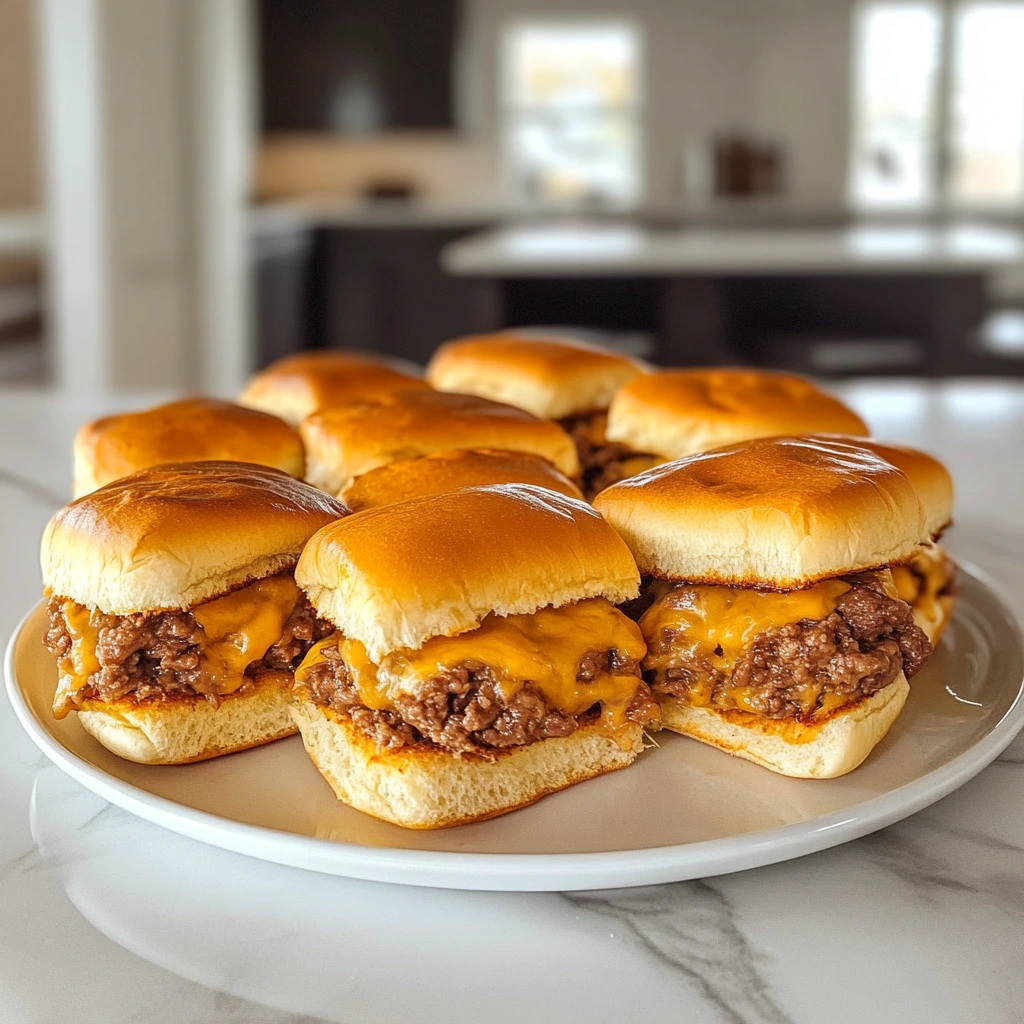
White Trash Sliders have a name as quirky as the recipe itself. But don’t let the playful name fool you—these sliders are nothing short of magical. With a combination of juicy ground beef, flavorful sausage, and a generous helping of Velveeta cheese, this recipe creates a gooey, savory filling that’s pure comfort food perfection. Whether you’re hosting a game day party, a casual family gathering, or just treating yourself to a hearty snack, these sliders hit the spot every time.
And the best part? They’re super simple to whip up. Let me walk you through the first steps to create these crowd-pleasing bites.
Step 1: Cook the Meat
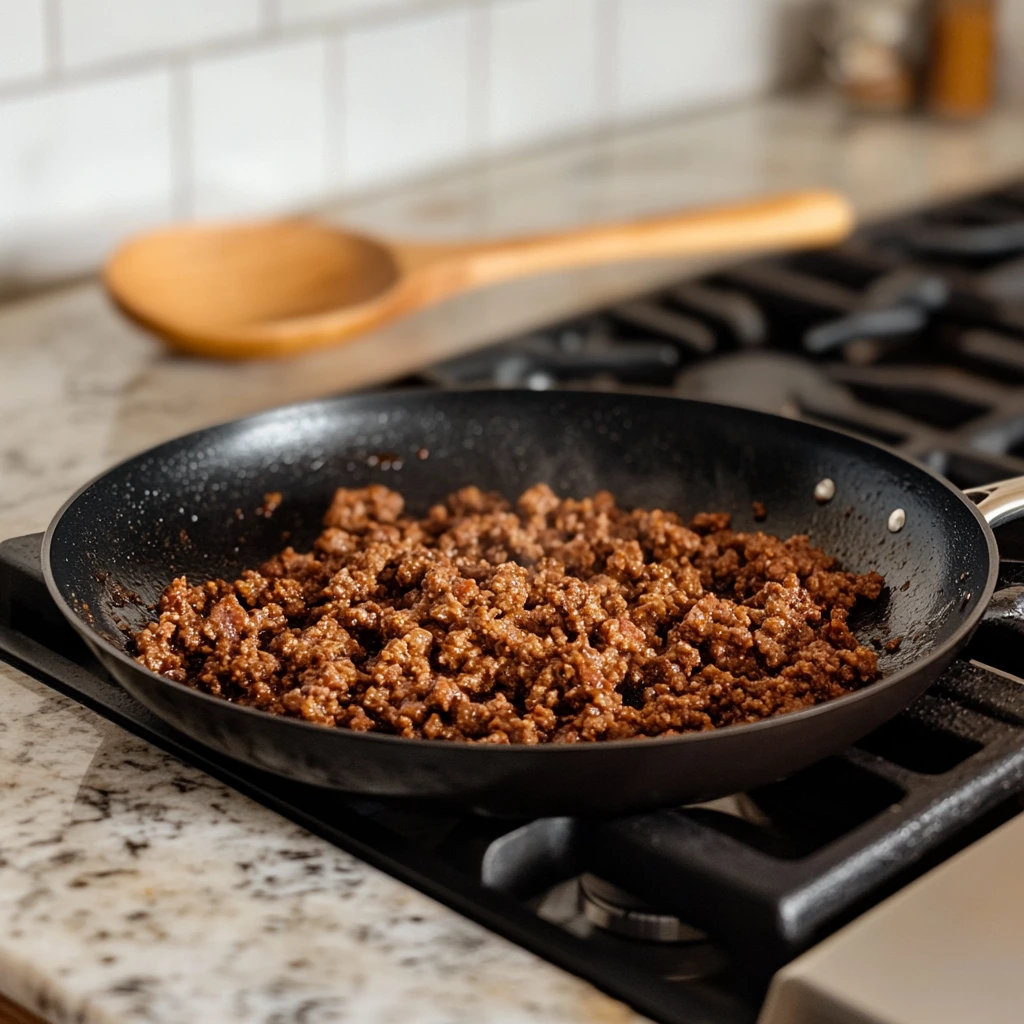
Let’s kick things off by browning the meat. Start by heating a large skillet over medium-high heat. Toss in one pound of ground beef and one pound of sausage. The great thing about this recipe is that you can choose the type of sausage you love most—whether it’s a mild breakfast sausage for a classic flavor or a spicy Italian sausage for a kick of heat. The mix of the two meats creates a flavor combo that’s hearty and satisfying.
Cook the meat, stirring occasionally, until it’s fully browned and cooked through. This usually takes about 7–10 minutes, depending on your stove. Once the meat is beautifully browned, drain off any excess grease. Trust me, this step is crucial! Nobody wants soggy sliders.
Step 2: Make the Cheesy Filling
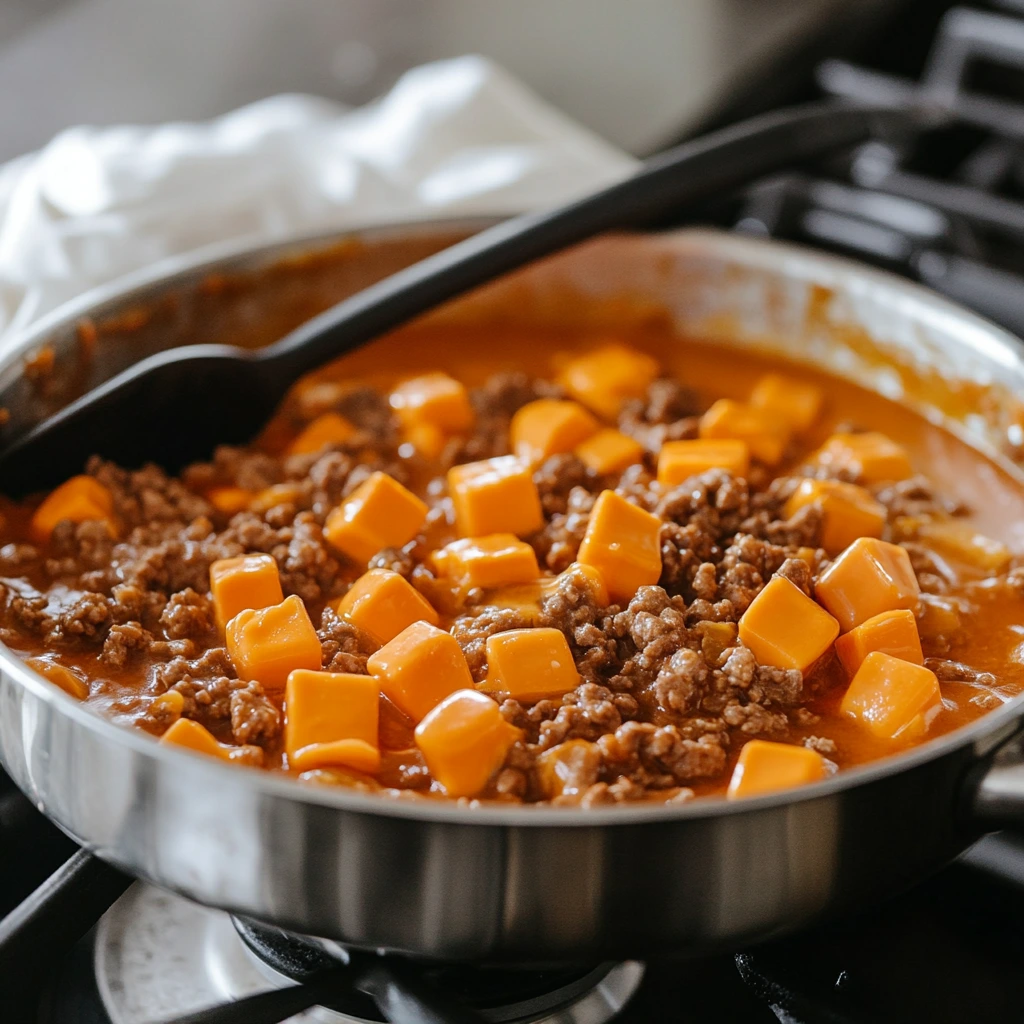
Here’s where the magic happens. Transfer your cooked and drained meat into a large saucepan set over low heat. Now, it’s time to bring in the star of the show—Velveeta cheese. You’ll need about one pound of Velveeta, cut into cubes for easy melting. Add the cheese to the saucepan along with ½ teaspoon each of black pepper and onion powder.
As the cheese melts into the meat, give everything a good stir. Keep the heat low and stir continuously to avoid burning. In just a few minutes, you’ll have a creamy, cheesy, meat-filled mixture that smells so good, it’ll be hard not to grab a spoon and dig in right away!
Assembling and Perfecting Your White Trash Sliders
By now, your kitchen is probably filled with the tantalizing aroma of melted cheese and savory meat, and it’s time to turn that dreamy filling into actual sliders. This part is where these White Trash Sliders really come together—and trust me, this is where the fun begins. Let’s dive right into the next steps!
Step 3: Toast and Assemble the Sliders
First, let’s get those slider buns ready. Grab your favorite brand of slider buns (you’ll need about 24 for this recipe) and decide whether to toast them. Toasting is totally optional, but it adds a nice layer of texture and helps keep the buns from getting soggy when you pile on that delicious filling. To toast, simply lay the buns open on a baking sheet and pop them under the broiler for about 1–2 minutes. Keep an eye on them—you’re aiming for golden and crisp, not burned!
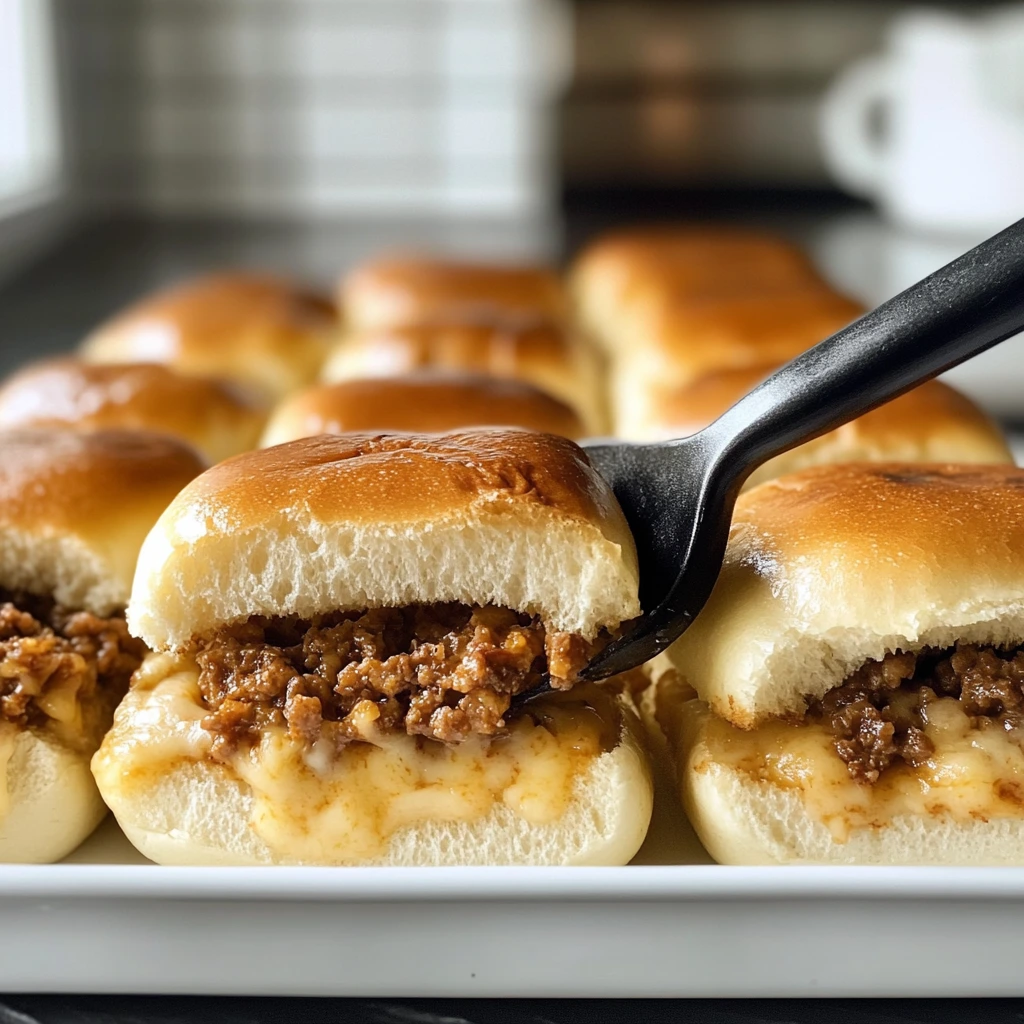
Once the buns are ready, it’s time to assemble the sliders. Spoon a generous portion of the hot, cheesy meat mixture onto the bottom half of each bun. Don’t skimp here—the filling is the heart of this recipe, and the more, the better! Then, gently place the top half of the bun over the filling, pressing down lightly to help everything stay in place.
Pro Tips for Assembling and Serving
While the steps are simple, these little tricks can take your sliders to the next level:
- Keep the Filling Warm: If you’re serving a crowd, it’s a good idea to keep the cheesy meat mixture warm in a slow cooker set to the “warm” setting. This way, everyone gets a piping-hot slider.
- Mix It Up with Buns: Classic white slider buns are great, but if you’re feeling adventurous, try using Hawaiian rolls for a touch of sweetness or brioche buns for a buttery, indulgent flavor.
- Add Crunch: For an extra layer of texture, add a few dill pickle slices, a crispy onion ring, or even a sprinkle of fried onions on top of the filling before adding the bun.
Variations to Try
One of the reasons White Trash Sliders are so popular is how versatile they are. You can easily tweak the recipe to suit your taste or event. Here are a few ideas to inspire you:
- Spicy Kick: Swap out mild sausage for spicy Italian or chorizo, and mix in a dash of hot sauce or red pepper flakes to the filling.
- Breakfast Sliders: Use breakfast sausage, and add a fried egg to each slider for a morning twist.
- Cheese Swap: While Velveeta is the classic choice for creaminess, you can experiment with other cheeses like sharp cheddar, pepper jack, or a smoky gouda.
Step 4: Serve and Savor
Now that your sliders are assembled, it’s time to serve them up! Arrange them on a platter for a grab-and-go snack, or serve them alongside a spread of chips, pickles, and maybe a creamy coleslaw for a complete meal. These sliders are best enjoyed warm, so encourage your guests to dig in right away.
And here’s a pro tip for presentation: use parchment paper or a decorative serving tray to keep things looking neat and inviting. Plus, parchment paper makes cleanup a breeze—always a bonus when you’re hosting.
FAQs and Wrapping Up Your White Trash Sliders
You’ve made it through the main steps, and now your White Trash Sliders are stealing the show. But before we wrap things up, let’s dive into some frequently asked questions about these cheesy, meaty wonders. Whether you’re looking for storage tips or curious about customization, I’ve got you covered.
FAQs About White Trash Sliders
1. Can I make the filling ahead of time?
Absolutely! The meat and cheese filling can be made up to two days in advance. Simply store it in an airtight container in the refrigerator, then reheat it over low heat on the stove or in a slow cooker when you’re ready to assemble the sliders. This makes hosting so much easier!
2. Can I freeze the filling?
Yes, the filling freezes beautifully! Let it cool completely, then transfer it to a freezer-safe container or bag. It will keep for up to three months. To reheat, thaw it overnight in the refrigerator and warm it up gently on the stovetop.
3. What type of sausage works best?
You can use any variety of sausage depending on the flavor you want. Breakfast sausage gives a classic, mild taste; Italian sausage adds robust, herby notes; and spicy sausage brings a kick of heat. Mix and match to suit your crowd!
4. Can I add toppings to the sliders?
Of course! These sliders are a great base for customization. Popular additions include pickles, sliced jalapeños, crispy bacon, or even a drizzle of barbecue sauce. Feel free to get creative!
5. How do I keep the sliders warm for a party?
To keep sliders warm and fresh for a longer time, place them in a slow cooker set to the “warm” setting or cover a baking tray of sliders with foil and keep them in the oven at 200°F. This way, guests can grab a warm slider at any time.
6. Can I use a different cheese besides Velveeta?
Yes, while Velveeta is the go-to for its meltability and creaminess, you can substitute it with other cheeses. Sharp cheddar, pepper jack, or a mix of cheeses all work wonderfully. Just make sure they’re shredded for smooth melting.
7. Are these sliders good for kids?
Definitely! Kids love the cheesy filling and soft buns. If you’re serving these to a younger crowd, consider using mild sausage and leaving out any spicy seasonings. They’re guaranteed to be a hit!
Wrapping Things Up
There you have it—White Trash Sliders in all their glory. Whether you’re prepping for a casual weekend get-together or whipping up a quick dinner for the family, this recipe delivers on every level. The combination of savory meats, creamy cheese, and soft slider buns is pure comfort food magic. Plus, the ease of preparation makes it a stress-free option that’s perfect for busy cooks.
One of the best things about this recipe is how adaptable it is. From switching up the sausage to adding fun toppings, you can truly make these sliders your own. And if you’re lucky enough to have leftovers, they’re just as delicious the next day (though they rarely last that long in my house).
I’d love to hear how these sliders turn out for you! Did you try any fun variations or creative toppings? Share your experience in the comments below—I’m always excited to see how you make a recipe your own. And don’t forget to snap a pic of your sliders and tag me on social media so we can celebrate your culinary masterpiece together.
Print
White Trash Sliders
- Total Time: 30 minutes
Description
These indulgent sliders are a fun, crowd-pleasing treat. Loaded with flavorful ground beef, sausage, and gooey Velveeta cheese, they’re perfect for game days, parties, or casual gatherings.
Ingredients
- 1 lb ground beef
- 1 lb sausage (any variety: breakfast, Italian, or mild)
- 1 lb Velveeta cheese (cubed for easier melting)
- ½ tsp black pepper
- ½ tsp onion powder
- 24 slider buns
Instructions
1️⃣ Cook the Meat
In a large skillet over medium-high heat, cook the ground beef and sausage together until browned and fully cooked.
Drain off any excess grease to prevent the sliders from becoming too oily.
2️⃣ Prepare the Filling
Transfer the cooked meat to a saucepan set over low heat.
Add the cubed Velveeta cheese, black pepper, and onion powder to the meat mixture.
Stir constantly until the cheese is fully melted and the mixture is smooth and creamy.
3️⃣ Assemble the Sliders
Split the slider buns and toast them lightly, if desired.
Spoon a generous portion of the meat and cheese mixture onto the bottom half of each slider bun.
Top with the other half of the bun.
4️⃣ Serve and Enjoy
Serve the sliders warm and enjoy immediately!
Notes
- Optional Add-Ons: Add pickles, jalapeños, or a drizzle of hot sauce to the sliders for extra flavor.
- Make-Ahead Option: Prepare the meat and cheese filling in advance and reheat on the stovetop before assembling the sliders.
- Storage: Store leftover filling in an airtight container in the refrigerator for up to 3 days. Reheat in a saucepan over low heat, adding a splash of milk if needed to loosen the mixture.
- Prep Time: 10 minutes
- Cook Time: 20 minutes
Nutrition
- Serving Size: 24 sliders

