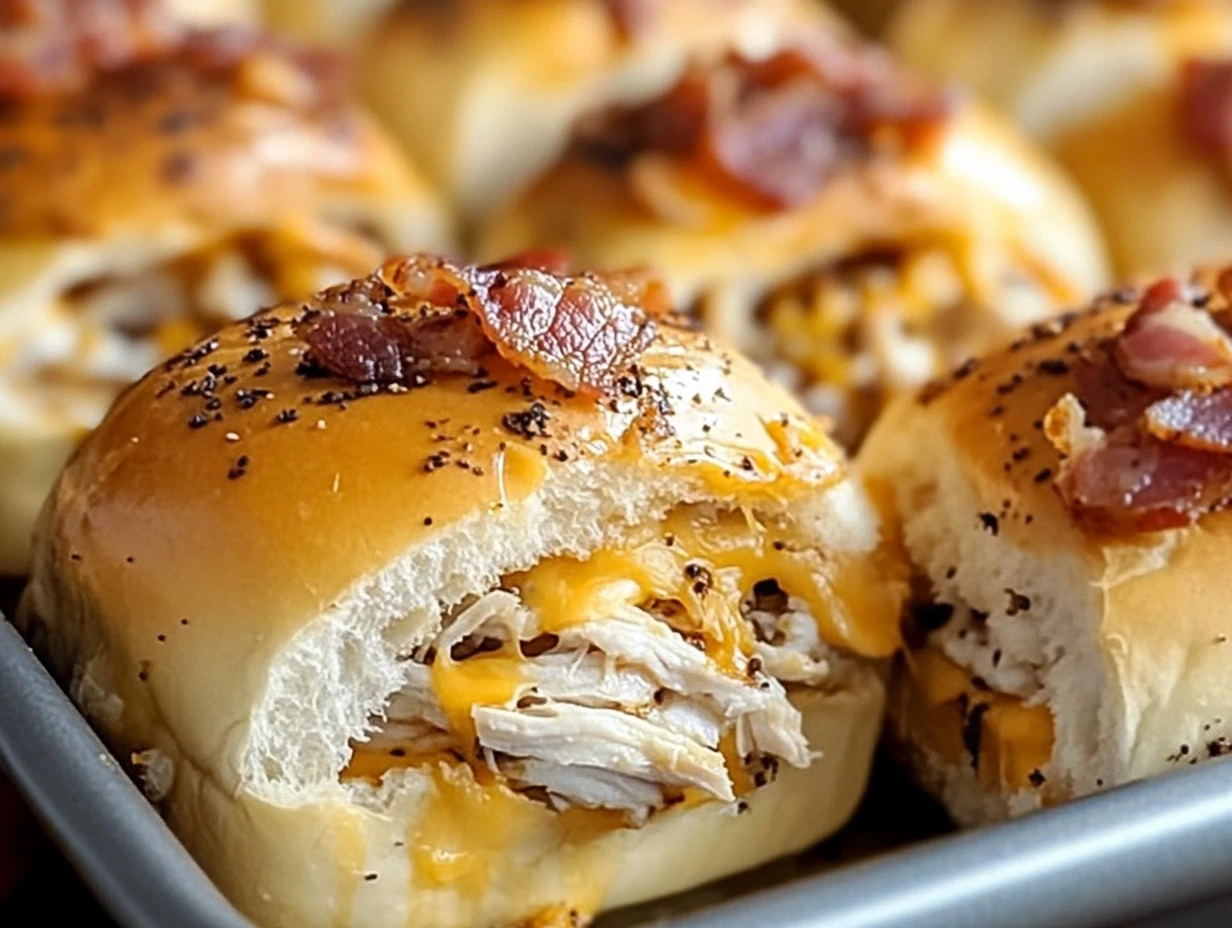
Who doesn’t love a dish that’s easy to whip up but feels like a culinary masterpiece? These Chicken Bacon Ranch Sliders are just that! Perfect for game days, potlucks, or even a casual family dinner, these sliders are the kind of comfort food that disappears as quickly as you can serve them. Sweet Hawaiian rolls, savory chicken, turkey bacon, and melty cheddar cheese come together with a ranch-flavored twist that makes every bite unforgettable.
Now, I’ll admit—this recipe became a staple in my house almost by accident. I was hosting a last-minute get-together and needed something fast, simple, and universally loved. Enter these sliders, and let me tell you, they were the star of the evening. If you’ve ever wanted a dish that has people begging for the recipe, you’re in the right place.
So, grab your apron, and let’s dive into making these delicious Chicken Bacon Ranch Sliders! First things first—preheat your oven and prepare those sweet Hawaiian rolls.
Step 1: Preheat the Oven
To get started, preheat your oven to 350°F (175°C). While the oven works its magic, lightly grease a 9×13-inch baking pan. This will ensure those sweet rolls come out golden and easy to serve.
Step 2: Prep the Hawaiian Rolls
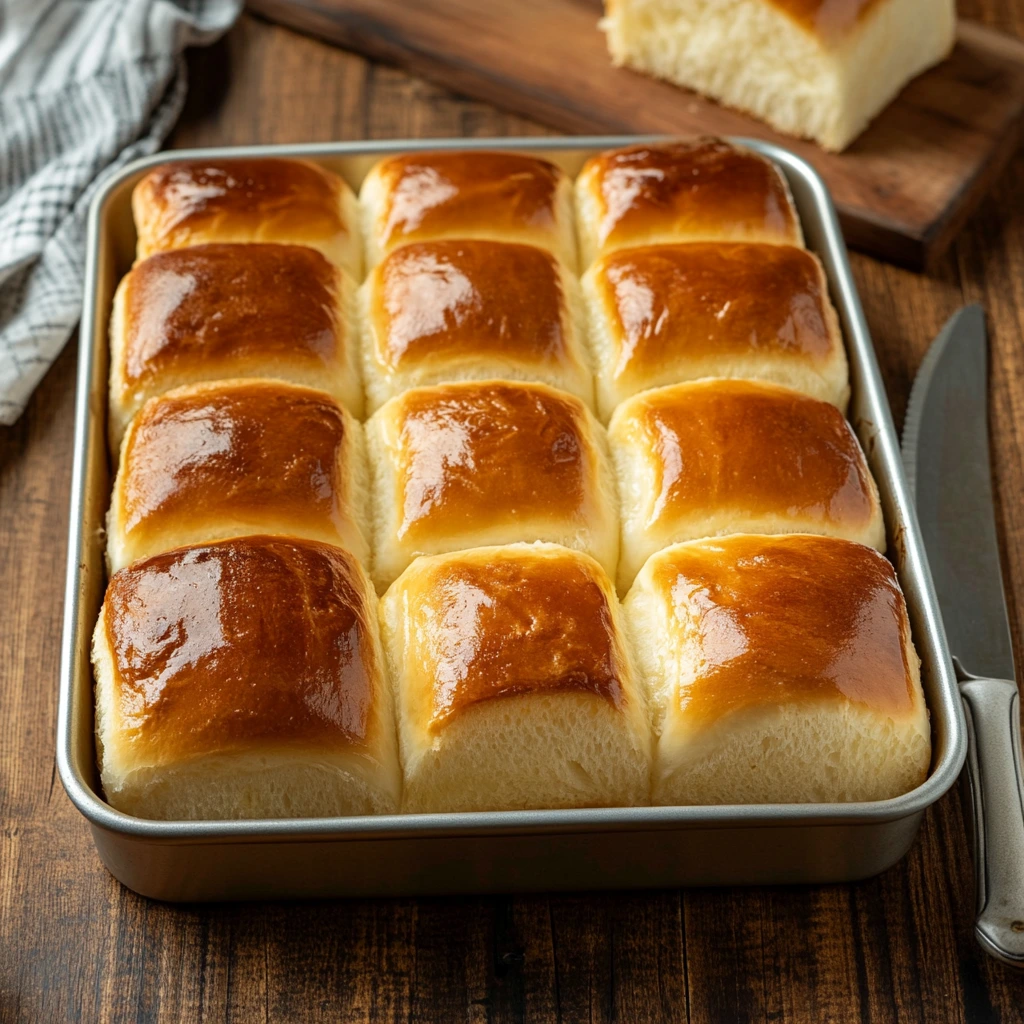
Hawaiian rolls are the perfect base for these sliders because they’re soft, sweet, and practically made for soaking up all the delicious flavors of ranch, chicken, and bacon. Slice the rolls in half horizontally and place the bottom halves into your greased pan. Be sure to keep them snugly together—it helps all the flavors meld beautifully while baking.
Step 3: Make the Flavor-Packed Chicken Mixture
Here’s where things get really exciting. In a medium-sized mixing bowl, combine:
- 4 cups of shredded cooked chicken
- 1 cup of ranch dressing
- ½ cup of crumbled turkey bacon
- 3 tablespoons of Parmesan cheese
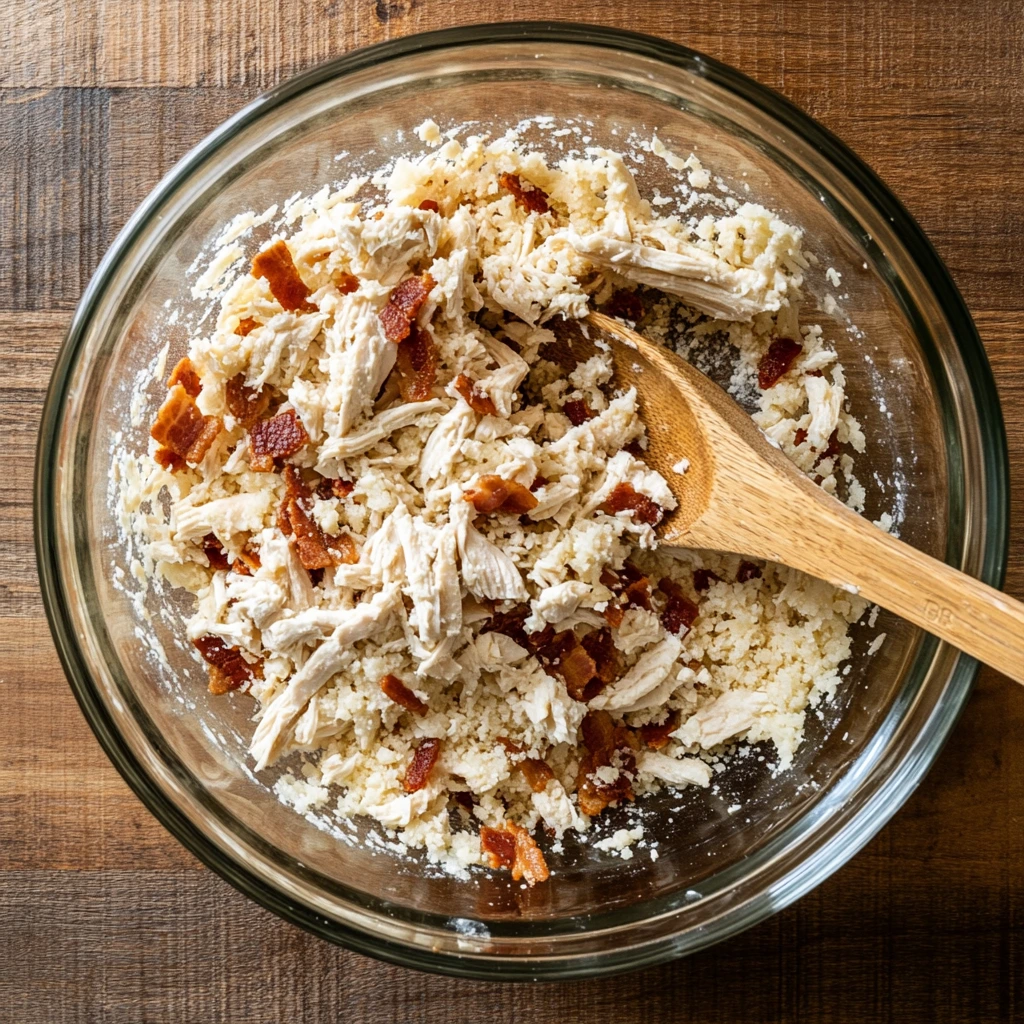
Mix everything together until your chicken is evenly coated in that creamy, tangy ranch goodness. This combination is what gives the sliders their signature flavor profile—comforting yet zesty, with just the right hint of smokiness from the turkey bacon.
Why Turkey Bacon?
I love using turkey bacon here because it’s slightly leaner than regular bacon but still brings that smoky, crispy bite. Of course, you can always swap it out for traditional bacon or even veggie bacon if you prefer!
Step 4: Assembling the Sliders
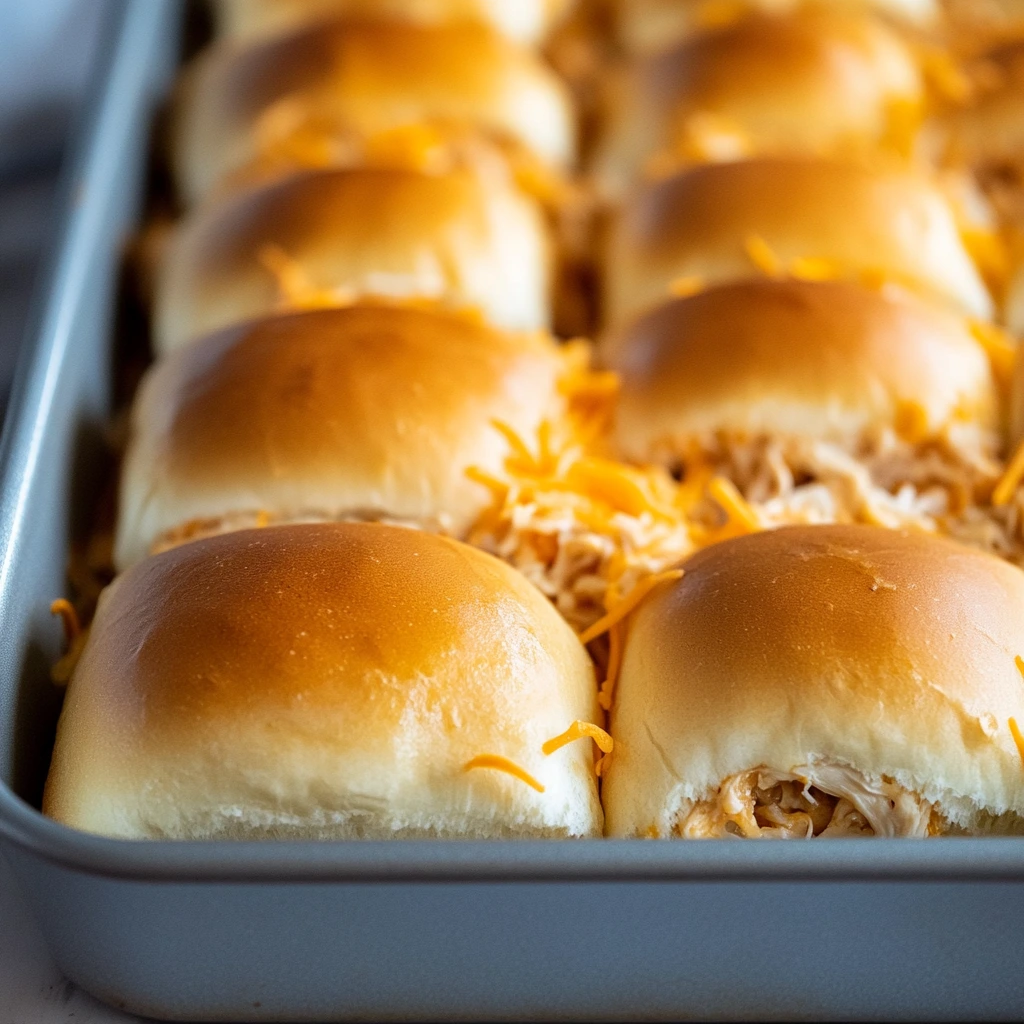
Now comes the fun part—assembly! Spread your chicken mixture evenly over the bottom halves of the rolls, making sure every slider gets its fair share. Then, sprinkle 2 cups of shredded cheddar cheese over the chicken mixture. The cheddar melts beautifully, creating that gooey, cheesy pull that makes these sliders so irresistible.
Finally, place the top halves of the rolls back on to complete your sandwiches. At this point, your sliders are starting to look like something straight out of a dream, but we’re not done yet!
Continuing the Recipe and Pro Tips
Welcome back! By now, your Chicken Bacon Ranch Sliders are well on their way to becoming the hit of your next gathering. In this section, we’ll finish assembling and baking these crowd-pleasers and talk about some easy tips to make them even more irresistible. Ready? Let’s get to it.
Step 5: Prepare the Garlic Butter Glaze
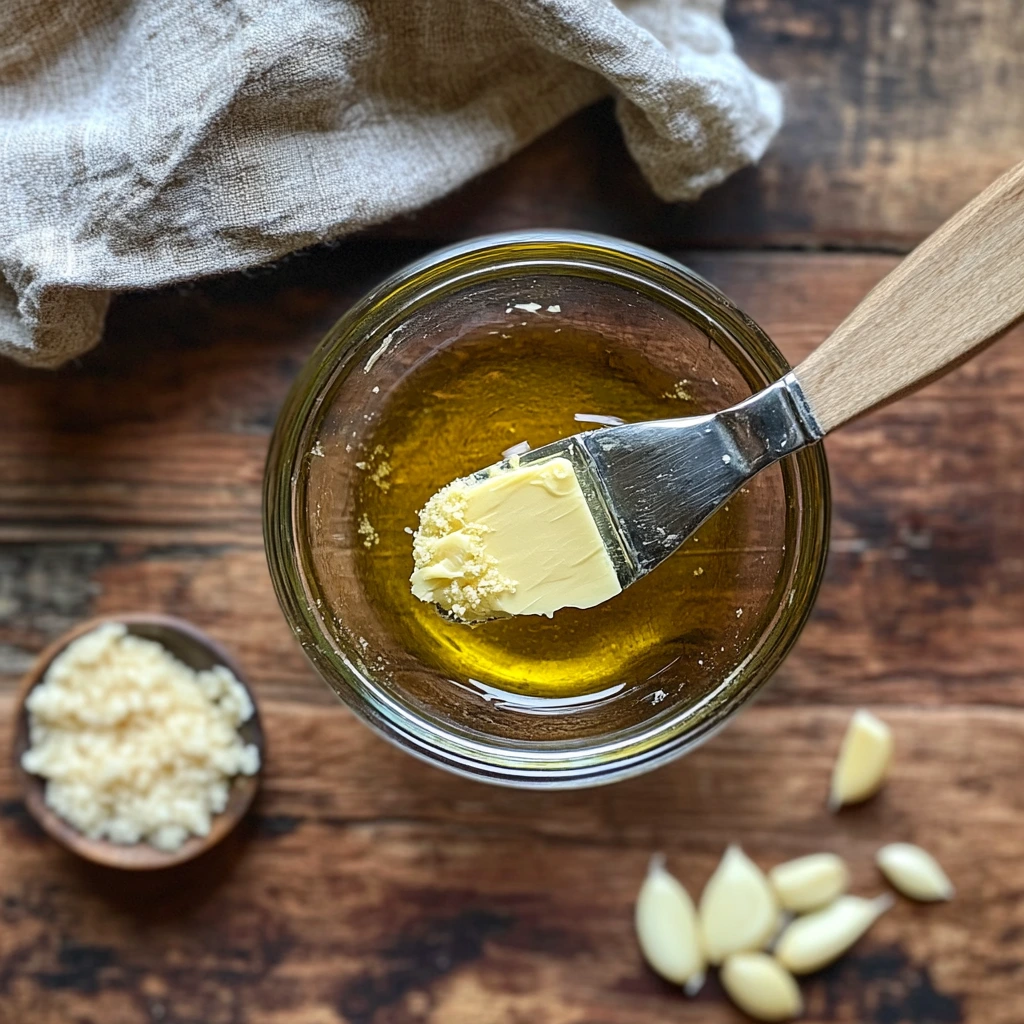
This step might just be my favorite part of the whole process. We’re adding a touch of golden, garlicky perfection to the tops of the rolls. Here’s how to whip up this simple glaze:
- Melt ¼ cup of butter in a small bowl (microwave works perfectly for this).
- Stir in 1 teaspoon of garlic powder.
Once mixed, use a pastry brush to generously coat the tops of the rolls. This buttery glaze seeps into the bread as it bakes, giving each slider a soft yet flavorful crust that’s impossible to resist.
Step 6: Bake to Perfection
With your sliders prepped and glazed, it’s time to let the oven do its magic. Follow these baking steps:
- Cover the baking pan with aluminum foil. This traps heat and ensures the cheese melts beautifully without over-browning the tops of the rolls too soon.
- Bake the sliders in your preheated oven for 15 minutes, or until the cheese is fully melted and the filling is heated through.
- Remove the foil and bake for an additional 2-3 minutes. This step crisps up the tops just enough to give them that golden-brown, bakery-fresh look.
Step 7: Cool and Serve
When you take these sliders out of the oven, let them cool for just a couple of minutes. Trust me, the wait is worth it! The cheese will settle slightly, and the rolls will be easier to slice apart without falling apart.
Serve them warm, and watch the magic happen. Whether you’re serving these at a party or a casual dinner, I can almost guarantee you’ll have people hovering over the pan for seconds (or thirds!).

Tips for Perfect Sliders Every Time
Before you dig in, let me share a few tips that will take your sliders from great to unforgettable:
- Choose the Right Cheese: While shredded cheddar is a classic choice, feel free to experiment with Monterey Jack, mozzarella, or even pepper jack for a little spice.
- Make It Your Own: Add some thinly sliced jalapeños or sautéed onions for extra flavor and texture.
- Prep Ahead: Save time by preparing the chicken mixture and assembling the sliders a few hours in advance. Just cover and refrigerate until you’re ready to bake.
- Even Butter Distribution: Use a pastry brush to ensure that every roll gets an even coat of garlic butter. If you don’t have a brush, use a spoon to drizzle it on and spread gently with the back of the spoon.
- Easy Cleanup: Line your baking pan with parchment paper before adding the rolls. It makes cleanup a breeze!
Variations to Try
This recipe is amazing as is, but if you’re in the mood to experiment, here are a few fun twists:
- Buffalo Style: Swap ranch dressing for buffalo sauce and add a little blue cheese crumbles alongside the cheddar.
- BBQ Flavor: Use barbecue sauce instead of ranch and sprinkle in some smoked gouda.
- Veggie Option: Replace the chicken with sautéed mushrooms, spinach, and bell peppers for a hearty vegetarian alternative.
Why These Sliders Work for Every Occasion
What makes these sliders a winner every time? It’s the balance of flavors and textures. The sweetness of the Hawaiian rolls, the creamy tang of ranch, the smokiness of turkey bacon, and the gooey, melted cheddar all come together to create a bite that’s as comforting as it is exciting.
Not to mention, they’re ridiculously easy to make. Whether you’re hosting game night, bringing a dish to a potluck, or just making dinner for the family, these sliders are always a hit.
FAQ Section and Conclusion
By now, your kitchen should smell absolutely amazing, and your Chicken Bacon Ranch Sliders are probably the highlight of the table. But before we wrap things up, let’s dive into some common questions about the recipe and how to make the most out of these sliders. Plus, I’ll share some final thoughts to leave you inspired to give these a try!
FAQ: Everything You Need to Know About Chicken Bacon Ranch Sliders
1. Can I use regular bacon instead of turkey bacon?
Absolutely! Regular bacon works just as well and will add a richer, smokier flavor to the sliders. Just cook and crumble it the same way you would turkey bacon.
2. What’s the best way to shred chicken?
If you’re in a pinch, a rotisserie chicken from the store is perfect and saves time. Otherwise, you can cook chicken breasts or thighs and shred them using two forks. For an even quicker method, toss the cooked chicken into a stand mixer with the paddle attachment—it shreds beautifully in seconds.
3. Can these sliders be made ahead of time?
Yes! You can assemble the sliders a few hours in advance, cover them with foil, and store them in the refrigerator. Just wait to brush on the garlic butter until right before baking to keep the tops from getting soggy.
4. How do I reheat leftovers?
If you somehow end up with leftovers (rare, but it happens!), you can reheat them in the oven at 300°F for about 10 minutes. Cover them with foil to prevent drying out, or pop individual sliders in the microwave for 20-30 seconds.
5. Can I freeze these sliders?
Yes, you can! Wrap them tightly in aluminum foil and store them in a freezer-safe bag for up to two months. When ready to enjoy, thaw in the refrigerator and reheat in the oven.
6. What sides pair well with these sliders?
These sliders are versatile! Serve them with a fresh garden salad, potato chips, or even a warm bowl of soup. For a party spread, pair them with veggie platters or a cheesy dip.
7. Can I make this recipe gluten-free?
Of course! Swap out the Hawaiian rolls for your favorite gluten-free slider buns or small rolls. Just ensure that all other ingredients, like the ranch dressing, are certified gluten-free.
Conclusion: Why You’ll Love These Sliders
Whether you’re making these for game day, a family dinner, or a party, Chicken Bacon Ranch Sliders are guaranteed to be a hit. The combination of creamy ranch, smoky turkey bacon, and gooey cheddar cheese packed into sweet Hawaiian rolls creates a bite that’s simply unforgettable.
What I love most about this recipe is its versatility. It’s easy to adapt to your taste preferences or dietary needs, and it’s a dish that brings everyone together. Plus, the whole process is quick and stress-free, leaving you with more time to enjoy the company of friends and family.
Print
Chicken Bacon Ranch Sliders
- Total Time: 30 minutes
Description
These Chicken Bacon Ranch Sliders are the perfect blend of savory and cheesy goodness. Made with shredded chicken, creamy Ranch dressing, turkey bacon, and melted cheddar, they’re a crowd-pleasing appetizer or quick dinner option.
Ingredients
- 4 cups cooked chicken, shredded
- 1 cup Ranch dressing
- 1/2 cup turkey bacon, cooked and crumbled
- 3 tbsp Parmesan cheese
- 15 Hawaiian sweet rolls, sliced in half
- 2 cups shredded cheddar cheese
- 1/4 cup butter, melted
- 1 tsp garlic powder
Instructions
1️⃣ Preheat Oven: Preheat your oven to 350°F (175°C). Lightly grease a 9×13-inch baking pan.
2️⃣ Prepare the Rolls:
Place the bottom halves of the sliced Hawaiian rolls in the prepared baking pan.
3️⃣ Make the Chicken Mixture:
In a mixing bowl, combine the shredded chicken, Ranch dressing, crumbled turkey bacon, and Parmesan cheese. Mix until evenly coated.
4️⃣ Assemble the Sliders:
Spread the chicken mixture evenly over the bottom halves of the rolls.
Sprinkle the shredded cheddar cheese evenly over the chicken mixture.
Place the top halves of the rolls on top to form sandwiches.
5️⃣ Prepare Garlic Butter:
In a small bowl, mix the melted butter with garlic powder.
Brush the garlic butter generously over the tops of the rolls.
6️⃣ Bake the Sliders:
Cover the baking pan with aluminum foil and bake in the preheated oven for 15 minutes, or until the cheese is melted and the sliders are heated through.
Remove the foil and bake for an additional 2-3 minutes to lightly brown the tops.
7️⃣ Serve:
Remove from the oven and let cool slightly before serving. Serve warm and enjoy!
Notes
- Make-Ahead Option: Assemble the sliders up to step 5, cover tightly, and refrigerate for up to 12 hours. Bake as directed when ready to serve.
- Serving Suggestions: Serve with a side of celery sticks, a salad, or chips for a complete meal or party snack.
- Turkey Bacon Tip: Cook the turkey bacon until crispy for the best texture and flavor in the sliders.
- Storage: Store leftovers in an airtight container in the refrigerator for up to 2 days. Reheat in the oven at 300°F until warmed through.
- Prep Time: 10 minutes
- Cook Time: 20 minutes
Nutrition
- Serving Size: 15 sliders

