There’s just something about the bright, zesty flavor of lemons that feels like a warm hug on a sunny day. Whether you’re hosting a weekend brunch, looking for a sweet treat to accompany your afternoon coffee, or just in the mood for baking something extraordinary, this Lemon Loaf with Glaze is the perfect choice. Trust me, once you taste that tangy, moist loaf topped with a sweet citrus glaze, you’ll be hooked.
In today’s recipe, I’ll guide you step-by-step to create a homemade lemon loaf that’s as beautiful as it is delicious. Plus, I’ll share some of my favorite tips to ensure your bake is a complete success. Let’s dive in!
Why This Lemon Loaf is Special
Lemon loaf isn’t just your average sweet bread; it’s an experience. What makes this recipe stand out is the combination of tart lemon zest and juice, a hint of richness from sour cream, and a buttery crumb that’s perfectly balanced with a melt-in-your-mouth lemon glaze. It’s a versatile bake that works equally well for casual mornings or elegant gatherings.
Gather Your Ingredients
Before we start, let’s get everything ready. Here’s what you’ll need for both the loaf and the glaze:
For the Lemon Loaf:
- 1⅓ cups all-purpose flour
- 1¾ teaspoons baking powder
- ½ teaspoon salt
- ½ cup butter, softened
- ⅔ cup sugar
- 3 eggs
- 1 cup sour cream
- 1½ tablespoons lemon zest (from approximately 1 lemon)
- 2 tablespoons fresh lemon juice
- 1 tablespoon lemon extract (not lemon oil)
For the Lemon Glaze:
- 1 cup powdered sugar
- 1 tablespoon lemon juice
- 1 tablespoon milk
- 1 tablespoon butter, melted
Step 1: Preheat and Prep
First things first, let’s get your oven ready. Preheat it to 325°F (165°C). While the oven warms up, grease a 4×8 or 5×9-inch loaf pan. You can use butter or nonstick spray to ensure your loaf doesn’t stick—trust me, this small step saves you from a lot of heartbreak later. Set your pan aside for now.
Step 2: Mix Your Dry Ingredients
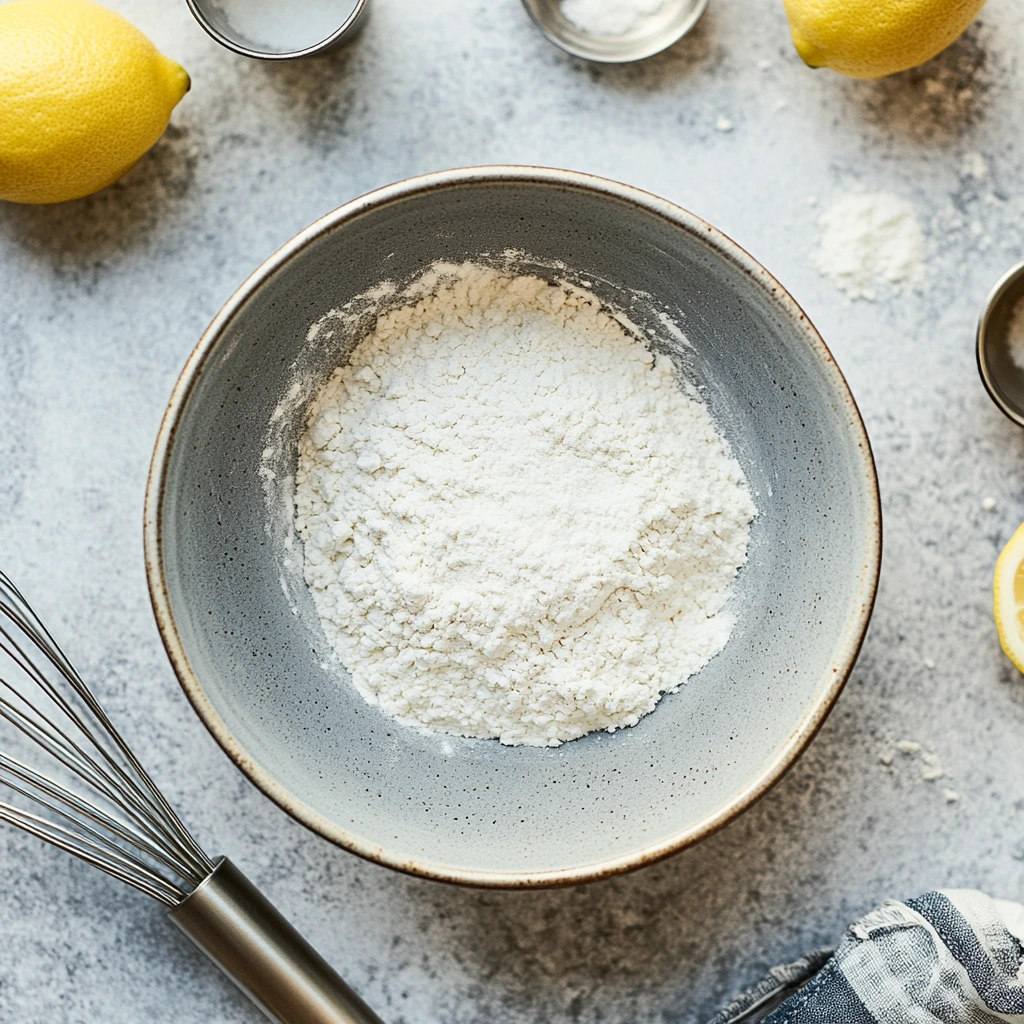
In a medium bowl, whisk together the all-purpose flour, baking powder, and salt. This step ensures your dry ingredients are evenly distributed and helps avoid any clumps in your batter. Set this mixture aside—we’ll come back to it in a bit.
Step 3: Cream the Butter and Sugar
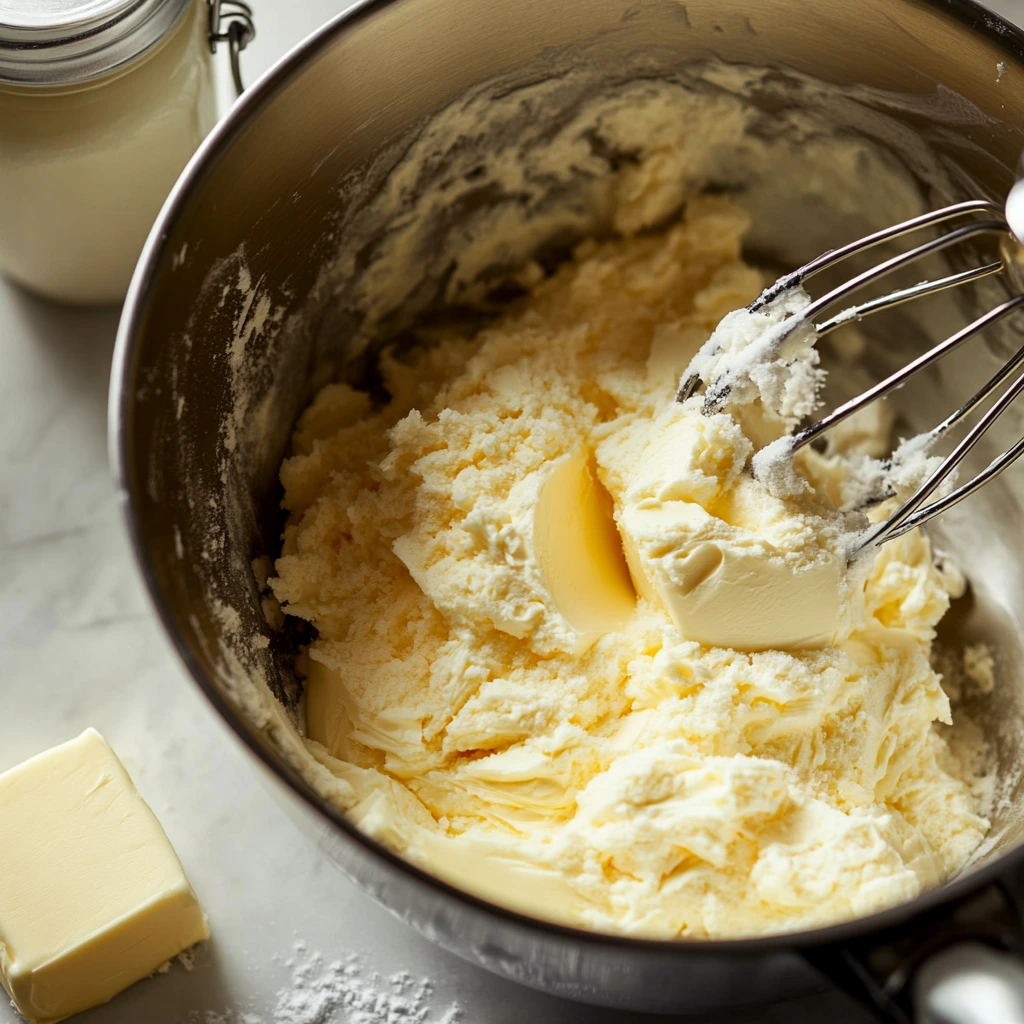
In a large mixing bowl, use an electric mixer to beat the softened butter and sugar together. This step is crucial because it creates air pockets in the batter, which leads to a fluffy, light loaf. You’ll know you’ve nailed it when the mixture looks pale and creamy.

Step 4: Incorporate the Wet Ingredients
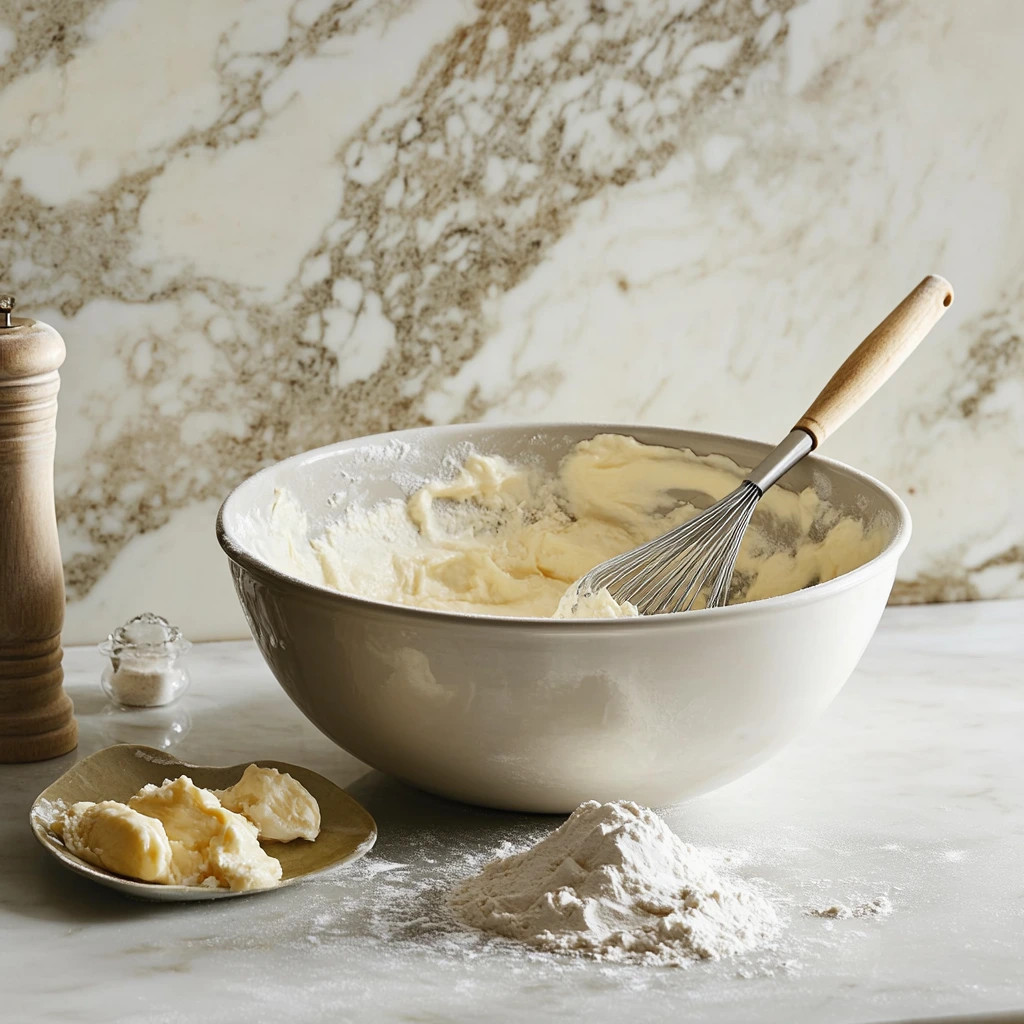
One at a time, beat in the eggs. Make sure each egg is fully mixed before adding the next one. Then, add the sour cream, lemon zest, lemon juice, and lemon extract. The aroma alone will have you drooling at this point! Mix until everything is smooth and well combined.

Step 5: Bring It All Together
Slowly add your dry ingredient mixture to the wet ingredients. Stir gently until just combined. The key here is to avoid overmixing—doing so can make your loaf dense instead of soft and tender. When your batter is ready, pour it into the prepared loaf pan, smoothing the top with a spatula.
Step 6: Bake to Perfection
Place the loaf in the preheated oven and bake for 55-65 minutes. You’ll know it’s done when a toothpick inserted into the center comes out clean. The top should be a gorgeous golden brown, and your kitchen will smell absolutely divine.

Cooling, Glazing, and Serving Your Lemon Loaf
Now that your lemon loaf has baked to golden perfection, it’s time to add the finishing touches that truly make this dessert shine. The cooling and glazing steps are just as important as the baking process—this is where the magic happens! Let’s finish your loaf with that irresistible glaze and make it ready to serve.
Step 7: Let It Cool
Once you’ve taken the loaf out of the oven, let it cool in the pan for about 10 minutes. During this time, the loaf will firm up slightly, making it easier to handle. Run a knife along the edges of the pan to loosen the loaf. Then, gently turn it out onto a wire rack to cool completely. This cooling step is crucial; glazing a warm loaf can cause the glaze to melt and slide off instead of setting beautifully on top.
Step 8: Whip Up the Lemon Glaze
While the loaf cools, it’s time to prepare the star of the show: the lemon glaze. In a small bowl, whisk together:
- 1 cup powdered sugar
- 1 tablespoon lemon juice
- 1 tablespoon milk
- 1 tablespoon melted butter
The glaze should be smooth and pourable, with just enough thickness to coat the loaf without running off entirely. If it’s too thick, add a tiny bit more lemon juice or milk. If it’s too thin, add a bit more powdered sugar until you reach the perfect consistency.
Pro Tip: Want an extra pop of lemon? Substitute milk with more lemon juice for an even tangier glaze.
Step 9: Glaze the Loaf
Once your loaf is completely cool, place it on a serving platter or a piece of parchment paper to catch any drips. Drizzle the glaze generously over the top, letting it cascade down the sides for that picture-perfect look. Use the back of a spoon to spread the glaze gently, ensuring even coverage.
The glaze not only adds sweetness but also locks in moisture, giving the loaf its signature tangy-sweet balance. Let the glaze set for 10-15 minutes before slicing—though I’ll admit, waiting is the hardest part!
Step 10: Slice and Serve
It’s finally time to enjoy the fruits of your labor. Use a sharp serrated knife to cut the loaf into slices, about 1-inch thick. Serve it on its own for a delightful treat or pair it with a cup of coffee or tea for the ultimate cozy indulgence.
Pro Tips for Perfect Lemon Loaf Every Time
- Don’t Skip the Zest: The lemon zest is where all those vibrant citrus oils live. It adds a depth of flavor you just can’t get from juice or extract alone.
- Avoid Overmixing: When combining the wet and dry ingredients, mix just until incorporated. Overmixing develops gluten in the flour, which can make your loaf dense.
- Check Early: Every oven is a little different. Start checking your loaf around the 50-minute mark to ensure you don’t overbake.
- Custom Glaze: Want a twist? Add a teaspoon of vanilla extract or a pinch of poppy seeds to your glaze for a fun variation.
- Double the Recipe: This lemon loaf freezes beautifully! Make an extra loaf, wrap it tightly in plastic wrap and foil, and store it in the freezer for up to a month. When you’re ready to enjoy it, thaw at room temperature and glaze fresh.
Variations and Additions
This lemon loaf is a fantastic base for your creativity. Here are a few ways to make it your own:
- Berry Burst: Fold in a handful of fresh blueberries or raspberries before baking for a fruity twist.
- Nutty Delight: Add chopped almonds or pecans to the batter for a delightful crunch.
- Coconut-Lemon Fusion: Sprinkle sweetened shredded coconut over the glaze for a tropical vibe.
FAQs and Conclusion
Now that your lemon loaf is complete, let’s address some common questions you might have about the recipe. Whether it’s troubleshooting, substitutions, or serving suggestions, this FAQ section has you covered. Plus, I’ll wrap things up with a final word to inspire you to bake this delightful treat again and again!
Frequently Asked Questions
1. Can I use Greek yogurt instead of sour cream?
Absolutely! Greek yogurt is a great substitute for sour cream in this recipe. It provides the same creamy texture and tangy flavor, keeping the loaf moist and tender. Just be sure to use plain, unsweetened Greek yogurt for the best results.
2. What if I don’t have lemon extract?
No worries! If you don’t have lemon extract on hand, simply increase the amount of lemon juice and zest for a more natural lemon flavor. Keep in mind that lemon extract has a concentrated flavor, so the loaf might be slightly less intense without it.
3. How do I store the lemon loaf?
To keep your lemon loaf fresh, store it in an airtight container at room temperature for up to 3 days. If you’d like to extend its shelf life, refrigerate it for up to a week. Just bring it to room temperature before serving for the best flavor and texture.
4. Can I freeze the lemon loaf?
Yes! This loaf freezes beautifully. Wrap it tightly in plastic wrap, then foil, and store it in the freezer for up to one month. For convenience, you can also freeze individual slices. When ready to enjoy, thaw at room temperature and add fresh glaze if desired.
5. What’s the best way to zest a lemon?
Use a microplane or fine grater to zest the lemon, avoiding the white pith beneath the yellow skin, as it can be bitter. If you don’t have a zester, you can use a vegetable peeler and then finely chop the strips of zest.
6. My glaze is too runny—how can I fix it?
If your glaze is too thin, whisk in more powdered sugar, a tablespoon at a time, until it reaches the desired consistency. Conversely, if it’s too thick, add more lemon juice or milk in tiny increments.
7. Can I make this recipe gluten-free?
Yes, you can substitute the all-purpose flour with a 1:1 gluten-free flour blend. Just ensure the blend contains xanthan gum or another binding agent to help with the loaf’s structure.
Conclusion: A Lemon Loaf Worth Sharing
There you have it—the ultimate lemon loaf with glaze! This recipe is a delightful combination of tart and sweet, moist and fluffy, making it a guaranteed crowd-pleaser. Whether you’re baking it for a weekend treat, gifting it to a friend, or serving it at a special gathering, this lemon loaf always impresses.
What I love most about this recipe is its simplicity. With just a handful of everyday ingredients and a few easy steps, you can create a bakery-quality dessert in the comfort of your own kitchen. And the best part? The versatility! From adding berries to experimenting with glazes, there are endless ways to make this loaf uniquely yours.
Print
Lemon Loaf with Glaze
- Total Time: 75 minutes
Description
This moist and tangy lemon loaf is bursting with citrus flavor, thanks to fresh lemon juice, zest, and extract. Topped with a sweet, velvety glaze, it’s a delightful treat for any time of day. Perfect for breakfast, dessert, or as a tea-time snack!
Ingredients
For the Lemon Loaf:
- 1⅓ cups all-purpose flour
- 1¾ teaspoons baking powder
- ½ teaspoon salt
- ½ cup butter, softened
- ⅔ cup sugar
- 3 eggs
- 1 cup sour cream
- 1½ tablespoons lemon zest (from approximately 1 lemon)
- 2 tablespoons fresh lemon juice
- 1 tablespoon lemon extract (not lemon oil)
For the Lemon Glaze:
- 1 cup powdered sugar
- 1 tablespoon lemon juice
- 1 tablespoon milk
- 1 tablespoon butter, melted
Instructions
1️⃣ Preheat the Oven: Preheat your oven to 325°F (165°C). Grease a 4×8 or 5×9-inch loaf pan and set aside.
2️⃣ Mix the Dry Ingredients: In a medium bowl, whisk together the flour, baking powder, and salt. Set aside.
3️⃣ Cream the Butter and Sugar: In a large mixing bowl, use an electric mixer to cream the softened butter and sugar together until light and fluffy.
4️⃣ Incorporate Wet Ingredients: Beat in the eggs, one at a time, until fully incorporated. Add the sour cream, lemon zest, lemon juice, and lemon extract, mixing until smooth.
5️⃣ Combine with Dry Ingredients: Gradually add the flour mixture to the wet ingredients, stirring until just combined. Do not overmix.
6️⃣ Bake the Loaf: Pour the batter into the prepared loaf pan and smooth the top with a spatula. Bake for 55-65 minutes, or until a toothpick inserted into the center comes out clean.
7️⃣ Cool the Loaf: Remove the loaf from the oven and let it cool in the pan for 10 minutes. Run a knife along the edges to loosen, then turn the loaf out onto a wire rack to cool completely.
8️⃣ Prepare the Glaze: In a small bowl, whisk together the powdered sugar, lemon juice, milk, and melted butter until smooth. Adjust the consistency if needed by adding more lemon juice or powdered sugar.
9️⃣ Glaze the Loaf: Once the lemon loaf is completely cool, drizzle the glaze evenly over the top. Spread it gently with the back of a spoon.
🔟 Serve: Slice the lemon loaf and enjoy its tangy-sweet goodness!
Notes
- For extra lemon flavor, add a touch more lemon zest or a splash of lemon juice to the glaze.
- Ensure the loaf is fully cooled before glazing to prevent the glaze from melting and running off.
- Store the lemon loaf in an airtight container at room temperature for up to 3 days or refrigerate for up to a week.
- Prep Time: 15 minutes
- Cook Time: 60 minutes
Nutrition
- Serving Size: 8


