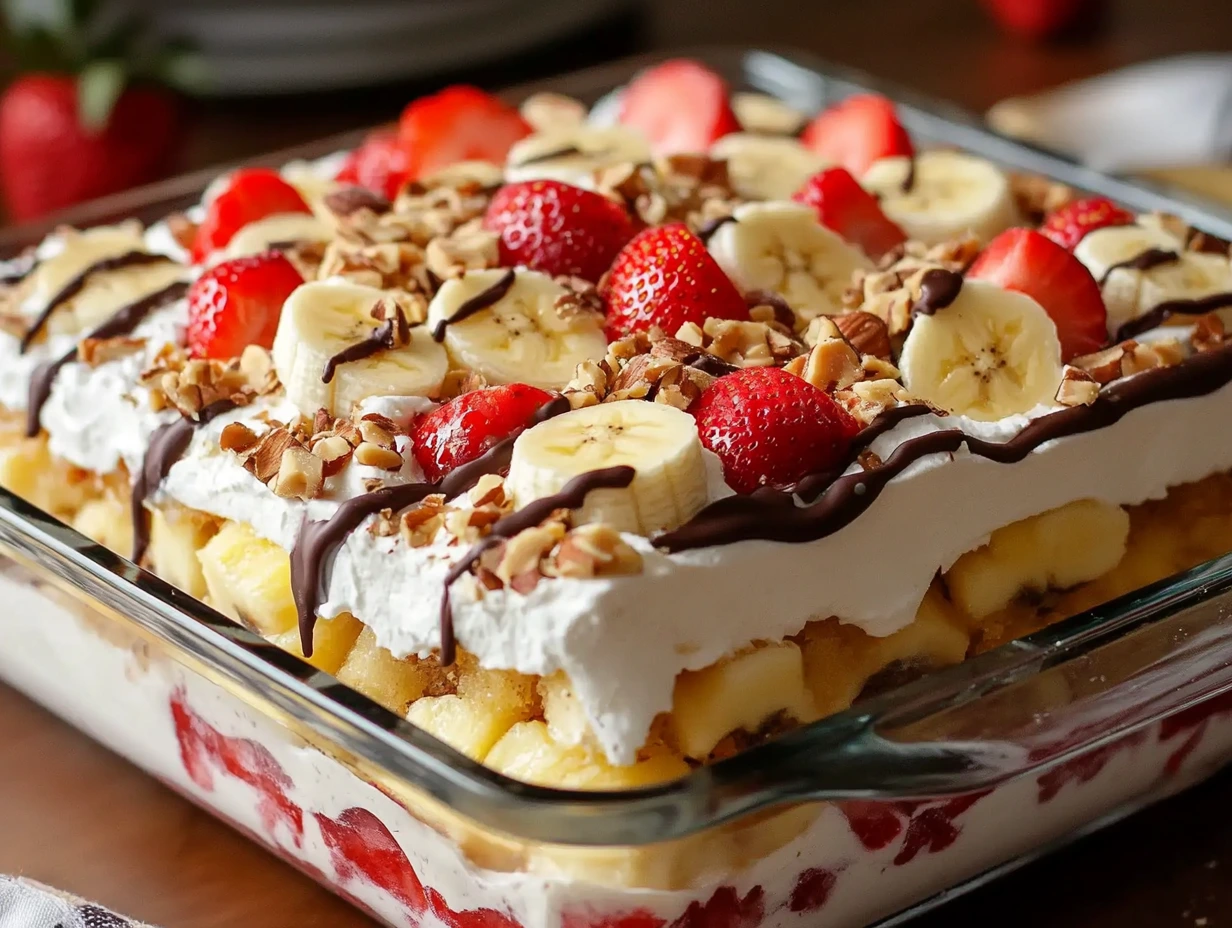
Who else remembers the excitement of a banana split as a kid? That delicious combination of bananas, whipped cream, and all the toppings was always a treat to look forward to. But now, let me introduce you to its irresistible cousin: the No-Bake Banana Split Cake! This layered dessert brings all the joy of a classic banana split into a dish that’s perfect for sharing and, even better, requires no oven. Yes, you heard that right—no baking, just chilling and devouring.
This recipe is perfect for summer gatherings, potlucks, or just an easy dessert when you’re craving something sweet and fruity. Plus, it’s so simple to whip up that even beginners in the kitchen will feel like a pro.
Why You’ll Love This Recipe
This dessert is a winner for so many reasons:
- No oven needed: Perfect for hot days when turning on the oven is the last thing you want to do.
- Crowd-pleaser: With its fruity layers and creamy filling, it’s bound to be a hit.
- Customizable: You can easily switch up the toppings to suit your taste.
Now, let’s dive into the first part of this easy recipe and get started on the crust and filling.
Step 1: Preparing the Crust
The crust forms the foundation of this dessert, giving each bite a satisfying crunch that pairs perfectly with the creamy filling. Here’s how to make it:
Ingredients for the Crust
- 2 cups graham cracker crumbs
- 1/3 cup unsalted butter, melted
- 1 teaspoon salt
Instructions
- In a medium bowl, combine the graham cracker crumbs, melted butter, and salt. Mix until the crumbs are evenly coated and have a texture similar to wet sand.
- Grease a 9×13-inch baking dish lightly to ensure easy serving later.
- Press the crumb mixture firmly and evenly into the bottom of the dish. You can use the bottom of a glass or a measuring cup to help press it down smoothly.
- Pop the crust into the refrigerator while you prepare the filling. This step helps it firm up and hold its shape.

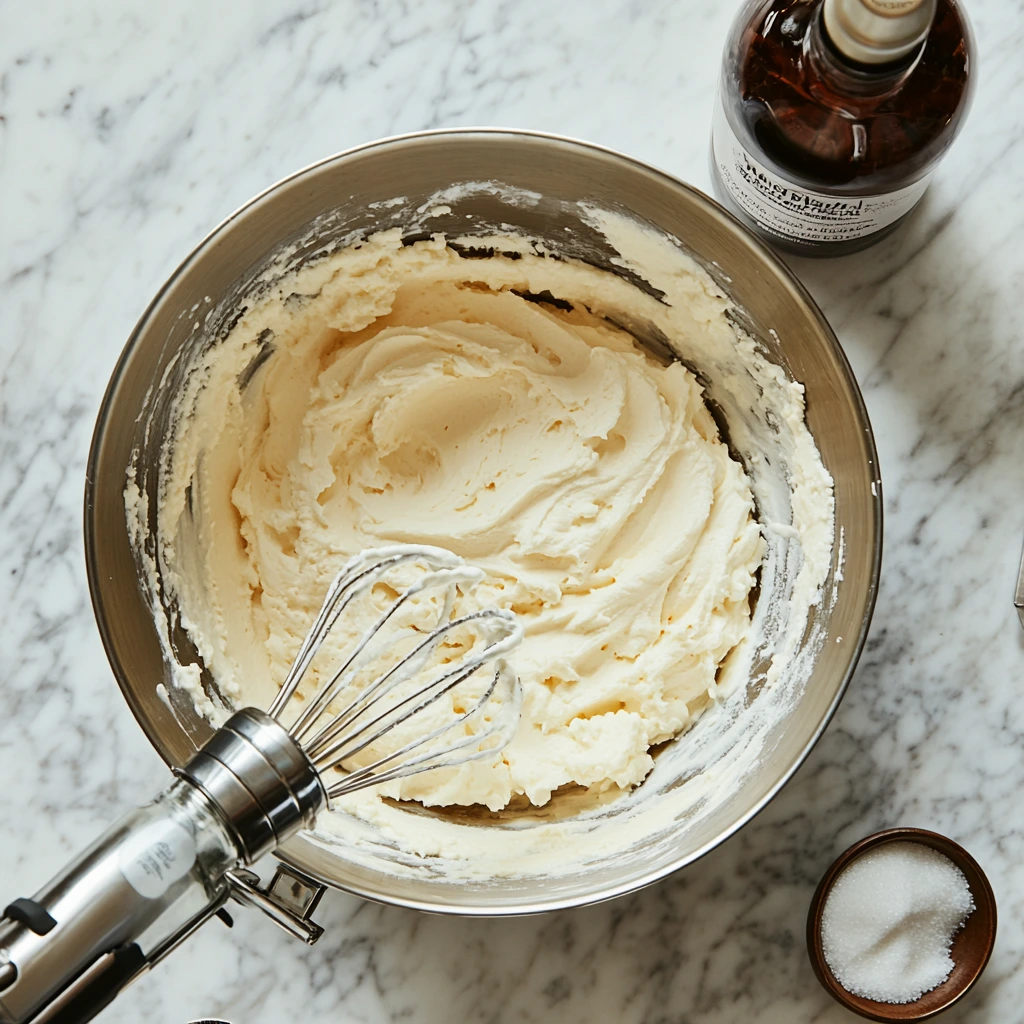
Step 2: Making the Filling
The filling is where the magic happens. Creamy, smooth, and slightly tangy, it’s the perfect base for the fruity layers to come.
Ingredients for the Filling
- 16 oz cream cheese, softened
- 1/2 cup granulated sugar
- 8 oz whipped topping (like Cool Whip)
- 1 teaspoon vanilla extract
Instructions
- In a large mixing bowl, beat the softened cream cheese with the sugar and vanilla extract. Use an electric mixer for best results, and beat until the mixture is smooth and creamy.
- Gently fold in the whipped topping with a spatula until fully incorporated. Be careful not to overmix—this will keep the filling light and fluffy.
- Spread the filling evenly over the chilled crust, smoothing the top with a spatula. It should look like a fluffy cloud, ready to cradle the layers of fruit.
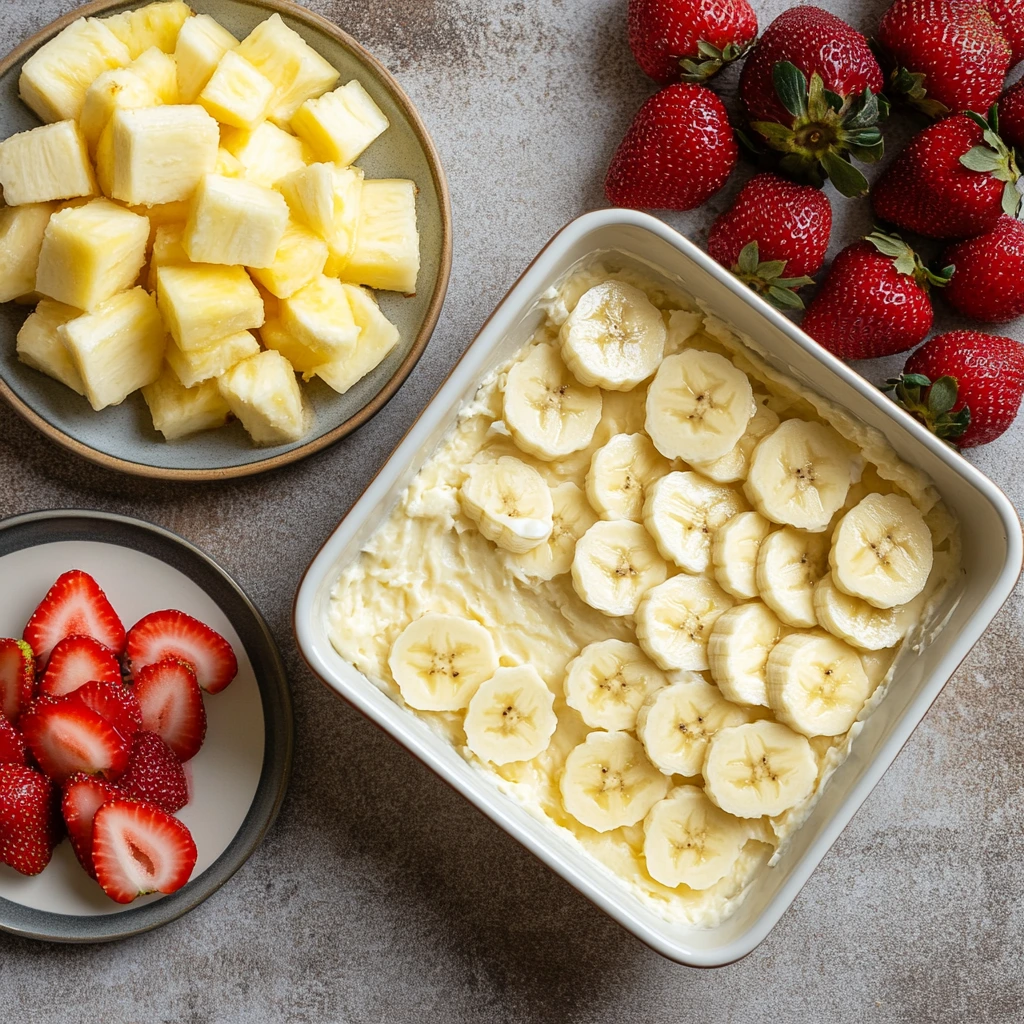
Now that we’ve got the crust and filling perfectly prepped, it’s time to add the layers of fruity goodness that make this dessert so iconic. Think of this step as building a masterpiece: vibrant bananas, sweet pineapple, juicy strawberries, and a cascade of creamy whipped topping come together to create a slice of summer.
Step 3: Adding the Layers
This step is where the magic begins—each layer brings its own flavor and texture to the mix.
Ingredients for the Layers
- 3 to 4 bananas, sliced
- 20 oz can crushed pineapple, well-drained
- 20 oz fresh strawberries, sliced
Instructions
- Slice the Bananas: Start by slicing your bananas into even, bite-sized rounds. Spread them out evenly over the filling. They’ll provide a creamy, slightly tangy base for the other fruits.
- Drain the Pineapple: Make sure to drain the crushed pineapple thoroughly to prevent a soggy dessert. Once drained, spoon it over the banana slices and spread it into an even layer.
- Add the Strawberries: Arrange the sliced strawberries on top of the pineapple. Pro tip: Save a few of the prettiest strawberry slices for garnishing at the end for an extra polished look.
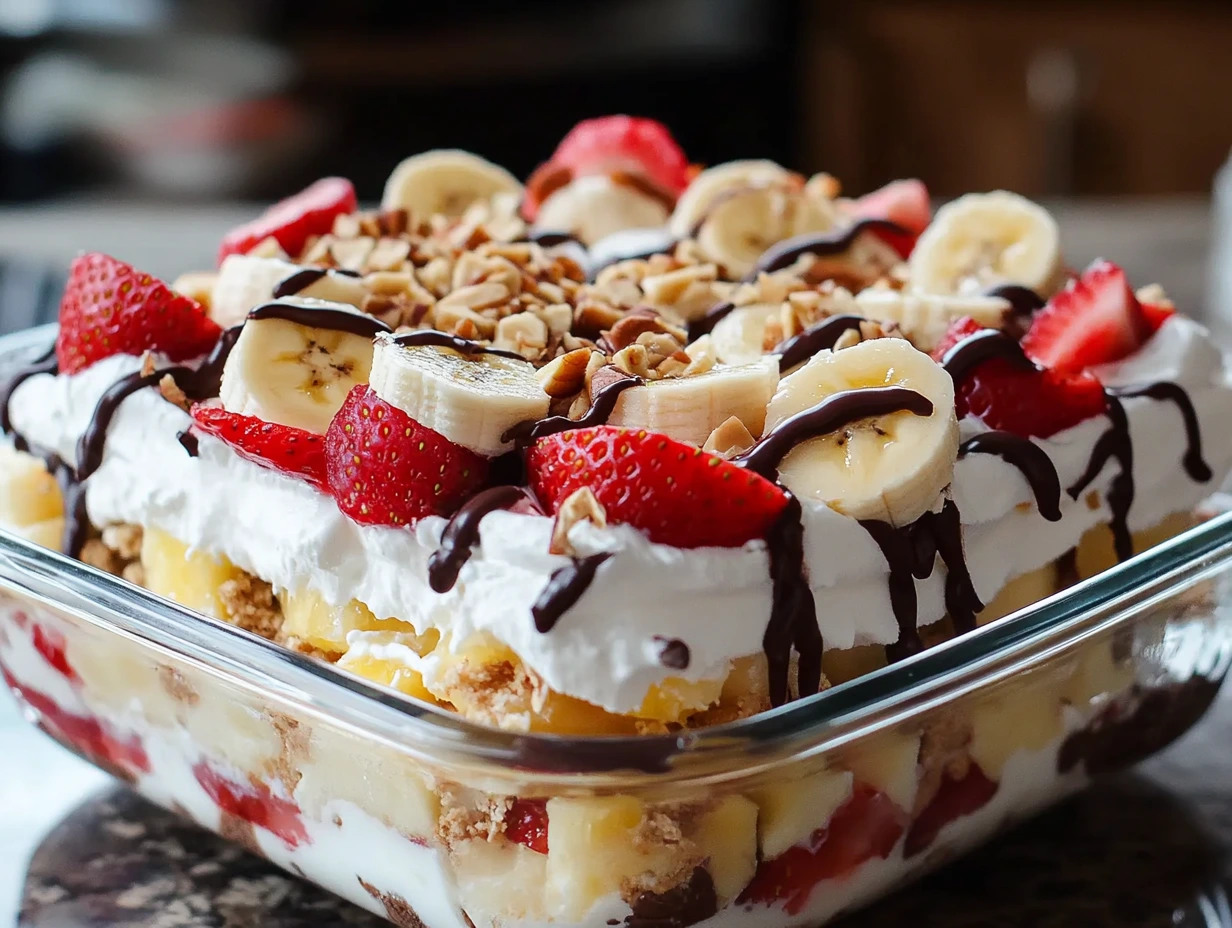
Step 4: The Finishing Touches
No banana split is complete without toppings, and this dessert is no exception. We’re taking it to the next level with whipped topping, nuts, and chocolate drizzle.
Ingredients for the Toppings
- 8 oz whipped topping (like Cool Whip)
- 1/2 cup chopped hazelnuts (or your favorite nuts)
- Chocolate sauce (for drizzling)
Instructions
- Spread the Whipped Topping: Using a spatula, spread an even layer of whipped topping over the strawberries. This layer adds that signature banana split creaminess and gives a clean canvas for the finishing touches.
- Drizzle with Chocolate Sauce: Grab your favorite chocolate sauce and drizzle it over the whipped topping in a zigzag pattern. Don’t worry about perfection—this is all about fun!
- Sprinkle the Nuts: Finish with a sprinkle of chopped hazelnuts or your nut of choice. They add a delightful crunch and a hint of nuttiness that ties the dessert together.
Step 5: Chill to Perfection
This no-bake dessert needs time to set so all the flavors can meld beautifully.
Instructions
- Cover the dish tightly with plastic wrap to prevent any unwanted refrigerator smells from seeping in.
- Place the dish in the refrigerator and let it chill for at least 4 hours. For the best results, leave it overnight. Trust me, the wait is worth it!
- Once it’s fully chilled, slice it into squares and serve it up. Each bite will reveal the perfect layers of crust, creamy filling, fruit, and toppings.
Pro Tips for a Show-Stopping Dessert
- Use Fresh, Ripe Fruit: Choose bananas that are ripe but still firm, strawberries that are sweet and vibrant, and pineapple that’s well-drained. Fresh fruit makes a huge difference in flavor.
- Customize the Nuts: If hazelnuts aren’t your thing, swap them for pecans, walnuts, or even toasted coconut flakes for a tropical twist.
- Chocolate Lovers Unite: If you’re feeling indulgent, add a sprinkle of mini chocolate chips or shavings on top along with the chocolate drizzle.
You’ve made it through the layers and toppings, and now it’s time to address some of the most common questions about this no-bake masterpiece. Whether you’re a first-timer or a seasoned dessert enthusiast, these FAQs will ensure your Banana Split Cake turns out flawless every time.
Frequently Asked Questions (FAQs)
1. Can I make this dessert ahead of time?
Absolutely! In fact, it’s best to make this dessert the night before you plan to serve it. This allows the layers to set and the flavors to meld together beautifully.
2. What’s the best way to store leftovers?
Cover the dish tightly with plastic wrap or transfer individual slices to an airtight container. Store in the refrigerator for up to 3 days. The bananas may darken slightly, but the dessert will still taste amazing!
3. Can I freeze this dessert?
While it’s possible to freeze it, the texture of the bananas and whipped topping may change slightly. If you do freeze it, wrap the dish tightly with plastic wrap and aluminum foil. Let it thaw in the fridge before serving.
4. Can I use fresh pineapple instead of canned?
Definitely! Fresh pineapple adds a vibrant, juicy touch. Just chop it finely and drain any excess juice to avoid a watery layer.
5. What if I don’t have graham crackers for the crust?
No problem! Substitute graham crackers with digestive biscuits, vanilla wafers, or even crushed Oreos for a twist on the classic.
6. How can I make this dessert dairy-free?
Use dairy-free cream cheese, coconut whipped topping, and plant-based butter for the crust. The result is just as creamy and delicious.
7. Can I customize the toppings?
Of course! Add maraschino cherries, rainbow sprinkles, or shredded coconut to make it your own. The beauty of this dessert is how easily you can tailor it to your tastes.
Serving Suggestions
When it’s time to serve, bring out the Banana Split Cake and watch everyone’s eyes light up. Use a sharp knife to slice through the layers cleanly and serve on chilled plates for an extra refreshing touch. Pair it with coffee, iced tea, or even a scoop of vanilla ice cream for the ultimate indulgence.
Conclusion: A No-Bake Dessert to Remember
This No-Bake Banana Split Cake is the perfect combination of nostalgia, ease, and indulgence. It’s a dessert that brings people together, whether it’s for a summer picnic, a potluck, or just a sweet treat to end the day. Each bite is a delightful medley of creamy filling, fresh fruit, and crunchy crust, making it a guaranteed crowd-pleaser.
Print
No-Bake Banana Split Cake
- Author: Sophia
- Total Time: 4 hours 20 minutes
Description
This delightful no-bake dessert combines all the flavors of a classic banana split into a luscious, layered cake. Perfect for warm days when you want a sweet treat without turning on the oven. Creamy, fruity, and nutty with a touch of chocolate—this dessert is sure to impress!
Ingredients
For the Crust:
- 2 cups graham cracker crumbs
- 1/3 cup unsalted butter, melted
- 1 tsp salt
For the Filling:
- 16 oz cream cheese, softened
- 1/2 cup granulated sugar
- 8 oz whipped topping (e.g., Cool Whip)
- 1 tsp vanilla extract
For the Toppings:
- 3 to 4 bananas, sliced
- 20 oz can crushed pineapple, well-drained
- 20 oz strawberries, sliced
- 8 oz whipped topping (e.g., Cool Whip)
- 1/2 cup chopped hazelnuts (or your favorite nuts)
- Chocolate sauce (for drizzling)
Instructions
1️⃣ Prepare the Crust:
In a medium bowl, combine graham cracker crumbs, melted butter, and salt.
Press the mixture firmly into the bottom of a greased 9×13-inch baking dish to create an even crust.
Refrigerate the crust while preparing the filling.
2️⃣ Make the Filling:
In a large bowl, beat the softened cream cheese with sugar and vanilla extract until smooth and creamy.
Gently fold in the whipped topping until fully combined.
Spread the filling evenly over the chilled crust, smoothing the top with a spatula.
3️⃣ Add the Layers:
Arrange banana slices evenly over the filling.
Spread the well-drained crushed pineapple over the bananas.
Add a layer of sliced strawberries on top of the pineapple.
4️⃣ Top and Chill:
Spread another layer of whipped topping over the strawberries.
Drizzle chocolate sauce over the whipped topping and sprinkle with chopped hazelnuts.
Cover the dish with plastic wrap and refrigerate for at least 4 hours, or preferably overnight, to set the layers.
5️⃣ Serve:
Slice the cake into squares and serve chilled. Enjoy the sweet and fruity goodness of this no-bake dessert!
Notes
- Customization: Swap hazelnuts for walnuts, almonds, or pecans, depending on your preference.
- Storage: Store leftovers in the refrigerator, covered, for up to 3 days.
- Make-Ahead Friendly: This dessert can be made the night before for convenience.
- Prep Time: 20 minutes
- Cook Time: 4+ hours
Nutrition
- Serving Size: 12