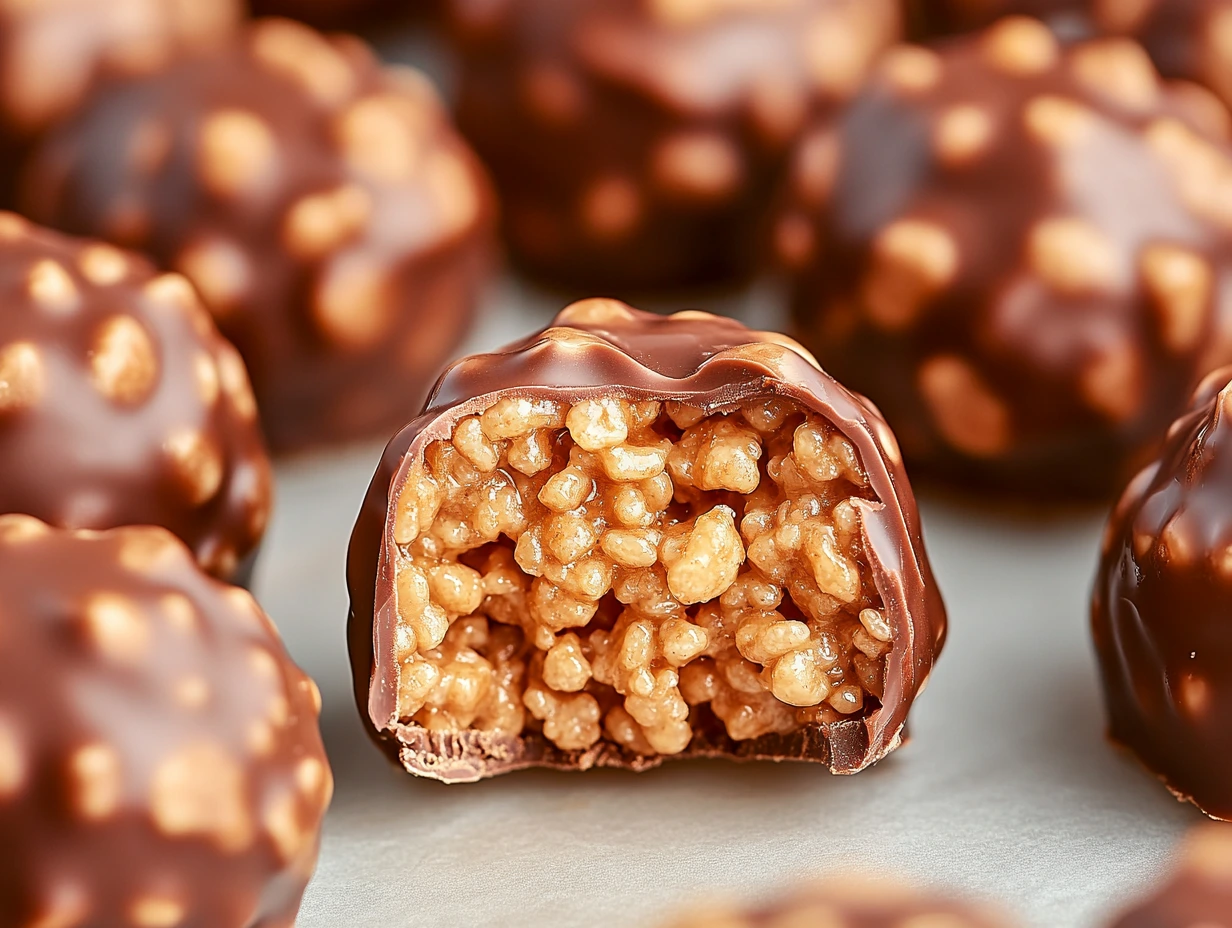
If there’s one thing I love, it’s a recipe that checks all the boxes: easy, no-bake, and downright delicious. These Peanut Butter Balls with Rice Krispies are all that and more! Whether you’re whipping up treats for a holiday party, looking for a fun dessert to make with kids, or just craving a bite-sized indulgence, this recipe is here to save the day.
Peanut butter and chocolate is a combination that feels like a hug for your taste buds. Add the satisfying crunch of Rice Krispies, and you’ve got a treat that’s impossible to resist. Plus, with just a handful of ingredients, you probably already have most of what you need in your pantry. Let’s dive in and get started!
The Crunchy Magic of Peanut Butter Balls
Before we dive into the recipe, let me just say how much I adore these little bites of happiness. They remind me of afternoons in my grandmother’s kitchen, where sweet treats were made with love and eaten with abandon. These Peanut Butter Balls bring back those warm, fuzzy feelings—and they’re just as much fun to make as they are to eat.
Ingredients You’ll Need
Here’s your shopping list for these scrumptious no-bake goodies:
- 1 cup peanut butter (choose creamy or crunchy, depending on your texture preference)
- 1/4 cup butter, softened
- 1 cup powdered sugar
- 2 cups Rice Krispies cereal, slightly crushed
- 2 cups semi-sweet chocolate chips
- 2 tablespoons vegetable shortening
Now that we’ve gathered everything, let’s start with the base of this treat.
Step 1: Prepare Your Workspace
First things first—prep your baking sheet. Line it with parchment paper or wax paper to prevent sticking. Trust me, this makes cleanup a breeze and keeps your peanut butter balls looking picture-perfect.
Step 2: Make the Peanut Butter Mixture
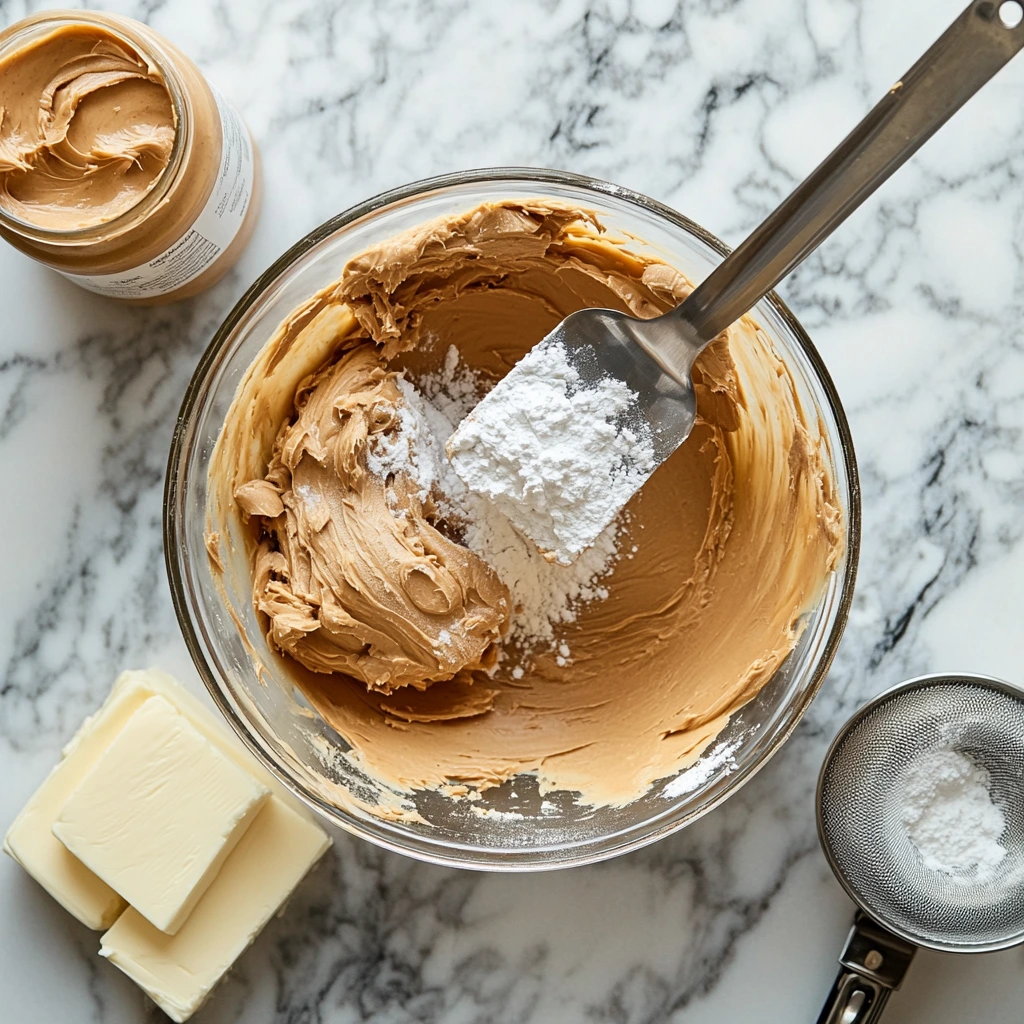
In a large mixing bowl, cream together the peanut butter, softened butter, and powdered sugar. This is where the magic begins. The mixture should be smooth and creamy, with just the right amount of sweetness.
Next, fold in the slightly crushed Rice Krispies cereal. This step is my favorite because you can see the mixture transform into a delightful crunchy dough. Be gentle here—you don’t want to pulverize those crispy bits.
Step 3: Shape Your Peanut Butter Balls
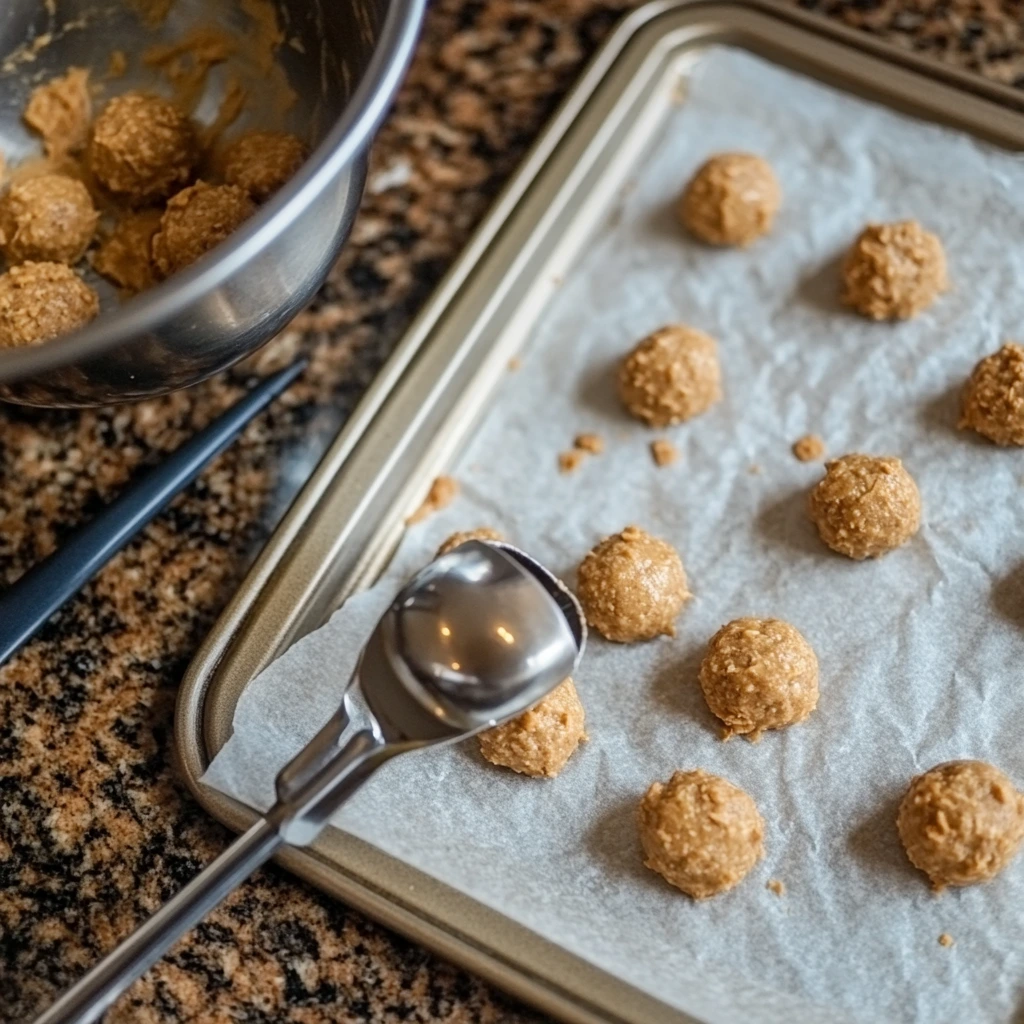
Once your mixture is ready, it’s time to roll! Scoop out small portions (about a tablespoon each) and roll them into bite-sized balls. This is the perfect time to involve kids if you’re looking for a fun activity—they’ll love getting their hands a little sticky!
Place the balls on your prepared baking sheet, and pop them into the fridge for at least 30 minutes. This step helps them firm up, making them easier to dip in chocolate later.
Why You’ll Love This Recipe
- No Baking Required: Perfect for hot days or when you’re short on time.
- Customizable: Use dark chocolate, add a sprinkle of sea salt, or swap Rice Krispies for another crunchy cereal.
- Kid-Friendly: A fun and easy recipe to make with little ones.
Coating and Perfecting Your Peanut Butter Balls
Now that your peanut butter balls are chilling and firming up in the fridge, it’s time to focus on their chocolatey coating. This is where things get even more exciting—because who doesn’t love a rich, glossy layer of chocolate?
Step 4: Melting the Chocolate
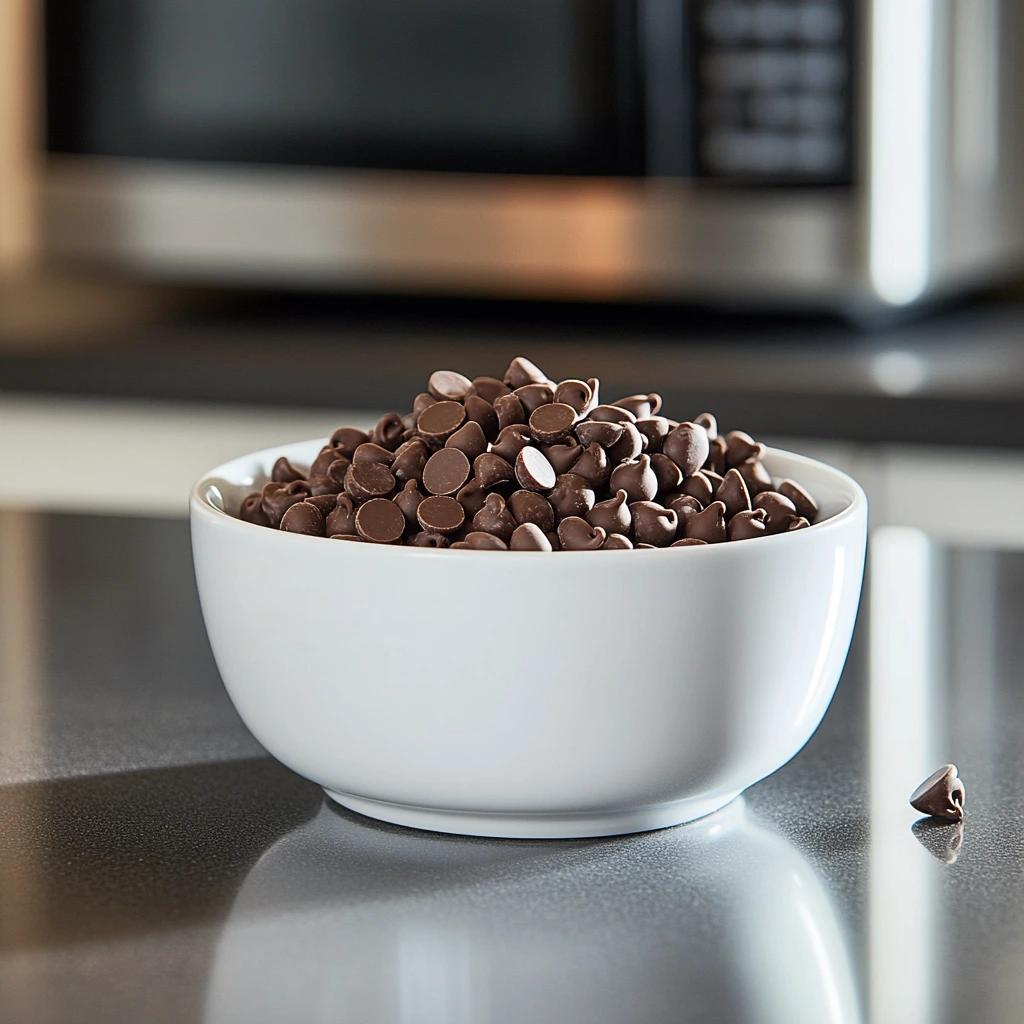
Melting chocolate might seem intimidating, but with a little patience and the right technique, it’s a breeze. Start by combining the semi-sweet chocolate chips and vegetable shortening in a microwave-safe bowl. The shortening is a secret weapon here—it helps the chocolate melt smoothly and creates a perfect texture for coating.
Here’s how to do it:
1️⃣ Heat the mixture in the microwave for 1 minute.
2️⃣ Stir well. Don’t worry if the chocolate isn’t fully melted yet.
3️⃣ Continue heating in 20–30-second intervals, stirring after each, until the chocolate is mostly melted.
4️⃣ Finally, stir vigorously to ensure a smooth, glossy finish.
Pro Tip: If you prefer using a double boiler, simply place a heatproof bowl over a pot of simmering water, making sure the bottom of the bowl doesn’t touch the water. Stir constantly until the chocolate is melted and silky.
Step 5: Dipping the Peanut Butter Balls
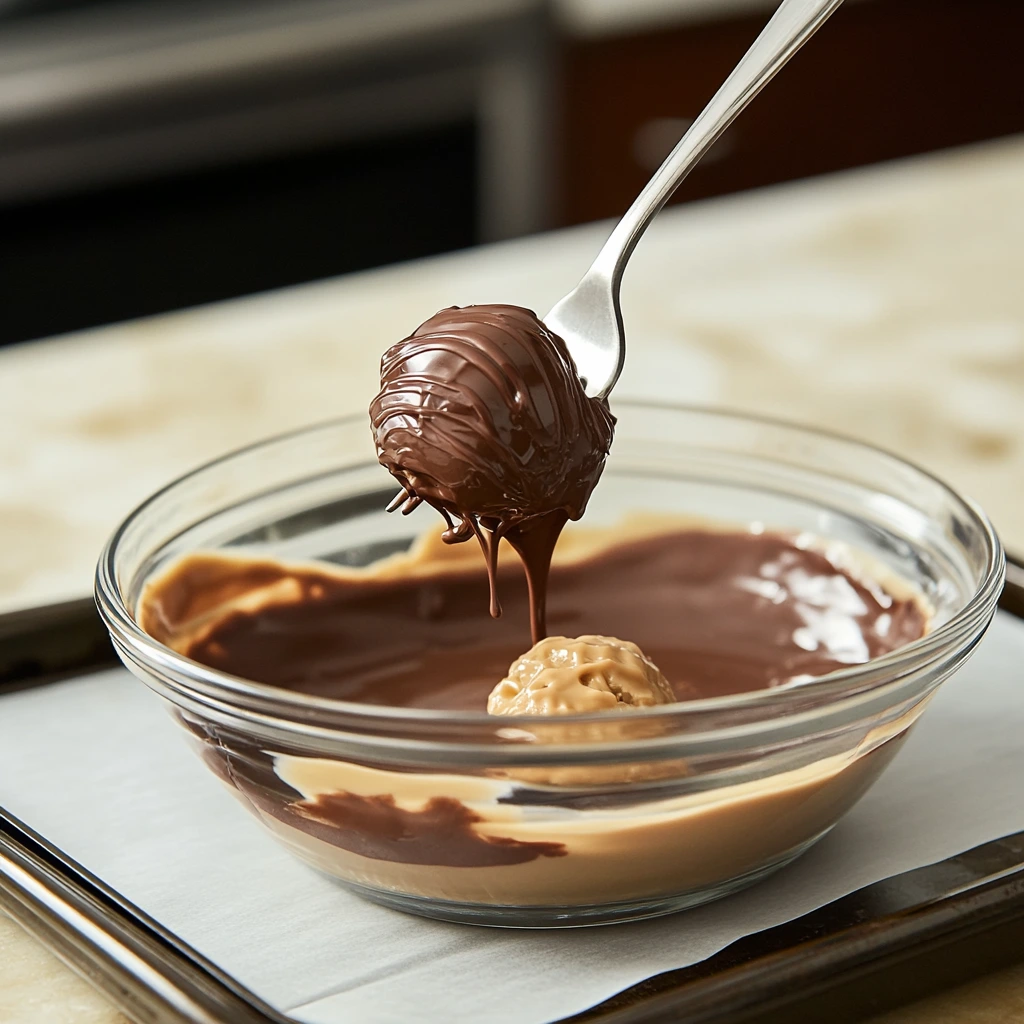
Now comes the fun (and slightly messy) part—dipping those peanut butter balls into the chocolate! Grab a fork or a dipping tool to make this process easier and to give your treats that professional look.
Here’s the method I swear by:
1️⃣ Remove your peanut butter balls from the fridge.
2️⃣ Drop one ball at a time into the melted chocolate. Use the fork to gently coat it completely.
3️⃣ Lift the ball out of the chocolate, allowing any excess to drip off. Tap the fork lightly against the side of the bowl to remove the extra chocolate.
4️⃣ Carefully slide the coated ball back onto the parchment-lined baking sheet.
Repeat this process until all the peanut butter balls are beautifully coated.
Step 6: Setting the Chocolate
Patience is key here! Allow the chocolate coating to set at room temperature. This usually takes about 15–20 minutes. But if you’re like me and can’t wait to taste one, speed things up by placing the tray in the fridge. The cold air helps the chocolate firm up in no time—usually within 10–15 minutes.
Pro Tip: Avoid handling the balls before they’re completely set. The chocolate might smudge or lose its glossy finish.
Optional Step: Adding a Finishing Touch
If you’re feeling fancy, this is the moment to add some flair to your peanut butter balls. While the chocolate is still wet, sprinkle a pinch of sea salt, crushed peanuts, or even colorful sprinkles on top. It’s a small touch that makes these treats look extra special.
Step 7: Storing Your Peanut Butter Balls
Congratulations—you’ve made a batch of irresistible peanut butter balls! But before you dive in, let’s talk storage.
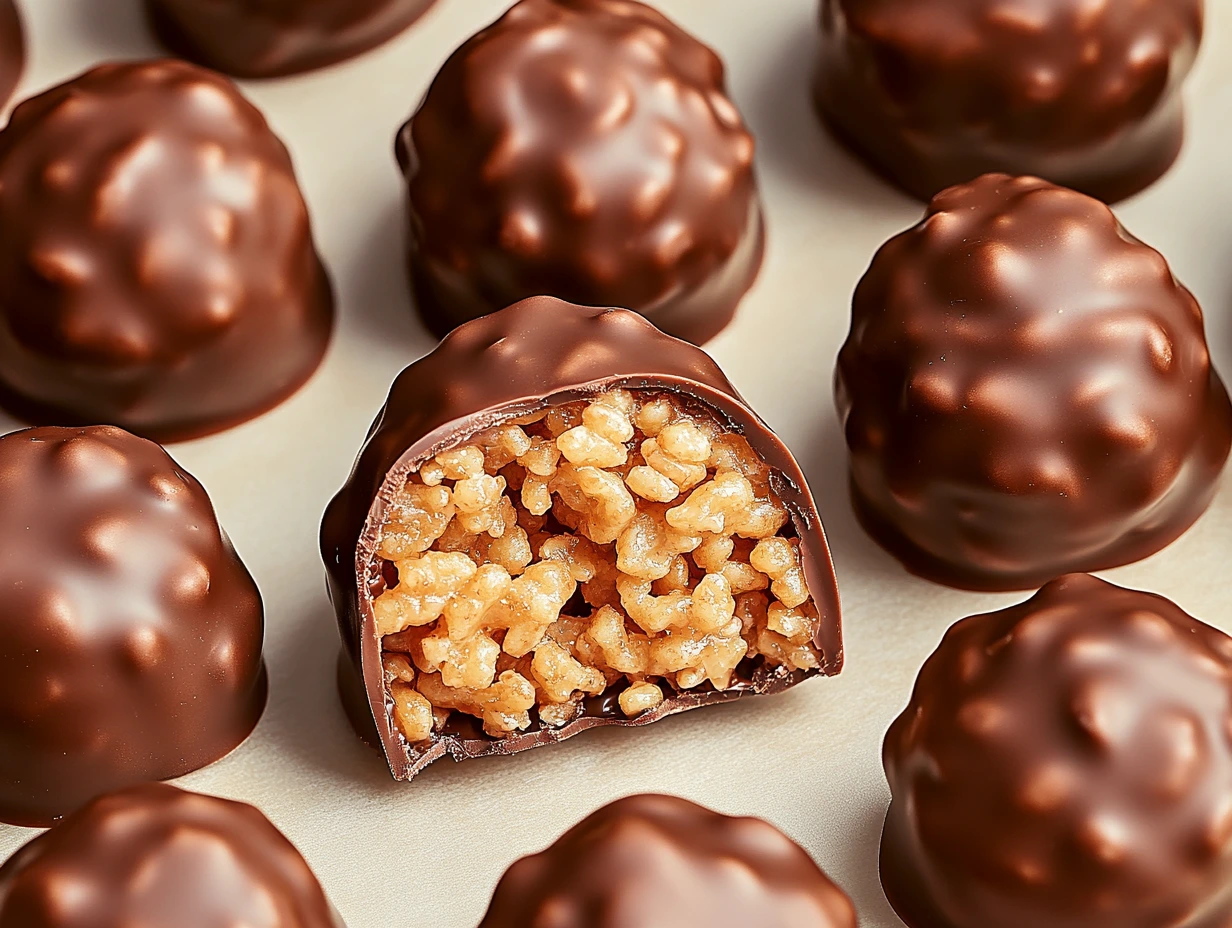
- In the Fridge: Place your peanut butter balls in an airtight container and store them in the refrigerator. They’ll stay fresh and delicious for up to a week.
- In the Freezer: For longer storage, freeze your treats in a freezer-safe container. They can last for up to 3 months. Simply thaw them in the fridge for about 30 minutes before serving.
Pro Tips for Success
1️⃣ Use Quality Chocolate: Your peanut butter balls deserve the best! High-quality chocolate chips or melting wafers will give you that luscious, smooth coating.
2️⃣ Don’t Skip the Shortening: It might seem optional, but shortening ensures your chocolate melts like a dream and hardens with a glossy finish.
3️⃣ Work Quickly: If your chocolate starts to harden while dipping, pop it back in the microwave for a quick 10-second zap.
FAQs and Sweet Conclusion
You’ve dipped, chilled, and maybe even snuck a bite of these divine Peanut Butter Balls with Rice Krispies. Before we wrap up this recipe adventure, let’s address some common questions to ensure your experience is as smooth and enjoyable as these treats themselves!
FAQs About Peanut Butter Balls
1. Can I use natural peanut butter for this recipe?
Yes, but keep in mind that natural peanut butter has a runnier consistency, which might make the mixture harder to roll into balls. To counter this, refrigerate the mixture for about 15–20 minutes before shaping.
2. What can I use instead of vegetable shortening?
You can substitute coconut oil or butter in the same quantity. However, note that coconut oil might give a slight coconut flavor, and butter could result in a slightly softer coating.
3. How do I prevent the Rice Krispies from getting soggy?
The key is mixing gently and chilling the balls quickly. The Rice Krispies stay crunchy as long as they’re not overhandled or left in warm temperatures for too long.
4. Can I make these treats nut-free?
Absolutely! Swap the peanut butter for a nut-free alternative like sunflower seed butter. Just be sure to check for any added sugar or oils in your substitute.
5. Why is my chocolate coating uneven?
Uneven coating usually happens if the chocolate is too thick. Add a bit more shortening or reheat the chocolate briefly to restore its smooth, dippable consistency.
6. Can I make these ahead of time?
Yes! Peanut Butter Balls are perfect for prepping ahead. Store them in the fridge or freezer, and they’ll be ready whenever you need them.
7. How can I make them look extra festive?
Decorate the tops with colored sprinkles, drizzle contrasting chocolate (white chocolate looks amazing!), or even use edible glitter. These small touches can match any holiday or party theme.
Why You’ll Fall in Love with This Recipe
These Peanut Butter Balls with Rice Krispies are more than just a dessert—they’re a sweet memory waiting to be made. Whether you’re sharing them with family, gifting them to friends, or savoring them solo with a cup of tea, each bite is pure joy. The creamy peanut butter, crunchy cereal, and rich chocolate come together in perfect harmony.
Final Thoughts: A Treat Worth Sharing
If you’re anything like me, this recipe will quickly become one of your go-to favorites. It’s simple, satisfying, and endlessly versatile. Want to make it more indulgent? Use dark chocolate. Need a quick gift idea? Package these little gems in a cute box or tin. The possibilities are endless!
I hope you enjoy making (and eating) these as much as I do. Let me know how yours turn out, and don’t forget to share your creative twists or festive decorations. Happy no-baking, and may your kitchen always smell like chocolatey goodness!
Print
Peanut Butter Balls with Rice Krispies
- Total Time: 50 minutes
Description
These delightful no-bake treats combine creamy peanut butter, crunchy Rice Krispies, and rich chocolate for a bite-sized dessert that’s perfect for any occasion. Easy to make and even easier to enjoy!
Ingredients
- 1 cup peanut butter (creamy or crunchy)
- 1/4 cup butter, softened
- 1 cup powdered sugar
- 2 cups Rice Krispies cereal, slightly crushed
- 2 cups semi-sweet chocolate chips
- 2 tablespoons vegetable shortening
Instructions
1️⃣ Prepare a baking sheet: Line a cookie sheet with parchment paper or wax paper to prevent sticking.
2️⃣ Mix the base ingredients: In a large mixing bowl, cream together the peanut butter, softened butter, and powdered sugar until smooth. Fold in the slightly crushed Rice Krispies cereal and mix until evenly combined.
3️⃣ Shape the balls: Scoop out small portions of the mixture and roll them into bite-sized balls (about 1 inch in diameter). Place them on the prepared cookie sheet. Chill in the refrigerator for at least 30 minutes to firm up.
4️⃣ Melt the chocolate: In a large microwave-safe bowl, combine the chocolate chips and vegetable shortening. Heat for 1 minute, then stir. Continue heating in 20–30-second intervals, stirring after each, until the chocolate is mostly melted. Stir until smooth and glossy.
5️⃣ Dip the peanut butter balls: Using a fork or a dipping tool, coat each peanut butter ball in the melted chocolate. Tap off any excess chocolate and place the dipped balls back onto the lined cookie sheet.
6️⃣ Set the chocolate: Allow the chocolate coating to firm up at room temperature. For faster results, place the tray in the refrigerator for about 15–20 minutes.
7️⃣ Store: Transfer the finished peanut butter balls to an airtight container. Store them in the refrigerator for up to 1 week or freeze for longer storage (up to 3 months).
Notes
- Crush with care: Lightly crush the Rice Krispies to maintain some crunch without turning them into powder.
- Chocolate tips: Vegetable shortening helps the chocolate stay smooth and glossy, but you can substitute coconut oil if desired.
- Decorate: Add a drizzle of white chocolate or sprinkle crushed nuts on top before the chocolate sets for an extra touch.
- Prep Time: 20 minutes
- Cook Time: 30 minutes
Nutrition
- Serving Size: 24 balls

