
I still remember the first time I tasted a slice of this Tollhouse Cookie Pie—it was warm, the chocolate chips were melting into rivers of sweetness, and the aroma reminded me of lazy Sunday afternoons in my grandma’s kitchen. If you’re anything like me, you love classic chocolate chip cookies, but sometimes you crave something a little more—something you can slice, serve, and share with friends at a gathering. That’s where this indulgent cookie-pie hybrid comes in.
It starts with a store-bought refrigerated pie crust (because life is busy, and there’s no shame in shortcuts), which bakes up golden and flaky. Then, instead of the usual cookie sheet, you fill that crust with a buttery chocolate chip dough studded with crunchy walnuts—though you can easily skip the nuts if you’re serving someone with allergies or just prefer pure chocolate bliss. The result? A sturdy, sliceable pie that tastes like your favorite cookie but feels extra special.
Over the years, I’ve tweaked this recipe just a bit—I’ve experimented with dark chocolate chunks, swapped in browned butter, and even added a hint of espresso powder to deepen the flavor. But every time, I come back to this classic Tollhouse mix because it’s reliable, ridiculously simple, and utterly scrumptious. Whether you want to impress guests or just reward yourself after a long week, this pie has your name written all over it.
Below, you’ll find the first steps to getting this creation into your oven and onto your table. In Part 2, we’ll finish up the bake, share some fun variations, and talk timing so you get that perfect ooey-gooey center every time.
STEPS
-
Preheat and Prepare the Crust
Set your oven to 325°F (163°C). Many of us are tempted to crank up the heat for a faster bake, but this lower temperature ensures the cookie dough bakes through without burning the edges. Take your thawed refrigerated pie crust out of the fridge and gently press it into a 9-inch pie plate. Crimp or flute the edges however you like—rustic ripples or neat scallops both look beautiful, so choose what makes you smile. -
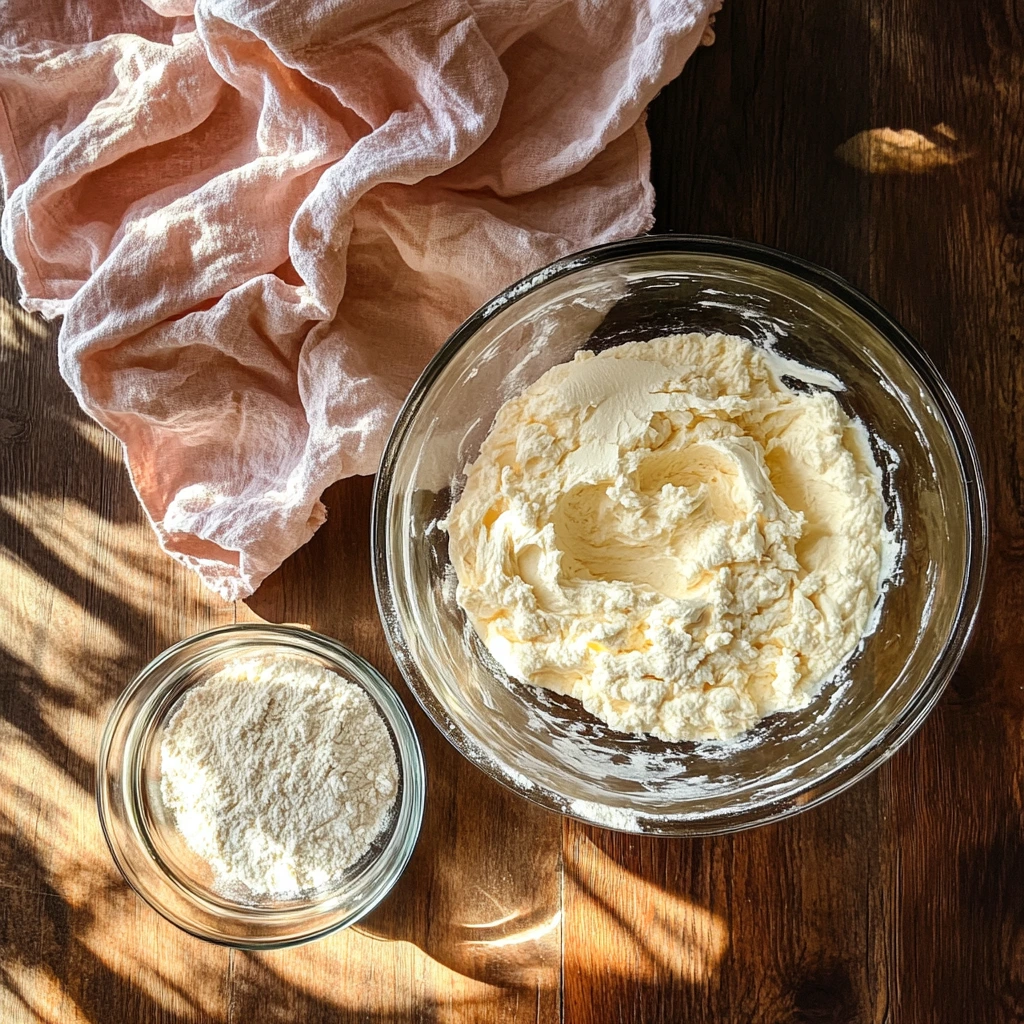
Cream the Butter and Sugars
In a large mixing bowl, add ¾ cup (1½ sticks) of room-temperature salted butter along with ½ cup granulated sugar and ½ cup packed light brown sugar. Using an electric mixer on medium speed, beat for about two minutes until the mixture is pale and fluffy. This aeration is what gives your cookie pie its tender crumb, so don’t rush it. If you’re using a stand mixer, fit it with the paddle attachment. Otherwise, a trusty hand mixer works just fine. -
Incorporate Eggs and Vanilla
Crack in two large eggs, one at a time, mixing well after each addition. Then pour in a teaspoon of pure vanilla extract. Stop the mixer and scrape down the sides of your bowl with a silicone spatula—this little step ensures no streaks of unmixed butter hide in the corners, and it guarantees a uniform batter. -
Add the Flour
Sprinkle in ½ cup of all-purpose flour. Switch to low speed (or mix gently by hand) and stir until the flour is just incorporated. You’ll see the dough come together and start to pull away from the bowl’s sides. Overmixing at this stage can make the texture tough, so as soon as you no longer see dry streaks, you’re good to go.
Baker’s Tip: If you want to elevate the flavor, try toasting the walnuts in a dry skillet over medium heat for 3–4 minutes, tossing frequently until fragrant. Let them cool before folding them into the dough—you’ll get a deeper, nuttier taste that plays beautifully with the chocolate chips.

Tollhouse Cookie Pie: Gooey Chocolate Heaven in Every Slice
Alright, now that our buttery cookie base is ready and the pie crust is prepped, it’s time for the best part—adding those sweet, melty chocolate chips and (if you’re a fan) crunchy walnuts. This part of the recipe comes together quickly, and before you know it, your kitchen will be filled with the irresistible smell of warm cookies and buttery crust.
This is also where the transformation from simple dough to full-on comfort dessert really begins. What I love most about this recipe is that it’s pretty much foolproof. If you’ve ever made cookie dough before, you’ll feel right at home here. And even if this is your first time baking anything from scratch, you’ve got this. It’s straightforward, forgiving, and oh-so-rewarding.
Let’s get back into the kitchen and finish this pie—you’re just a few steps away from a dessert that’ll have everyone asking for seconds (and maybe the recipe, too!).
STEPS
-
Stir in the Chocolate Chips and Walnuts
Once your dough is mixed, fold in 1½ cups of Tollhouse semi-sweet chocolate chips and ¾ cup of chopped walnuts (if using). At this point, the batter is thick and chunky—just the way it should be. I like to reserve a small handful of chocolate chips to press into the top of the pie after baking. It gives it a polished, bakery-style look that makes it feel extra special.Note: If you’re not a fan of walnuts or need a nut-free dessert, feel free to leave them out. The pie is just as delicious without them. You could also substitute pecans or use mini chocolate chips if you’re looking to mix it up.
-
Fill the Pie Shell
Scoop the cookie dough into your prepared pie crust. Use a spatula or the back of a spoon to spread the dough evenly, pressing it gently all the way to the edges. It may seem like a lot of dough, but trust me—this pie bakes up beautifully. The edges puff slightly and create a rich, chewy crust while the center stays soft and gooey. -
Bake the Pie
Place your pie in the preheated oven and bake for 55 to 65 minutes. Around the 20-minute mark, check on your crust. If it’s starting to brown too quickly, loosely tent the pie with a piece of foil. This helps the cookie center continue to cook without burning the edges.You’ll know the pie is done when a toothpick inserted about 2 inches from the edge comes out mostly clean. Don’t worry if the center is still a little soft—that’s what makes it so irresistible, especially if you’re planning to serve it warm.
-
Finishing Touches
Once the pie comes out of the oven, go ahead and press a few reserved chocolate chips into the top if you like. They’ll melt just slightly and look picture-perfect once the pie cools.Let the pie cool for at least 20 to 30 minutes before slicing. If you try to cut into it too soon, it’ll be super gooey (not necessarily a bad thing if you’re going for that molten-cookie vibe). Cooling gives the center time to set a bit, making it easier to serve neat slices.
![]()
Now that your Tollhouse Cookie Pie is baked to golden perfection, let’s talk serving ideas and a few helpful tips to get the most out of this dreamy dessert:
Serving Tips:
-
For a decadent treat, serve a warm slice with a scoop of vanilla ice cream or a generous drizzle of hot fudge.
-
Want a more elegant presentation? Add a dollop of whipped cream and a few shaved chocolate curls on top.
-
This pie tastes amazing even the next day—just reheat a slice in the microwave for 15–20 seconds and it’s just as gooey as fresh out of the oven.
Storage Notes:
-
Store leftover pie (covered) at room temperature for up to two days, or refrigerate it for up to five.
-
You can also freeze individual slices. Just wrap them tightly in plastic wrap and then foil. When you’re ready to enjoy, pop a slice in the microwave or toaster oven until warmed through.
Tollhouse Cookie Pie: The Ultimate Warm & Gooey Dessert
Now that your Tollhouse Cookie Pie is cooling on the counter—or maybe you’ve already sneaked a warm slice—we’re in the home stretch. Before we wrap things up, I want to tackle a few of the most common questions people have when making this recipe. Whether you’re wondering about crust options, storage tips, or how to serve it for a crowd, this section has you covered.
Let’s dig into the FAQs so you feel confident every time you whip up this irresistible dessert.

FAQ: Tollhouse Cookie Pie
1. Can I use a homemade pie crust instead of refrigerated?
Absolutely. If you have a go-to homemade pie crust recipe, feel free to use it. Just make sure it’s rolled out and fitted into a 9-inch pie plate before adding the filling. The flavor will be a bit more buttery and rustic, which can elevate the whole pie.
2. What should I do if the center seems too gooey after baking?
The center of this pie is meant to be soft and slightly gooey, especially if you’re serving it warm. However, if it’s underbaked to the point where it feels raw, try covering it loosely with foil and returning it to the oven for 5-10 more minutes. Always test with a toothpick about 2 inches from the edge—that area should come out mostly clean when it’s done.
3. Can I make this pie ahead of time?
Yes! This is a great dessert to make a few hours (or even a day) in advance. Let it cool completely, then cover it with foil or plastic wrap and store at room temperature. Reheat slices in the microwave for 15-20 seconds for that fresh-out-of-the-oven warmth.
4. Are there any substitutions for the walnuts?
You can skip the walnuts entirely, or swap them for chopped pecans or even crushed pretzels for a salty crunch. If you want to add a different twist, try mixing in white chocolate chips, peanut butter chips, or a blend of your favorites.
5. How should I store leftovers?
Cover the cooled pie with plastic wrap or foil and keep it at room temperature for up to two days. If you’re keeping it longer, refrigerate it for up to five days. You can also freeze individual slices—just wrap each one tightly in plastic wrap and place in a freezer bag.
6. What’s the best way to serve this pie?
Warm is best, hands down. You can serve it on its own, but I highly recommend a scoop of vanilla ice cream, whipped cream, or even a drizzle of caramel or chocolate sauce. The contrast of cold and warm is magic.
7. Can I double this recipe for a crowd?
Since this pie is fairly rich, one 9-inch pie typically yields 8-10 slices. If you’re feeding a crowd, consider making two pies instead of trying to double and bake it in one pan. That way you ensure even baking and no raw center.
Conclusion: Your New Go-To Dessert
There’s something truly comforting about this Tollhouse Cookie Pie. It’s nostalgic and homey, but it still feels like a treat worthy of a special occasion. From the buttery crust to the melty pockets of chocolate and crunchy nuts (if you’re into that), every bite hits that perfect sweet spot between cookie and pie.
What I love most about this dessert is how versatile it is. Dress it up for a holiday dinner, serve it with coffee at brunch, or just bake it on a quiet weekend when you’re craving something sweet and soul-satisfying. And if you’re lucky enough to have leftovers, they’re just as delicious the next day.
Print
Tollhouse Cookie Pie
- Author: Sophia
Description
This Tollhouse Cookie Pie is a rich, indulgent dessert that combines the classic taste of a chocolate chip cookie with the comforting texture of a pie. It’s buttery, sweet, and packed with chocolate chips and crunchy walnuts (optional). Perfect served warm with a scoop of vanilla ice cream for a truly decadent treat.
Ingredients
1 refrigerated pie crust, thawed
¾ cup (1 ½ sticks) salted butter, softened to room temperature
½ cup granulated sugar
½ cup light brown sugar, packed
2 large eggs
1 teaspoon vanilla extract
½ cup all-purpose flour
1 ½ cups Tollhouse semi-sweet chocolate chips
¾ cup chopped walnuts (optional)
Instructions
1️⃣ Preheat the oven to 325°F. Place the thawed refrigerated pie crust into a 9-inch pie plate and crimp the edges. Set aside.
2️⃣ In a large mixing bowl, cream together the softened butter, granulated sugar, and brown sugar using an electric mixer for about 2 minutes until light and fluffy.
3️⃣ Add the eggs and vanilla extract to the bowl. Mix until fully combined.
4️⃣ Add the all-purpose flour and mix until just incorporated, scraping the sides of the bowl as needed.
5️⃣ Stir in the chocolate chips and walnuts until evenly distributed in the dough.
6️⃣ Spread the dough evenly into the prepared pie crust, smoothing it out to the edges.
7️⃣ Bake for 55 to 65 minutes. About 20 minutes into baking, loosely tent the pie with foil to prevent over-browning. The pie is ready when a toothpick inserted about 2 inches from the edge comes out mostly clean.
8️⃣ Optional: For an attractive finish, press a few additional chocolate chips into the top of the pie immediately after removing it from the oven.
9️⃣ Allow the pie to cool for at least 20 to 30 minutes before serving. Serving it warm will result in a gooier
Notes
This dessert is best enjoyed warm with a scoop of ice cream or a drizzle of chocolate syrup. The texture will firm up more as it cools, making it easy to slice cleanly if serving later. You can omit the walnuts for a nut-free version without sacrificing flavor.