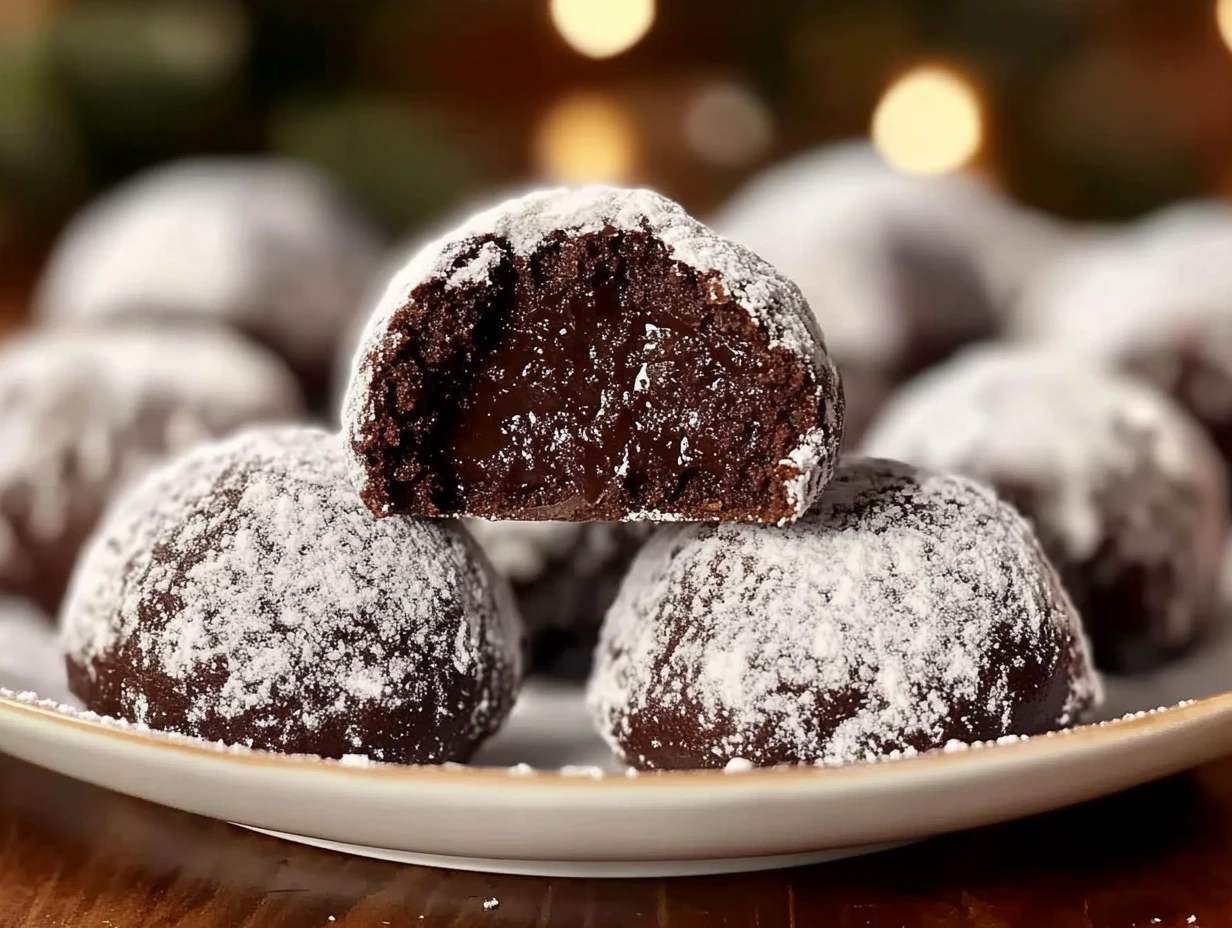
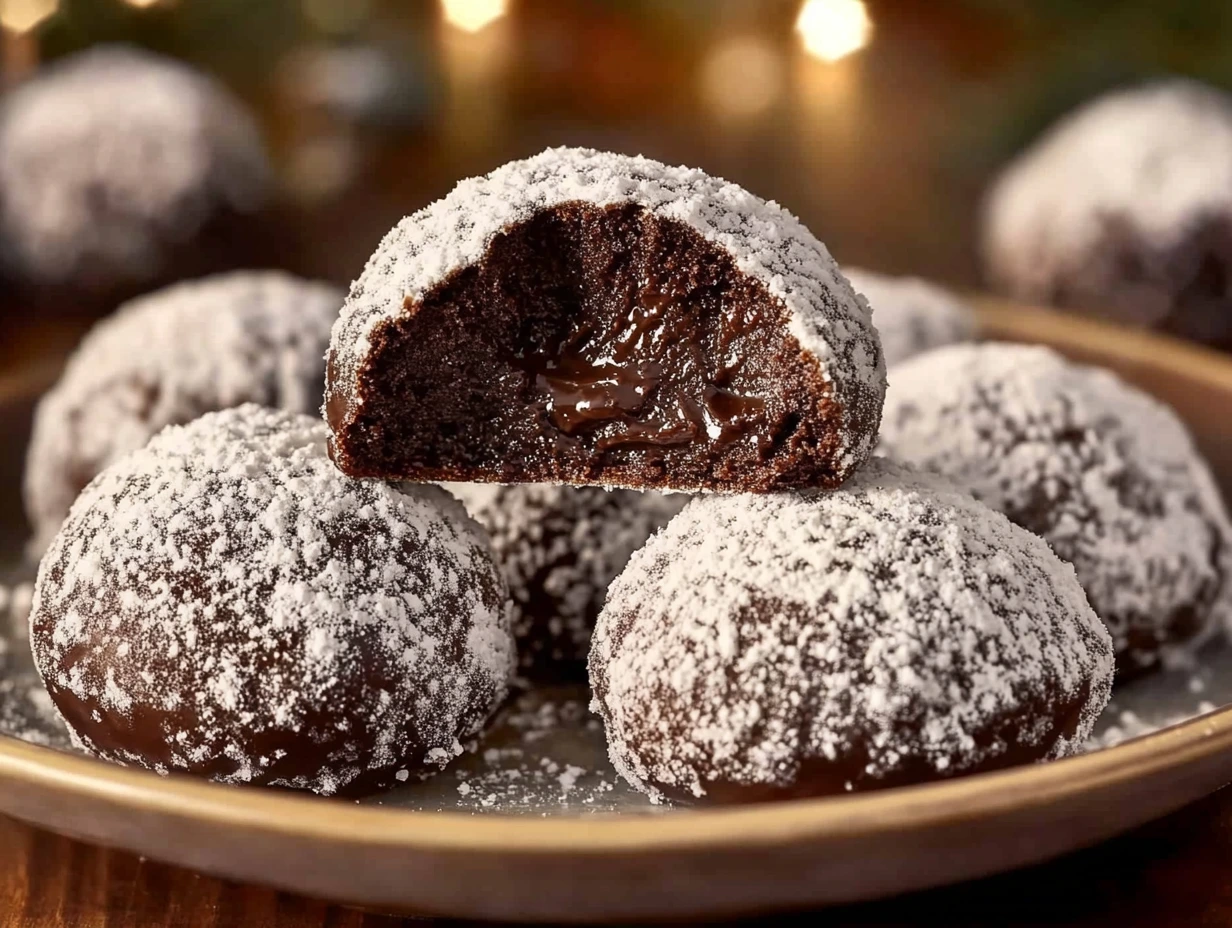
Is there anything more magical than a cookie that brings the coziness of winter straight to your kitchen? Chocolate Snowball Cookies are like tiny gifts wrapped in powdered sugar, offering a rich, chocolaty center with a melt-in-your-mouth texture. These cookies aren’t just treats—they’re experiences, perfect for sharing during the holiday season or anytime you need a little sweet pick-me-up.
This recipe is one of my personal favorites for creating that perfect “snowy” effect on a cookie platter. Plus, with just a few simple ingredients and steps, these are delightfully easy to make. Whether you’re preparing for a holiday cookie swap or simply craving something sweet, Chocolate Snowball Cookies will always deliver.
Now, let’s dive into the magic of making these cookies, starting with the ingredients and first few steps.
The Ingredients You’ll Need
Before we begin, let’s gather everything you need. These cookies keep it simple, but their flavors are anything but basic. Here’s the lineup:
- 1 cup unsalted butter, softened: The base for that luscious, rich texture.
- ½ cup powdered sugar (plus extra for rolling): Adds sweetness and gives the cookies their snowy finish.
- 1 teaspoon vanilla extract: A hint of warmth and depth.
- 2 cups all-purpose flour: The structure for your cookies.
- ¼ cup cocoa powder: The chocolaty star of the show.
- ½ teaspoon salt: Enhances all the other flavors.
- 1 cup finely chopped nuts (optional): Pecans or walnuts are great, but feel free to omit for a nut-free version.
Let’s Start Baking!
1️⃣ Prepare Your Oven and Baking Sheet
Before diving into the dough, preheat your oven to 350°F (175°C). Line a baking sheet with parchment paper to ensure your cookies bake evenly and don’t stick. Trust me, this simple step saves a ton of cleanup later.
2️⃣ Cream the Butter and Sugar
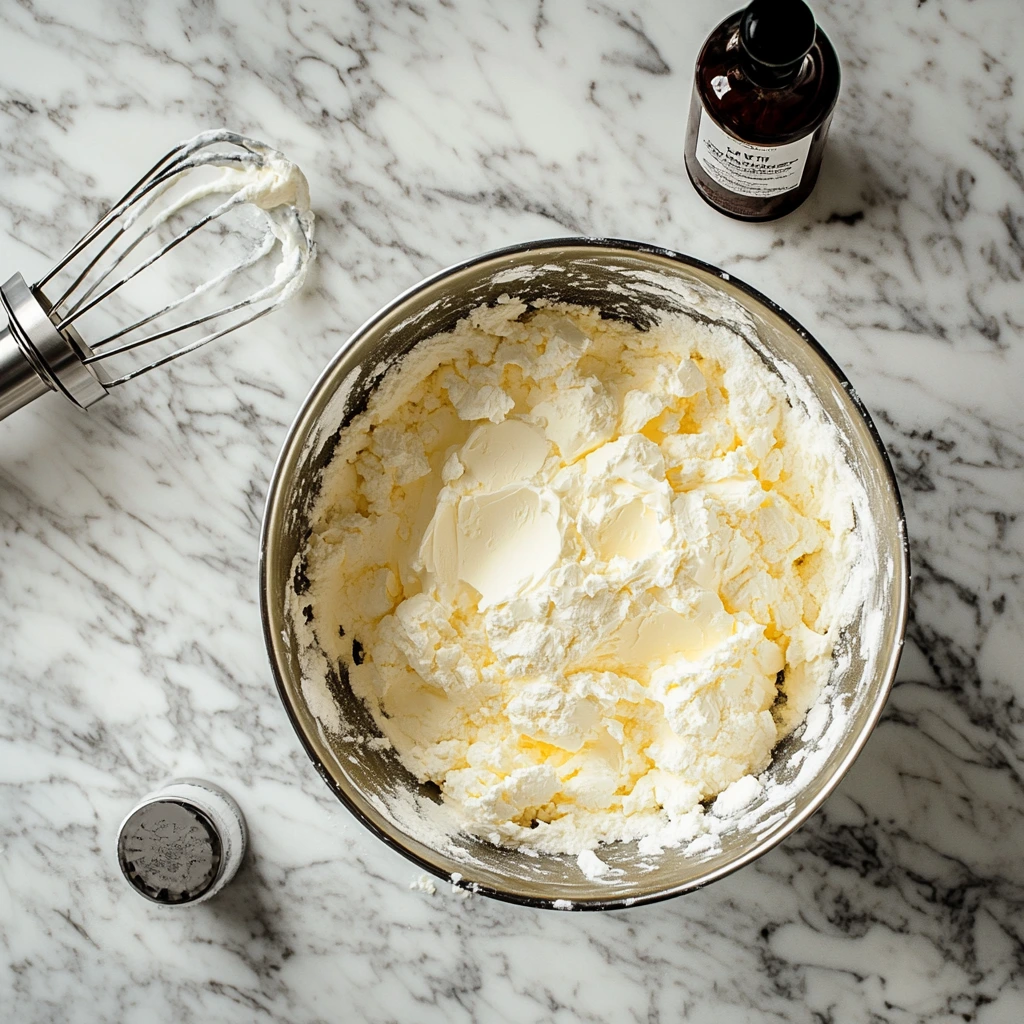
In a large mixing bowl, cream together the softened butter and powdered sugar until the mixture is light and fluffy. This step is key to creating that tender, melt-in-your-mouth texture we’re aiming for. Add the vanilla extract and mix until combined. The aroma at this stage? Absolutely heavenly.
3️⃣ Incorporate the Dry Ingredients
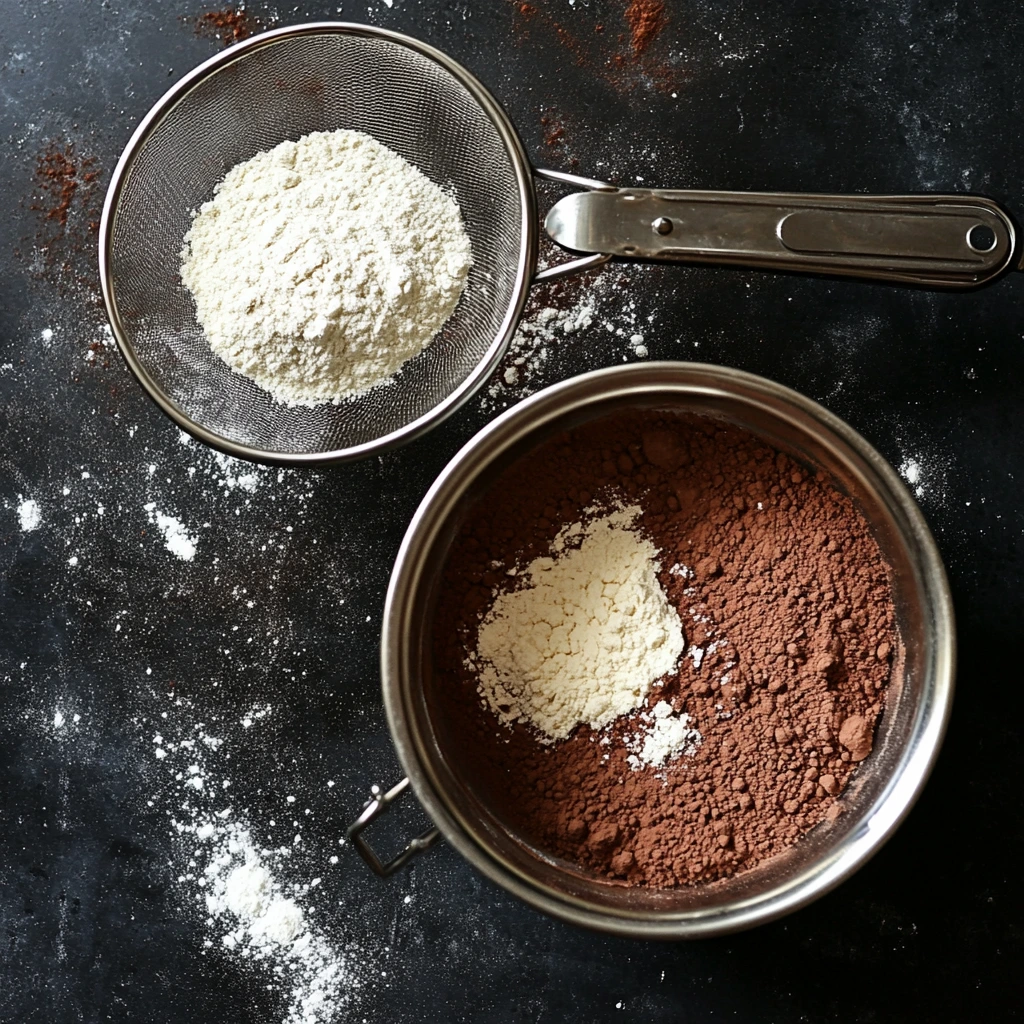
Next, gradually sift in the all-purpose flour, cocoa powder, and salt. Mixing the dry ingredients into the creamed butter-sugar base may feel like a workout, but it’s worth every second. By the end, you’ll have a soft, chocolatey dough that’s just waiting to be shaped.
Shaping, Baking, and Snow-Coating Your Chocolate Snowball Cookies
Time to Shape the Magic
Now that we’ve mixed our dough to perfection, it’s time to transform it into those irresistible little snowballs. Shaping and baking are where the fun truly begins, so let’s dive right in.
4️⃣ Fold in the Nuts (Optional)
If you’re adding a nutty crunch to your cookies, gently fold in 1 cup of finely chopped pecans or walnuts. This step is optional but highly recommended if you love the subtle contrast of textures. Be sure the nuts are evenly distributed throughout the dough to ensure every bite has a little crunch.
5️⃣ Shape the Cookies
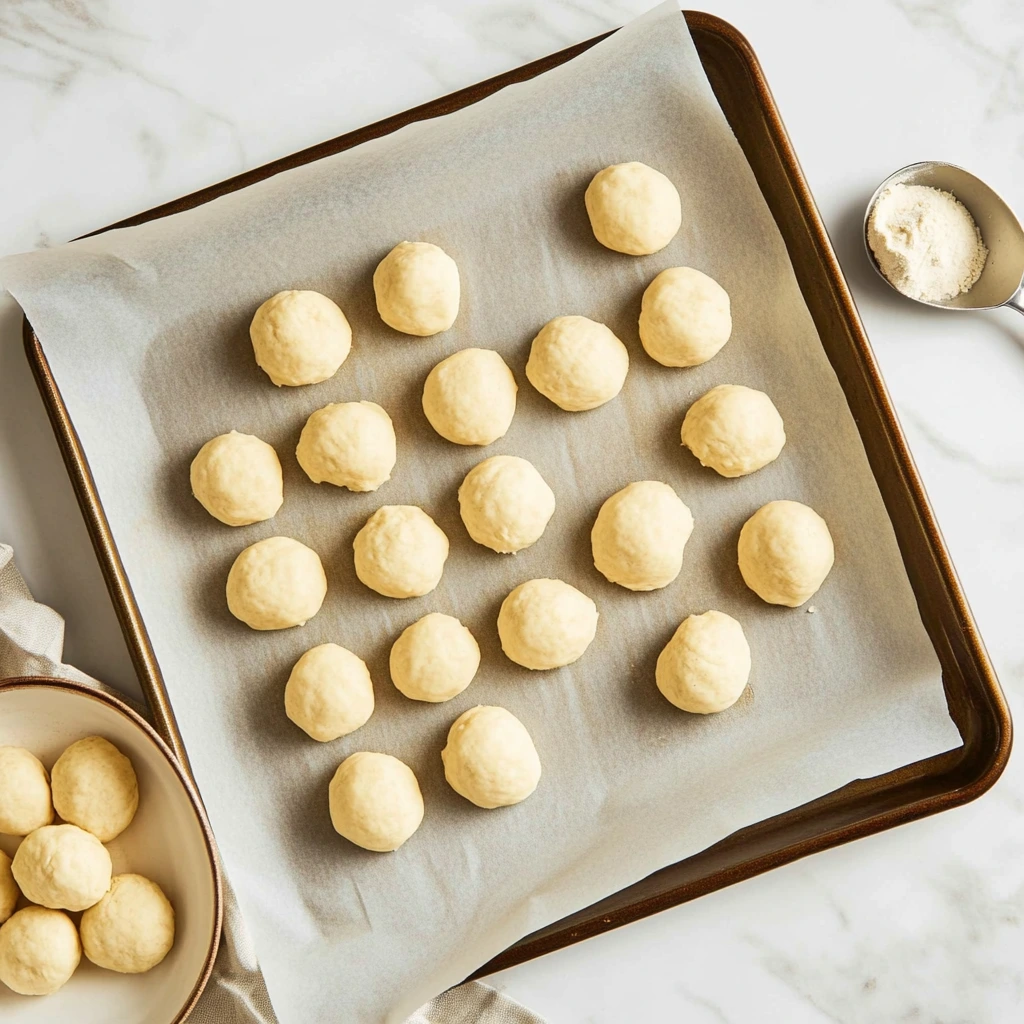
Using clean hands or a small cookie scoop, roll the dough into 1-inch balls. The dough should be pliable and easy to work with. If it feels too soft, refrigerate it for about 10–15 minutes. Place each ball on the prepared baking sheet, leaving about 1 inch of space between them. These cookies won’t spread much, so don’t worry about overcrowding.
The Magic Happens in the Oven
6️⃣ Bake to Perfection
Place your cookies in the preheated oven and bake for 12–15 minutes. You’ll know they’re done when the edges are set but not overly browned. These cookies are delicate, so don’t overbake. Allow them to cool on the baking sheet for about 5 minutes—they’ll firm up as they cool.
Adding the Snowy Touch
Here’s where the cookies get their iconic look. That powdered sugar coating isn’t just for aesthetics—it adds a touch of sweetness and a festive finish that feels like a winter wonderland.
7️⃣ First Powdered Sugar Coating
While the cookies are still warm, carefully roll each one in powdered sugar. The warmth helps the sugar stick and creates the first layer of that “snowy” effect. Be gentle; these cookies are delicate at this stage.
8️⃣ Second Powdered Sugar Coating
Once the cookies have cooled completely, roll them in powdered sugar again. This final coating ensures a thick, snowy layer that’s as beautiful as it is delicious. You’ll be amazed at how these cookies transform into perfect little snowballs.
Pro Tips for the Perfect Chocolate Snowball Cookies
- Chill for Better Handling: If your dough feels sticky or too soft to roll, don’t hesitate to refrigerate it for a short while. This small step can make shaping the cookies much easier.
- Evenly Sized Cookies: Using a cookie scoop helps create uniform cookies that bake evenly. Plus, it saves time!
- Double-Dip in Sugar: Don’t skip the second powdered sugar coating. The first layer absorbs into the warm cookies, so the second coating ensures that perfect snowy look and taste.
Frequently Asked Questions
If you’re ready to make these delightful Chocolate Snowball Cookies, you might have a few questions. Don’t worry—I’ve got you covered with answers to the most common queries about this recipe.
1. Can I make these cookies ahead of time?
Absolutely! Chocolate Snowball Cookies are perfect for prepping in advance. You can make the dough and refrigerate it for up to two days before baking. Baked cookies also store well in an airtight container for up to a week.
2. How do I store these cookies to keep them fresh?
Store the cookies in an airtight container at room temperature for up to one week. For longer storage, freeze the cookies in a freezer-safe container for up to three months. To enjoy, simply thaw them at room temperature.
3. Can I make these cookies gluten-free?
Yes! Substitute the all-purpose flour with a 1:1 gluten-free baking flour blend. The texture may vary slightly, but they’ll still be delicious.
4. What nuts work best in this recipe?
Pecans and walnuts are the classic choices for this recipe. If you want to experiment, try hazelnuts or almonds. For a nut-free version, simply omit the nuts—they’re optional!
5. Why do my cookies crack during baking?
Cracking is completely normal for snowball cookies and adds to their rustic charm. If you prefer smoother cookies, ensure your dough is well-mixed and not too dry.
6. Can I add other flavors to the dough?
Absolutely! Add a pinch of cinnamon or a few drops of peppermint extract for a festive twist. Orange zest also pairs wonderfully with the chocolate flavor.
7. How can I make the powdered sugar stick better?
Rolling the cookies in powdered sugar while they’re still warm helps the first coating adhere. A second coating after cooling ensures that thick, snowy finish.
Conclusion: Time to Enjoy the Snowball Magic
Congratulations! You’ve just made a batch of the most delightful Chocolate Snowball Cookies. These sweet, chocolaty bites wrapped in snowy powdered sugar are perfect for sharing with friends, adding to a festive cookie platter, or enjoying with a warm cup of cocoa.
One of the things I love most about this recipe is how versatile it is. You can personalize it with different nuts, flavor extracts, or even make it gluten- or nut-free. Plus, the powdered sugar coating gives these cookies a wintry charm that’s irresistible for holiday gatherings or cozy nights in.
Print
Chocolate Snowball Cookies
- Total Time: 35 minutes
Description
These Chocolate Snowball Cookies are buttery, melt-in-your-mouth treats with a rich cocoa flavor and a snowy powdered sugar coating. Perfect for the holidays or any occasion, these cookies are easy to make and customizable for gluten-free or nut-free diets.
Ingredients
- 1 cup unsalted butter, softened
- ½ cup powdered sugar (plus extra for rolling)
- 1 teaspoon vanilla extract
- 2 cups all-purpose flour
- ¼ cup cocoa powder
- ½ teaspoon salt
- 1 cup finely chopped nuts (optional, such as pecans or walnuts)
Instructions
1️⃣ Prepare the Oven and Baking Sheet:
Preheat your oven to 350°F (175°C). Line a baking sheet with parchment paper.
2️⃣ Mix the Dough:
In a large mixing bowl, cream the softened butter and powdered sugar together until light and fluffy. Mix in the vanilla extract.
3️⃣ Add Dry Ingredients:
Gradually sift in the flour, cocoa powder, and salt. Mix until the dough is smooth and fully combined.
4️⃣ Fold in Nuts (Optional):
If using nuts, gently fold them into the dough until evenly distributed.
5️⃣ Shape the Cookies:
Roll the dough into 1-inch balls and place them on the prepared baking sheet, leaving about 1 inch of space between each cookie.
6️⃣ Bake the Cookies:
Bake in the preheated oven for 12–15 minutes, or until the edges are set. Allow the cookies to cool on the baking sheet for 5 minutes.
7️⃣ Add the “Snow” Coating:
While the cookies are still warm, roll them in powdered sugar for the first snowy coating. Once cooled, roll them again in powdered sugar for a festive, snowball-like finish.
Notes
- For a festive twist, add a pinch of cinnamon or peppermint extract to the dough.
- Store the cookies in an airtight container for up to a week or freeze for longer storage.
- Prep Time: 20 minutes
- Cook Time: 12–15 minutes
Nutrition
- Serving Size: 24 cookies

